Search

Building materials

A complete guide to

Just render onto brick or blockwork

1. Wall prepparation

Wash off under pressure or scrape off the remainder of poorly adhering paint coats.

Hammer off loose or flaking elements (“hollow” sound indicates that the old render has separated from the wall and must be removed) and fill in defects using materials recommended for that purpose e.g. ATLAS PLASTERING MIX
£12.99 - incl. VAT

2. Substrate preparation

Before rendering works commencement, it is essential to examine the technical condition of the façade (substrate), with special attention paid to load capacity of the substrate, its humidity and evenness.
Prime the substrate with ATLAS UNI-GRUNT deep penetrating primer. The priming should be conducted at least 2 hours before application of basecoat and reinforcing layer.
This should be applied using either a roller or a brush. ATLAS UNI GRUNT coverage rate is 1kg/10m2, with a drying time of 2 hours per coat.
£16.49 - incl. VAT
£14.99 - incl. VAT

3. PROFILES and BEADING

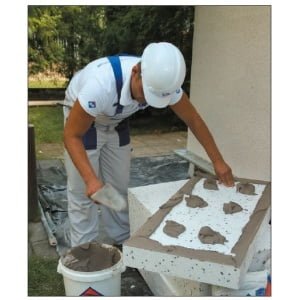
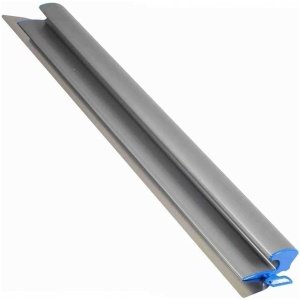
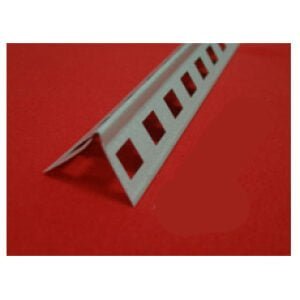
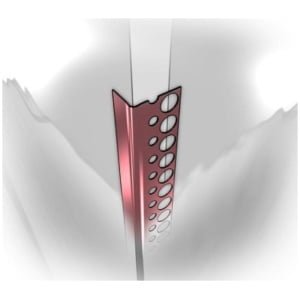
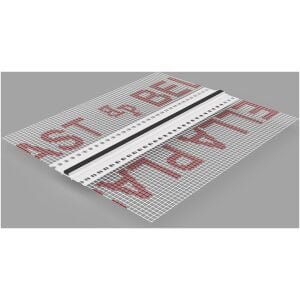
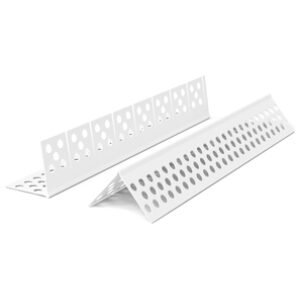
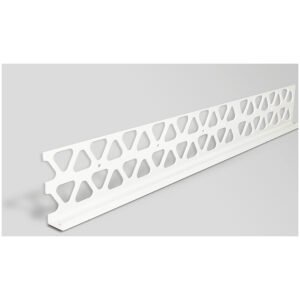
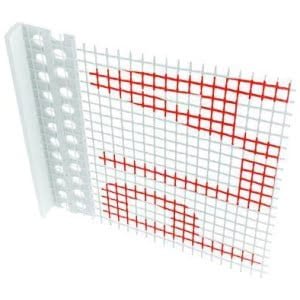
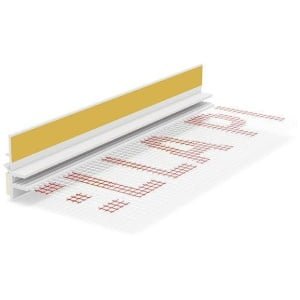
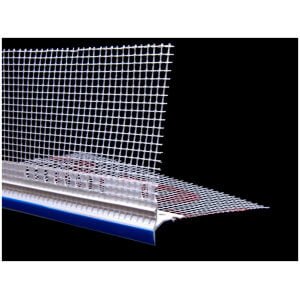
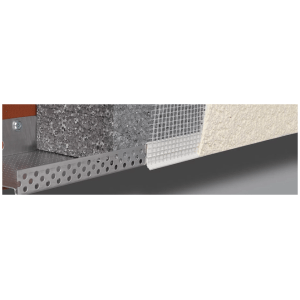
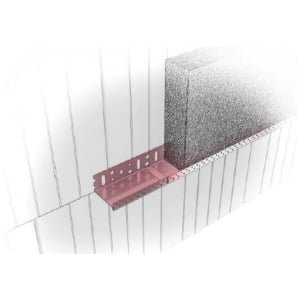
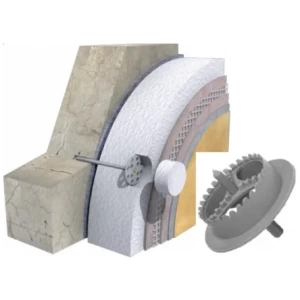
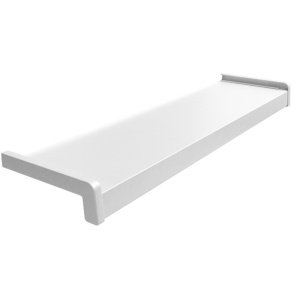
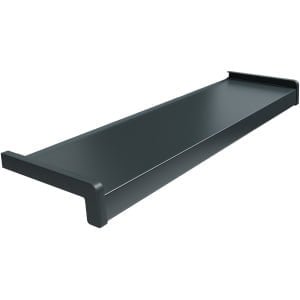
In order to increase the resistance of the insulation system to mechanical damage, enable free water drainage, and provide expansion joints, appropriate profiles are used. The profiles are installed in specific places on the façade, such as corners, reveals, window sills etc. The profiles can also be installed during the embedding of reinforcing mesh in the reinforced coat.

Our selection of available render beads allows you to choose the perfect beading for your property. They are uPVC and designed to be embedded in the basecoat layer.
£16.49 - incl. VAT
£14.99 - incl. VAT

4. Reinforced layer

The reinforced coat consists of a glass fibre mesh embedded in a coat of adhesive. The mesh has an appropriate mechanical strength, a uniform and strong weave, and a high resistance to alkali. The installation of the reinforcing coat should be commenced no earlier than 2 ÷ 3 days after the installation of insulating panels. Coverage rate for basecoat – 25kg bag covers 5m2

Coverage rate for fibreglass mesh – one roll covers 50m2
£56.70 - incl. VAT
£14.79 - incl. VAT
£15.90 - incl. VAT
£14.79 - incl. VAT

5. Priming the Basecoat

Next step should be to prime the basecoat with BONDING QUARTZ PRIMER. The render primer prevents the penetration of impurities from the adhesive into the render, protects and reinforces the substrate and, above all, increases the bond strength between the render and the substrate. Besides, the render primer can act as a temporary protectionof the reinforced coat (until the render is applied) for up to six months from its installation Primer can be applied with a brush or roller.Coverage for CERPLAST QUARTZ PRIMER is 15m2 for 5kg or 45m2 for 15kg
£64.68 - incl. VAT
£39.39 - incl. VAT

6. Rendering coat

The final step in this process is to apply the render once the CERPLAST quartz primer has dried. We offer render in 1 and most popular 1.5mm grain size.

it is possible to choose a particular colour from the ATLAS PATTERN OF COLOURS – 400 for acrylic, 256 for silicate-silicone and 480 for silicone render. Render should be applied using a trowel. Any excess render should always be removed. Use a plastic float to apply the render in a circular motion to achieve your desired finish. Coverage for renders are 9-10m2 per 25kg
PLEASE SEE OUR DETAILED CODE OF PRACTICE ARTICULE

Explore our different solution