


A complete guide to
Render with isulation
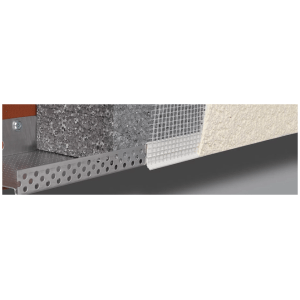
1. Substrate preparation
Before insulation works commencement, it is essential to examine the technical condition of the façade (substrate), with special attention paid to load capacity of the substrate, its humidity and evenness.
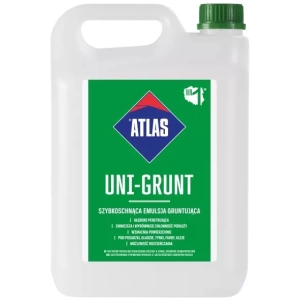
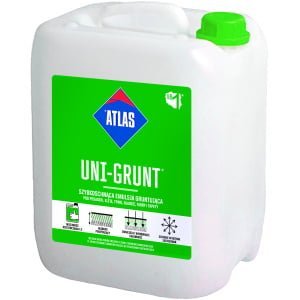
Prime the substrate with ATLAS UNI-GRUNT deep penetrating primer. The priming should be conducted at least 2 hours before the insulation application. This should be applied using either a roller or a brush. ATLAS UNI GRUNT coverage rate is 1kg/10m2, with a drying time of 2 hours per coat.
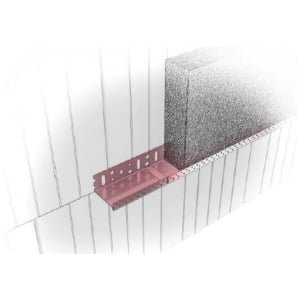
2. Starter/ Base Track Installation
Our aluminium Starter Tracks create a solid base for insulation EPS boards to be installed onto the wall. They have to installed into the wall above the DPC. Starter Tracks can accommodate different thicknesses of insulation from 20mm to 100mm.
In our offer you can apply CLIP ON or DOUBLE TAPE PROFILES with mesh into STARTER TRACK.
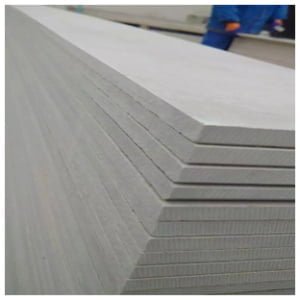
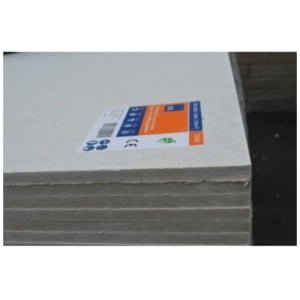
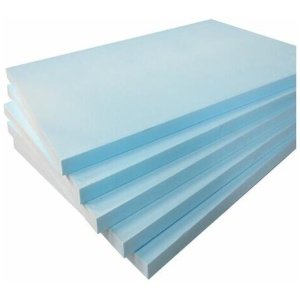
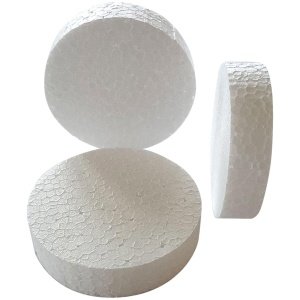
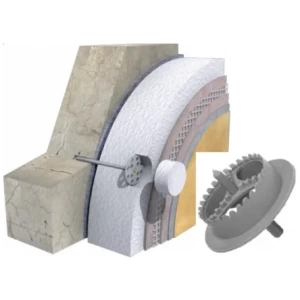
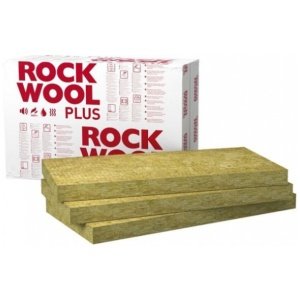
3. Installation of EPS Insulation Boards
The thickness of thermal insulating material should be in accordance with the technical design and selected individually for each wall of the building, based on the calculated overall heat transfer coefficient U, amongst others.
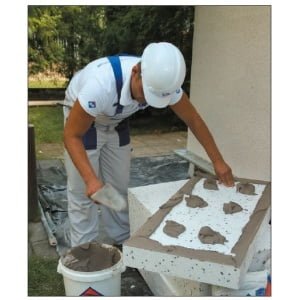
Mix the mortars with suitable amount of clean water. It is best to mix it mechanically, using a drill with a mixer. It is not recommend to add amount of water different than given in the technical data sheet, as it decreases the mortar durability.
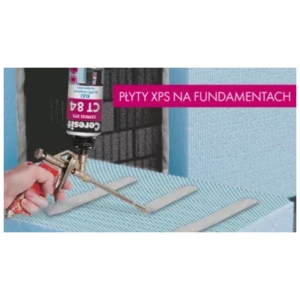
It is applied to the panel surface in strips and dabs. The strip of adhesive applied along the panel perimeter should be at least 3 cm wide. Apply 6 – 8 dabs of adhesive, ca. 8 ÷ 12 cm in diameter, distributed evenly on the remaining surface. The adhesive applied to the panel should cover at least 40% of its surface (60% after application and pressing)

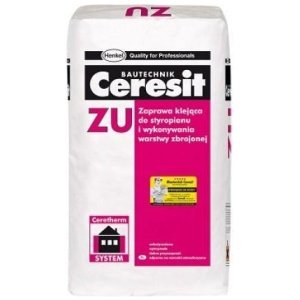
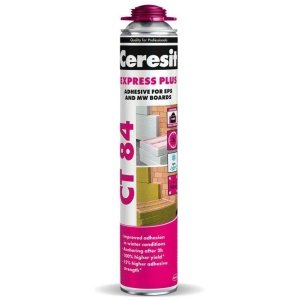
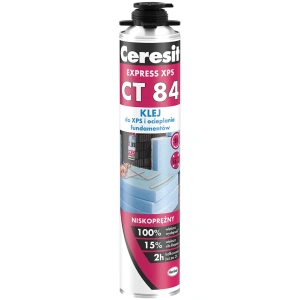
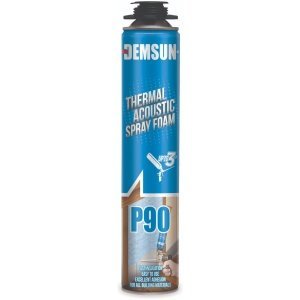
When installing EPS insulation boards, we highly recommend you use Adhesives in bags or Ceresit CT84 FOAM ADHESIVE. Coverage of 5m2 for a 25kg bag or up to 10m2 from Foam adhesive.
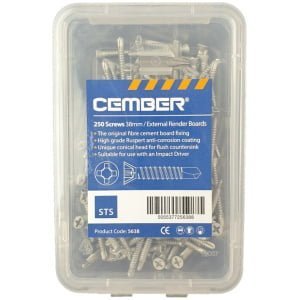
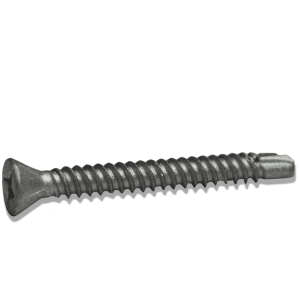
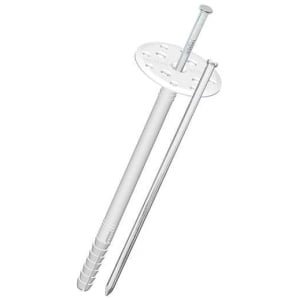
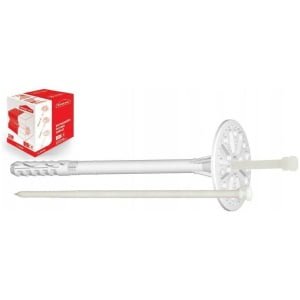
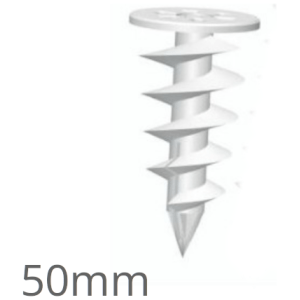
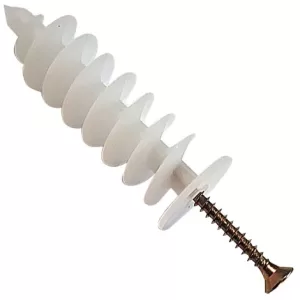
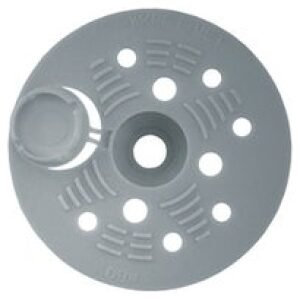
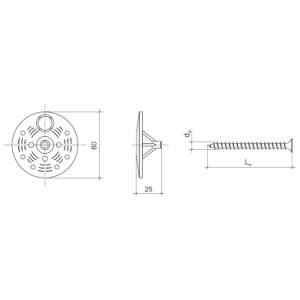
4. Mechanical fixings (anchors)
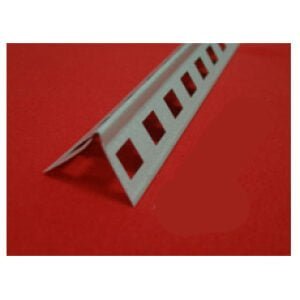
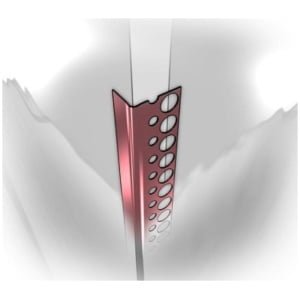
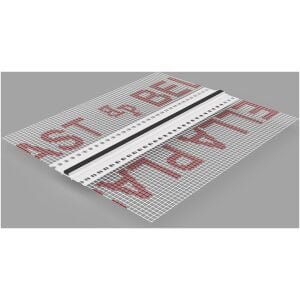
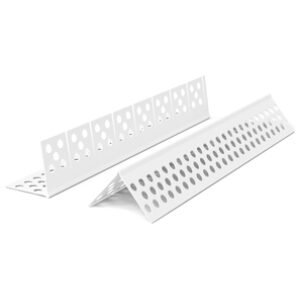
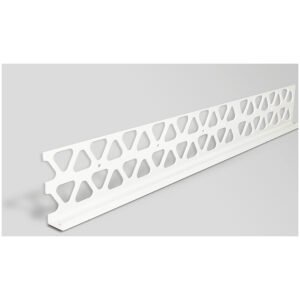
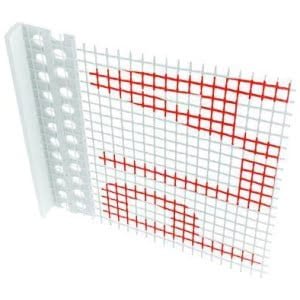
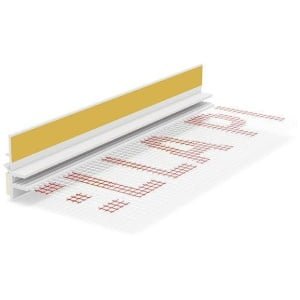
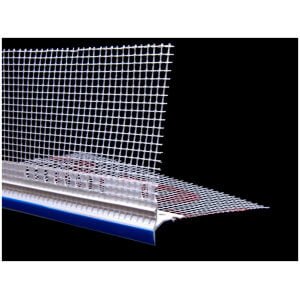
5. PROFILES and BEADING
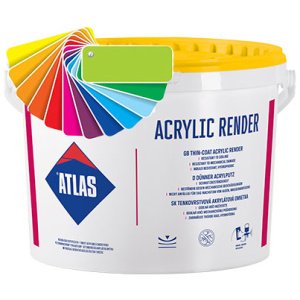
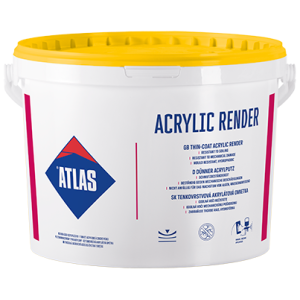
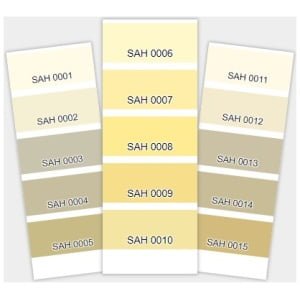
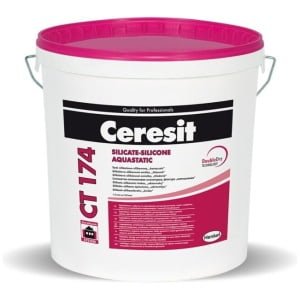
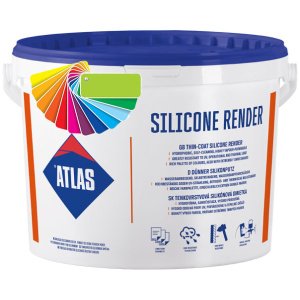
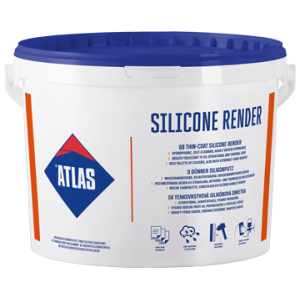
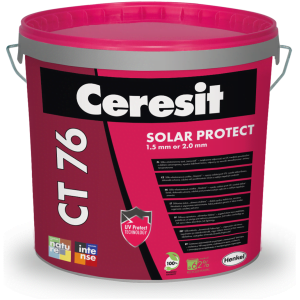
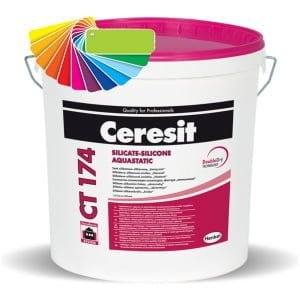
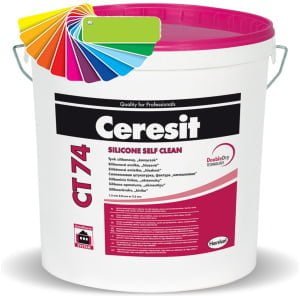
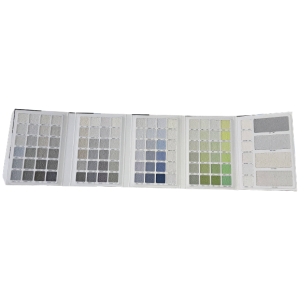
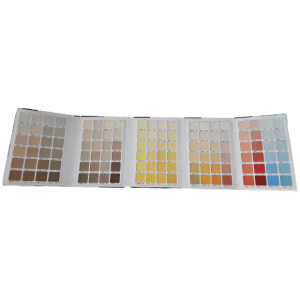
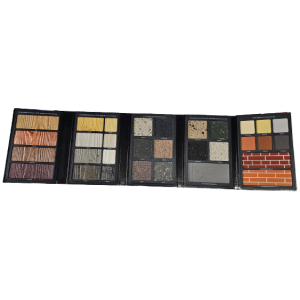
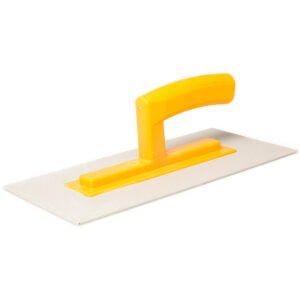
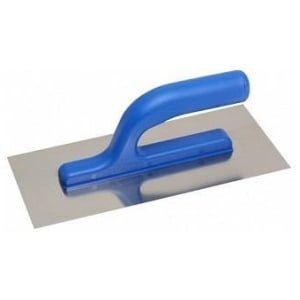
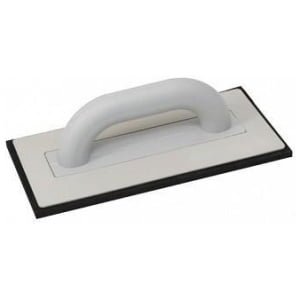
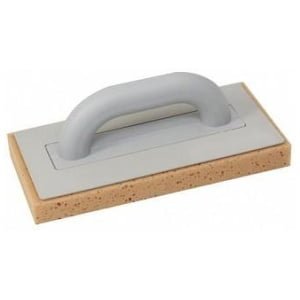
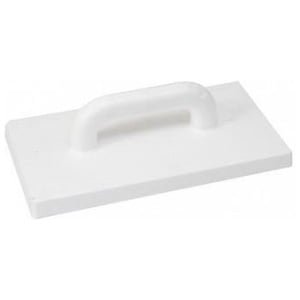
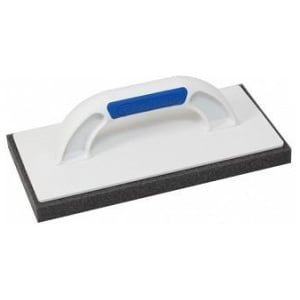
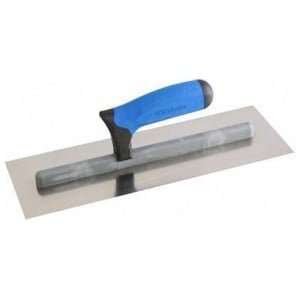
it is possible to choose a particular colour from the ATLAS PATTERN OF COLOURS – 400 for acrylic, 256 for silicate-silicone and 480 for silicone render. Render should be applied using a trowel. Any excess render should always be removed. Use a plastic float to apply the render in a circular motion to achieve your desired finish. Coverage for renders are 9-10m2 per 25kg
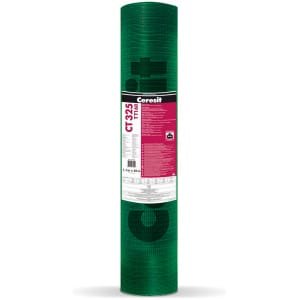
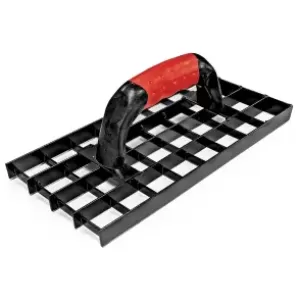
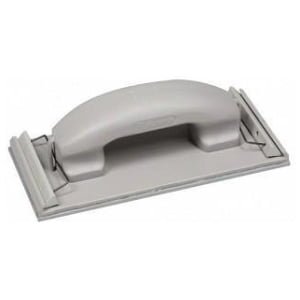
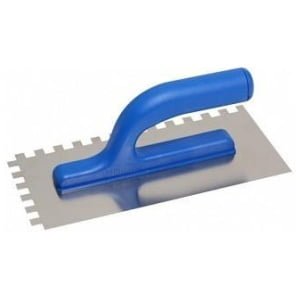
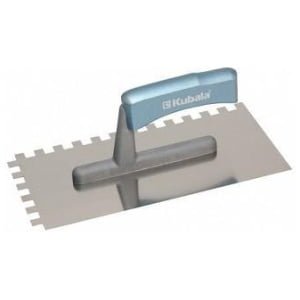
6. Reinforced layer
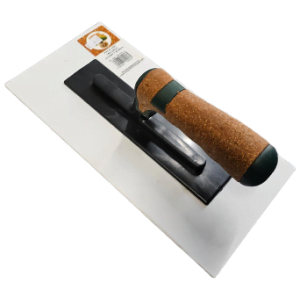
7. Priming the Basecoat
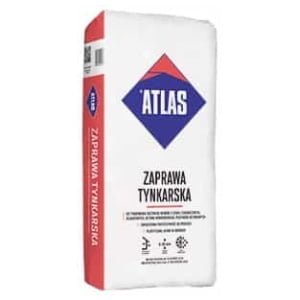
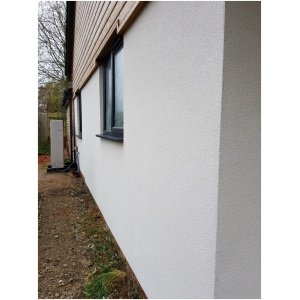
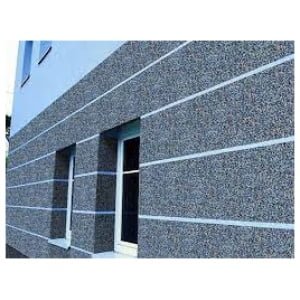
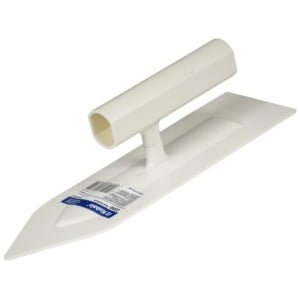
8. Rendering coat
it is possible to choose a particular colour from the ATLAS PATTERN OF COLOURS – 400 for acrylic, 256 for silicate-silicone and 480 for silicone render. Render should be applied using a trowel. Any excess render should always be removed. Use a plastic float to apply the render in a circular motion to achieve your desired finish. Coverage for renders are 9-10m2 per 25kg