BRICK & CONCRETE EFFECT RENDER
4 products
Showing 1 - 4 of 4 products
A brick effect render gives a wall the face of brickwork without a brick being laid, and the whole choice comes down to where the pattern comes from. Here it comes from a stencil pressed into wet plaster — or, for a bare concrete face, from the float in your own hand.
What Goes Into a Brick Effect Render
Two routes sit on this shelf, and they work in opposite ways.
- Masked. A stencil sheet is stuck to a primed wall, a thin acrylic plaster goes over it, and the sheet is lifted again, leaving brick coursing behind.
- Tooled. A ready-mixed silicone render is worked with a float until it shows as cast or trowelled concrete, with no mask anywhere in the job.
That difference decides the order, not only the look. A brick effect render is a two-colour job: the plaster gives the brick, and the quartz primer beneath it shows through as the mortar joint, so the joint shade is chosen on the primer — Ceresit names the joint colours it recommends for exactly that reason. The concrete face is a one-colour job with no mask, and its texture is settled on a trial panel rather than on a card. Both start on a primed wall, so the exterior render primers and key coats range is part of either order.
Renders World keeps this shelf with the rest of the render systems range. The timber face has moved out to its own shelf, and the mould, release agent and stain that make it now sit in wood effect render.
Match the Route to the Face You Want
Find the face the drawing asks for, then follow the row across to what makes it.
| Your Project | Best System | Standout Spec |
|---|---|---|
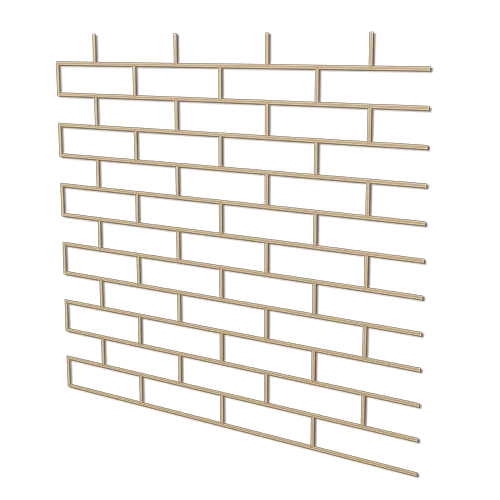
| Traditional brick coursing on a facade or garden wall | Visage Stencil London Brick 15 pcs | Sheet laid as a mask, lifted once |
| Contemporary linear brick coursing | Visage Stencil Boston Brick 15 pcs | Sheet laid as a mask, lifted once |
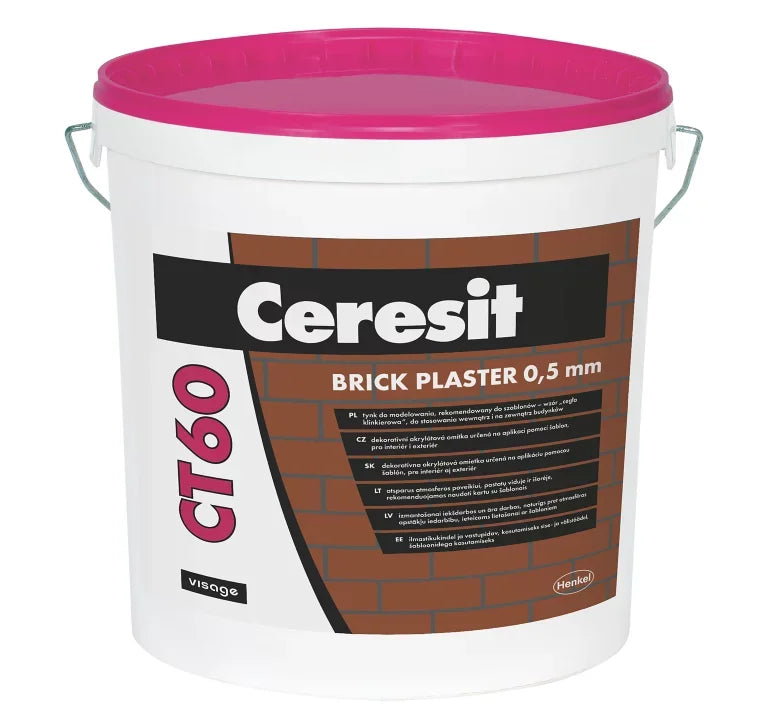
| The plaster both stencil sets pattern | CT60 Visage Acrylic Render 0.5 mm | Tinted before it reaches the wall |
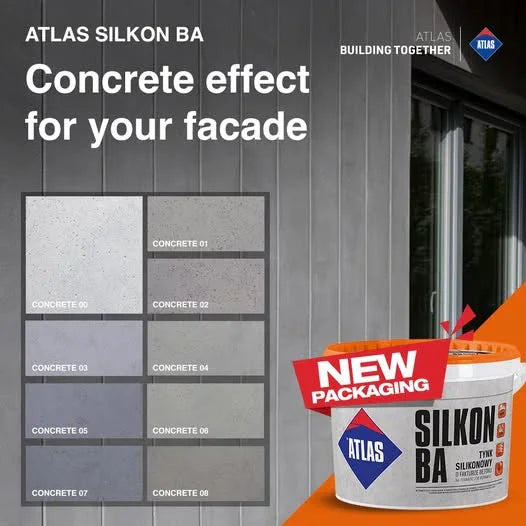
| Bare concrete texture, outside or in a wet room | Atlas Silkon BA Concrete Effect Render | Texture comes from the tool |
The stencil sets are named here by their pack. Ceresit's plaster data sheet and the Visage brochure give no sheet size, no count per pack and no covered area for them, so quantities come from the elevation and the bond you have chosen, never from a title. Where a tender needs the figure first, set out one panel and count from it.
How the Stencil Route Goes On
The brick face is the more exacting route, because the pattern is committed the moment plaster covers the mask.
- Prime, and tint the primer to the joint. The quartz primer supplies the mortar colour, so it is chosen against the joint you want rather than against the brick.
- Press the sheet down hard. A roller across the whole sheet stops plaster creeping under an edge and stops the sheet lifting as the float passes.
- Mask only what you will plaster now. Ceresit is explicit that sheets go on areas being covered straight away, not across an elevation in advance.
- Apply and texture in one pass. The plaster goes on with a steel float held at an angle and takes its texture immediately, smoothed with the same float.
- Lift the sheet, and mind the timing. The Ceresit data sheet says to remove stencils once the plaster has taken its initial set; the Visage brochure says to remove them while it is still wet. Two documents, one instruction each: work to the data sheet, and warn a crew that has only seen the brochure, because they will lift too early.
Two habits carry the rest. A sheet that has been peeled off is finished and is not moved onto another area. And a break in the work ends at the edge of a stencil, with the next session starting from that line, which is why a brick effect render is planned in panels rather than in hours. The brick and timber stencil guide takes the two-colour sequence further.
Where the Concrete Face Comes From Instead
Atlas Silkon BA carries no pattern to be masked. It is laid, then worked, and the look is decided by what the hand does next.
- Float alone — a smooth slab face.
- Coarse sponge roller or brush float — the pitted architectural-concrete surface.
- Bossage panels — scratched in against a level while the render is soft, or taped onto the first layer and pulled away right after the second.
It is the only render here that Atlas also scopes indoors, including under a shower. Atlas scopes it to walls rather than to horizontal surfaces that hold water, and to substrates that have been primed — over old ceramic tiles, with a dedicated primer first. The step-by-step concrete effect application guide covers the substrate side, and the tinted base the concrete-effect products are sold with is Atlas Base Coat Paint 10 L.
Why Order the Whole Facade From Renders World
- Tinted in house, to your order. Atlas and Ceresit are each tinted on their own mixer at Renders World, so the plaster and the primer under it are mixed together rather than ordered in separately.
- Two shades settled at once. A brick effect render needs the brick and the joint from two different tins, and mixing both in one place is what stops the joint colour arriving a week after the brick.
- Tinted material is made for your job. Because it is mixed to order it sits outside the 14-day change-of-mind return, so the pair is worth agreeing against a physical reference first.
- Delivery quoted after the order. Renders World prices the delivery once the order is known, and every delivery is kerbside.
- Collection in Southampton. Unit 9A, Central Trading Estate, SO14 5JP — Monday to Friday 7am to 5pm, Saturday 7am to 12pm — with the render tinted while you wait.
Which Route Fits Your Wall?
- Brick coursing on a sound, primed wall — a stencil set, the acrylic plaster and a quartz primer in the joint colour. Three lines on the order, not one.
- A bare concrete look — the silicone render on its own, since the texture comes from the tool rather than from a mask or a sealer stage.
- A timber grain — a different render, a different tool and a different finish; that route lives on the wood effect render shelf.
- A plain weatherproof colour — where the brief only asks for a coloured, durable elevation, a thin-coat silicone finish coat does it with none of the masking stages.
For most projects a brick effect render starts with one panel: a sheet, a bag of plaster and a primer in the joint shade, set out on a piece of wall before the scaffold goes up. Begin with CT60 Visage Acrylic Render 0.5 mm, the plaster both stencil sets are made for.
Questions Before You Order
How many stencil sets does an elevation take?
That comes from the wall, not from the pack name: Ceresit publishes no sheet size and no covered area for either set, in its plaster data sheet or in the Visage brochure. Measure the face, set out one panel in the bond you want, and count from there. Sheets are not reused once peeled, so the count covers the whole job.
Which products belong together?
The stencil sets and the acrylic plaster are one system, and the quartz primer under them is part of it because it supplies the joint colour. Atlas Silkon BA is not in that chain — it makes its texture with the float and needs no mask, no stencil and no sealer stage.
Brick coursing or bare concrete?
Brick where the elevation has to sit beside real brickwork or stand in for it; bare concrete where the drawing asks for a monolithic face. They differ in labour as much as in looks: a brick effect render commits the pattern in one pass and needs its panels planned in advance, while the trowelled face can be worked and reworked until the texture is right.
What walls can take these finishes?
Both are thin decorative coats and both need a sound, even, dry and primed substrate — masonry, concrete, or a reinforced basecoat that has cured. Neither is a repair for a wall that is loose, crumbling or drawing damp — that is put right first.
How is a brick effect facade looked after?
By inspection and gentle cleaning rather than by recoating, like any thin-coat finish. Growth and staining come off with the right concentrate before they take hold; those products sit with the aftercare on the render systems range page.