WALL PRIMERS
10 products
Showing 1 - 10 of 10 products
How to choose
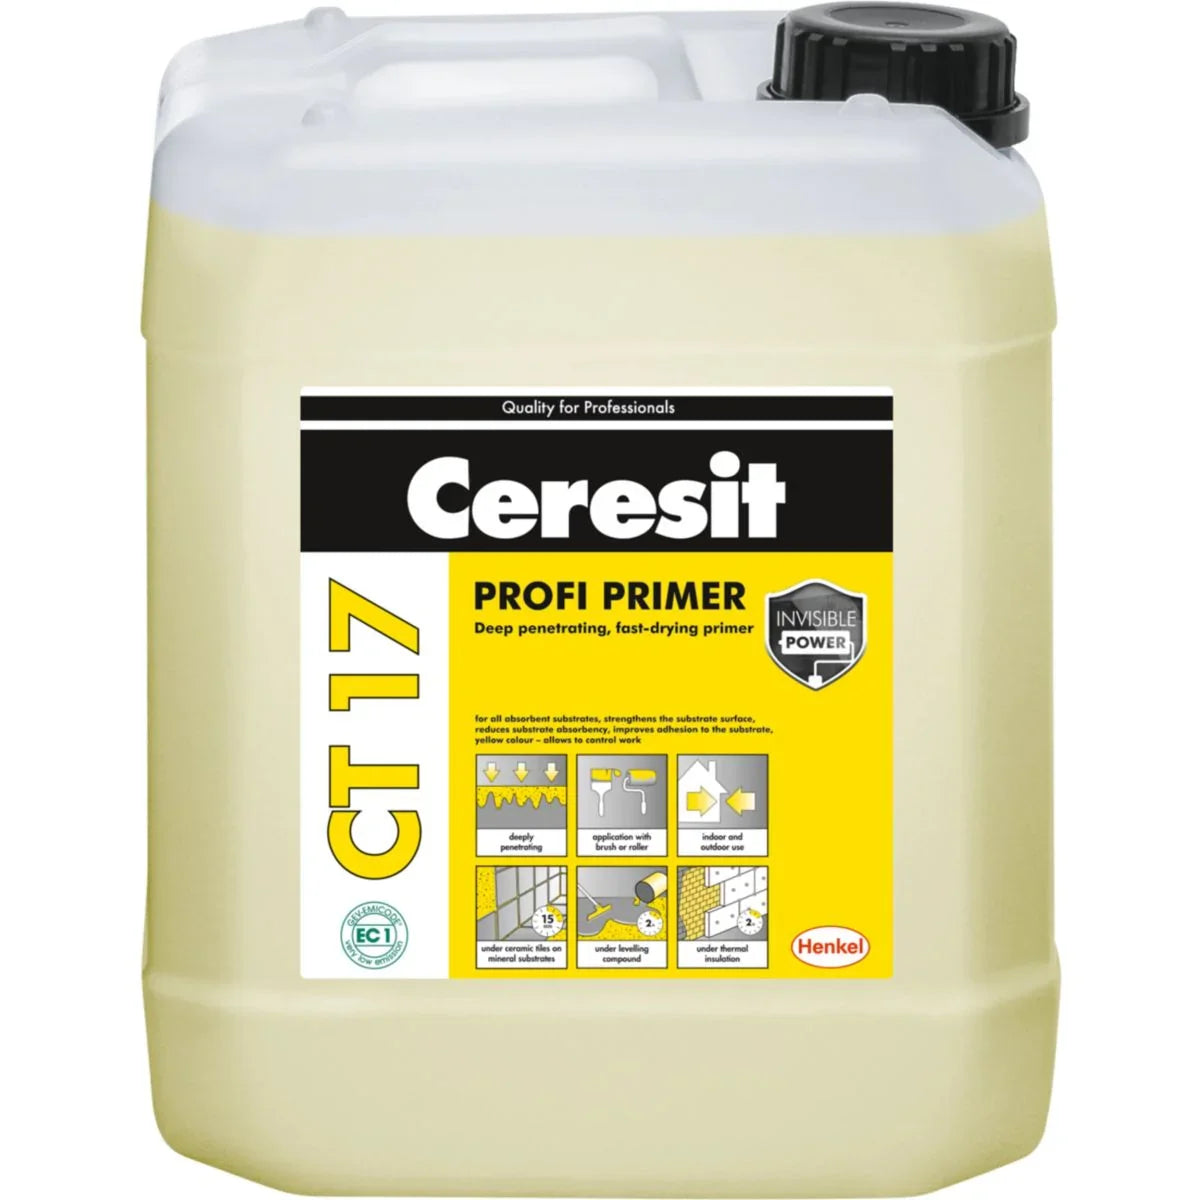
- What are you priming?Bare, absorbent wall: Ceresit CT 17 ProfiGypsum, anhydrite or dense concrete: Atlas Uni-Grunt UltraTiles, OSB or terrazzo: Atlas Ultragrunt
- What goes on top?Ceresit thin-coat render: Ceresit CT 16Atlas thin-coat render: Atlas CerplastPaint indoors: Atlas Base Coat Paint
- How big is the job?One wall or a few rooms: Atlas Uni-Grunt 5 kgLarge areas: Atlas Uni-Grunt Ultra, diluted on site
- Quick picksMost bought: Ceresit CT 17 ProfiKey coat under Ceresit renders: Ceresit CT 16Key coat under Atlas renders: Atlas Cerplast
A render primer prepares the wall so the next layer bonds and dries evenly. This range holds two kinds that do different jobs: penetrating primers, which soak into bare, absorbent masonry and even out its suction, and quartz primers, which go on last, over a cured base coat, and give a thin-coat render a rough surface to grip. Pick the render primer by what it goes onto and what goes over it.
Where Each Render Primer Sits in the Build-Up
- Bare brick, block, concrete or plaster. A penetrating primer soaks in, binds loose grains and lowers suction, so render, adhesive or skim does not dry out in patches.
- A cured, mesh-reinforced base coat. A quartz primer leaves a fine, rough film for the render to hold and evens out the colour underneath.
- A typical insulated wall. Penetrating primer on the masonry, adhesive and boards, the reinforced layer, a quartz primer, then the finish, such as a silicone render.
The two kinds of render primer never stand in for each other. Ceresit's own instructions send absorbent backgrounds to a penetrating primer first and put the quartz primer on top of it once dry.
Choose by Wall and Finish
| What you are priming | Primer | What it does |
|---|---|---|
| Absorbent masonry, gypsum, anhydrite or aerated concrete | Ceresit CT 17 Profi | Penetrating primer, yellow so missed patches show |
| Absorbent mineral walls, inside and out | Atlas Uni-Grunt (10 kg) or Atlas Uni-Grunt 5 kg | Penetrating emulsion, used neat or diluted with water |
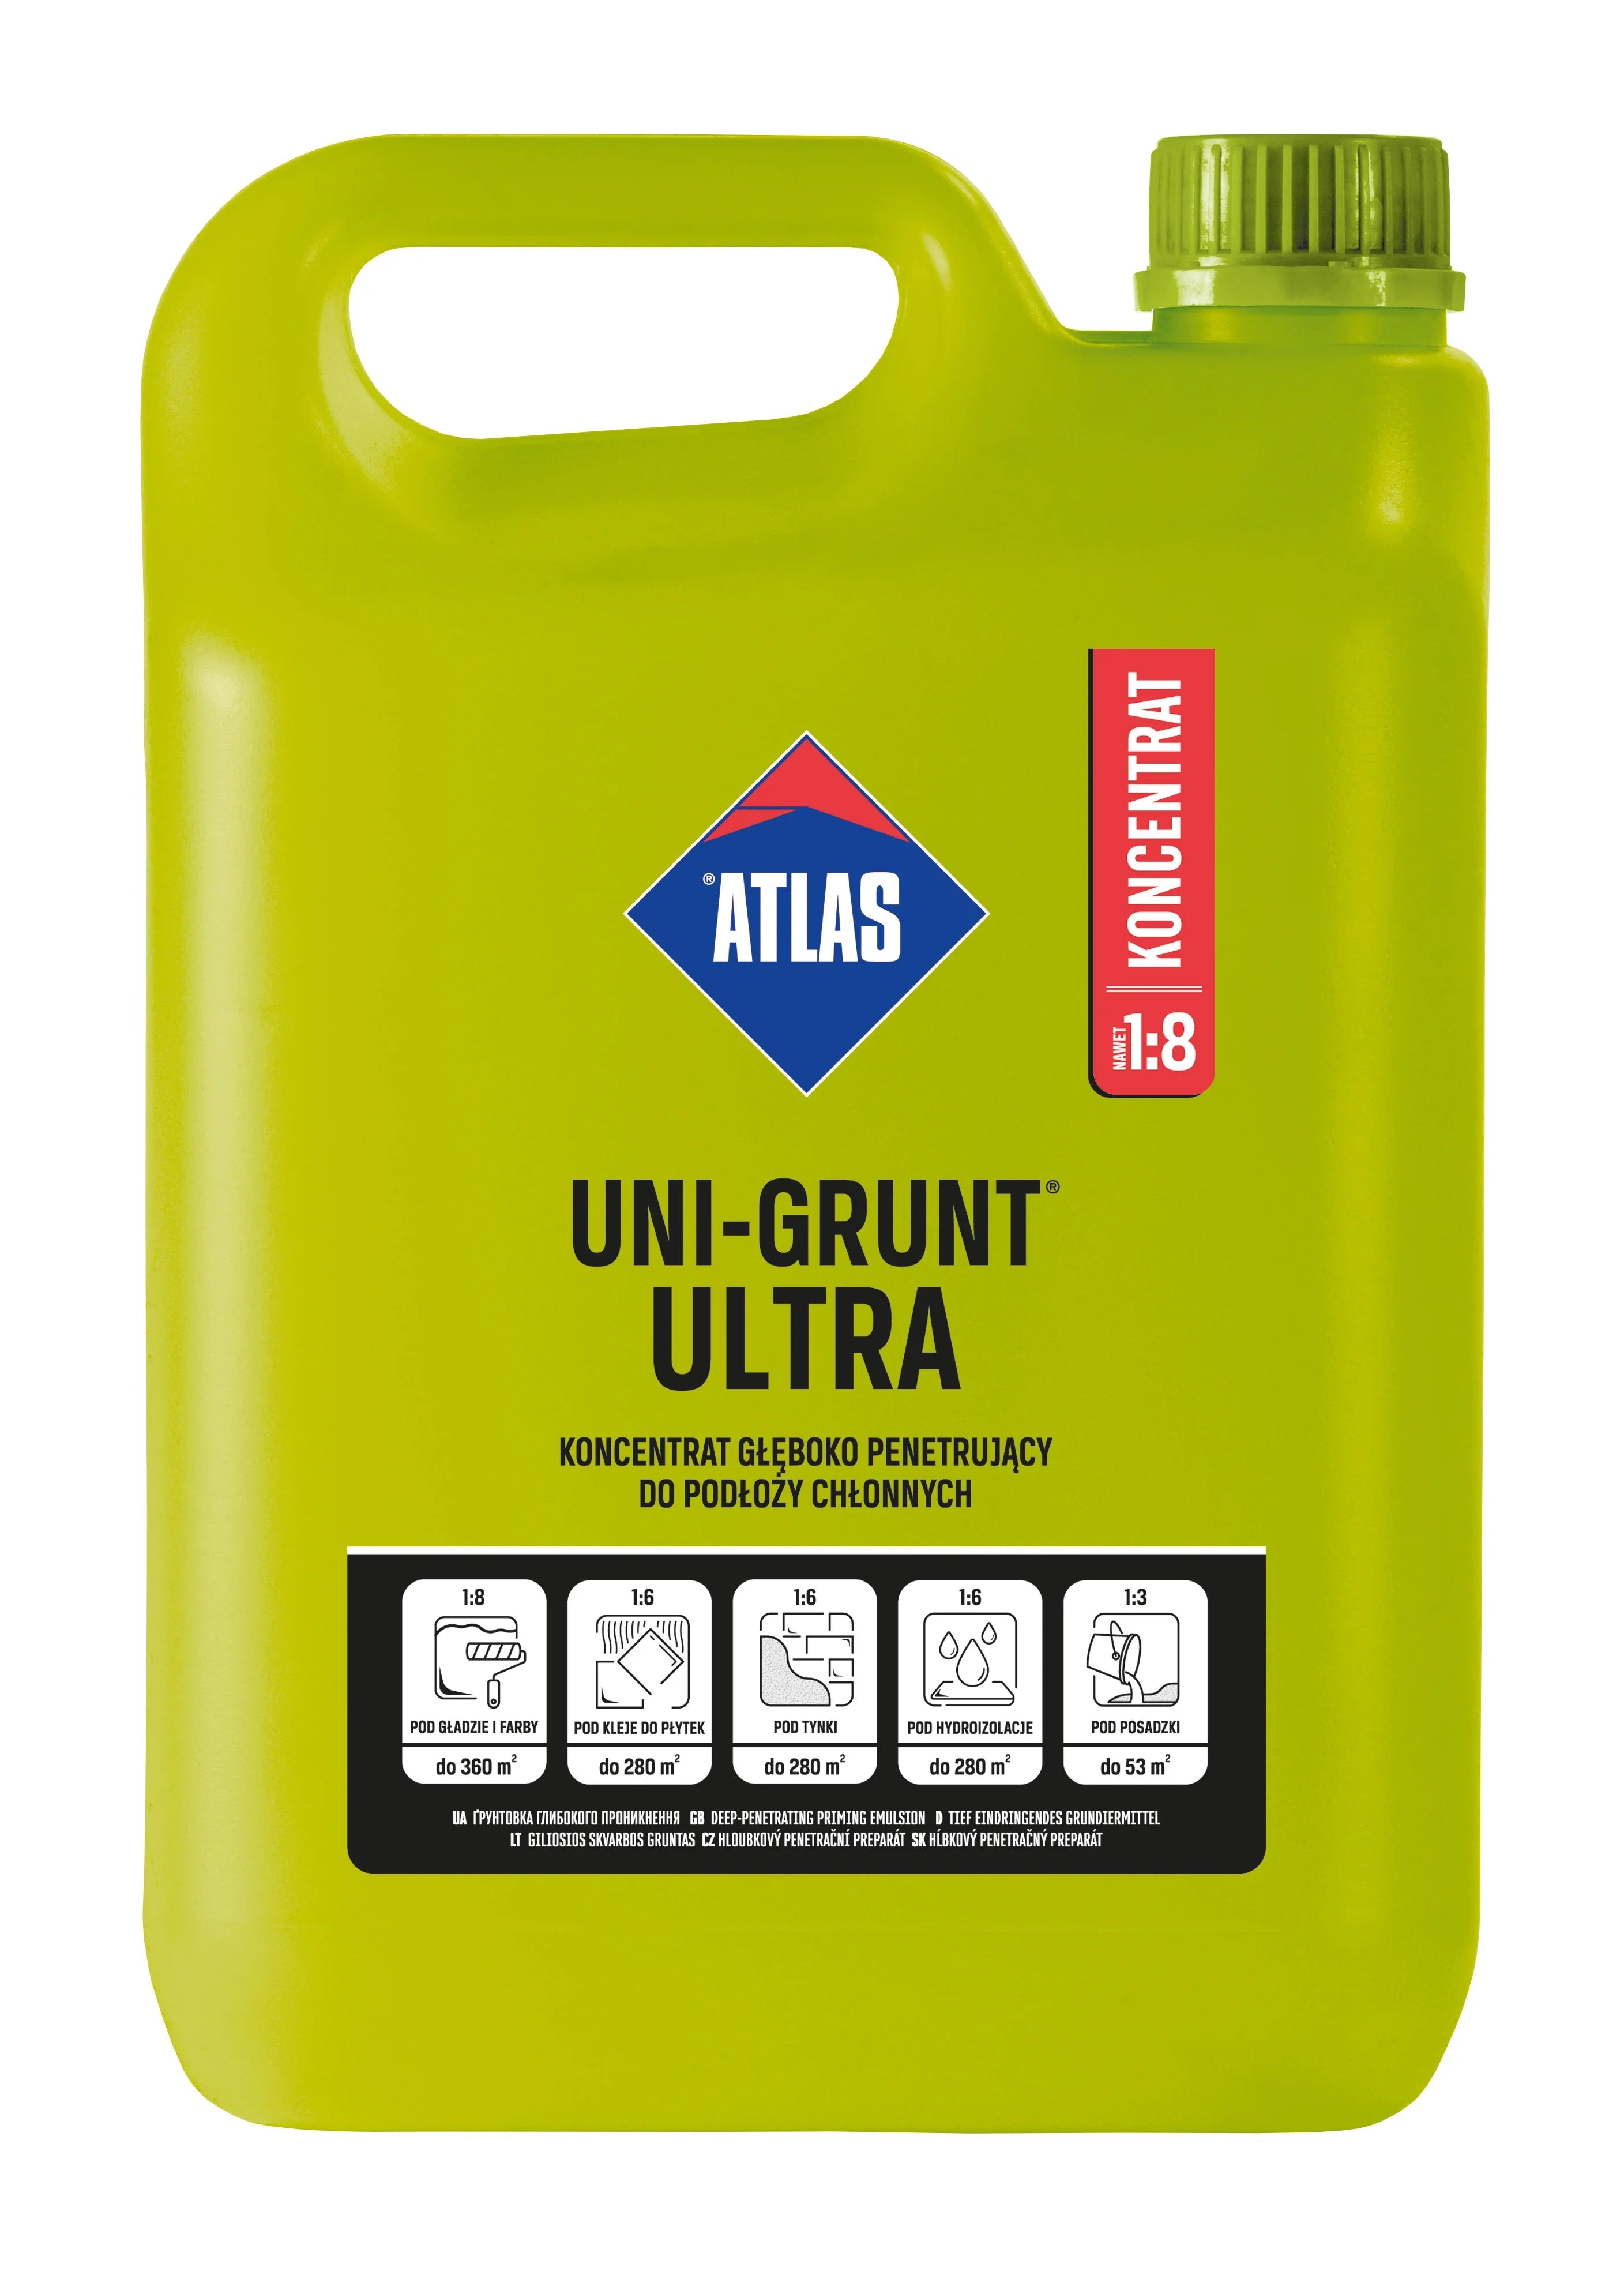
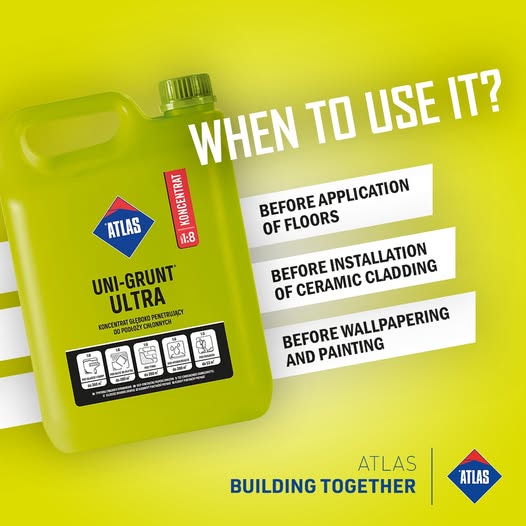
| Large areas, mixed on site | Atlas Uni-Grunt Ultra | Concentrate, diluted on site for the job |
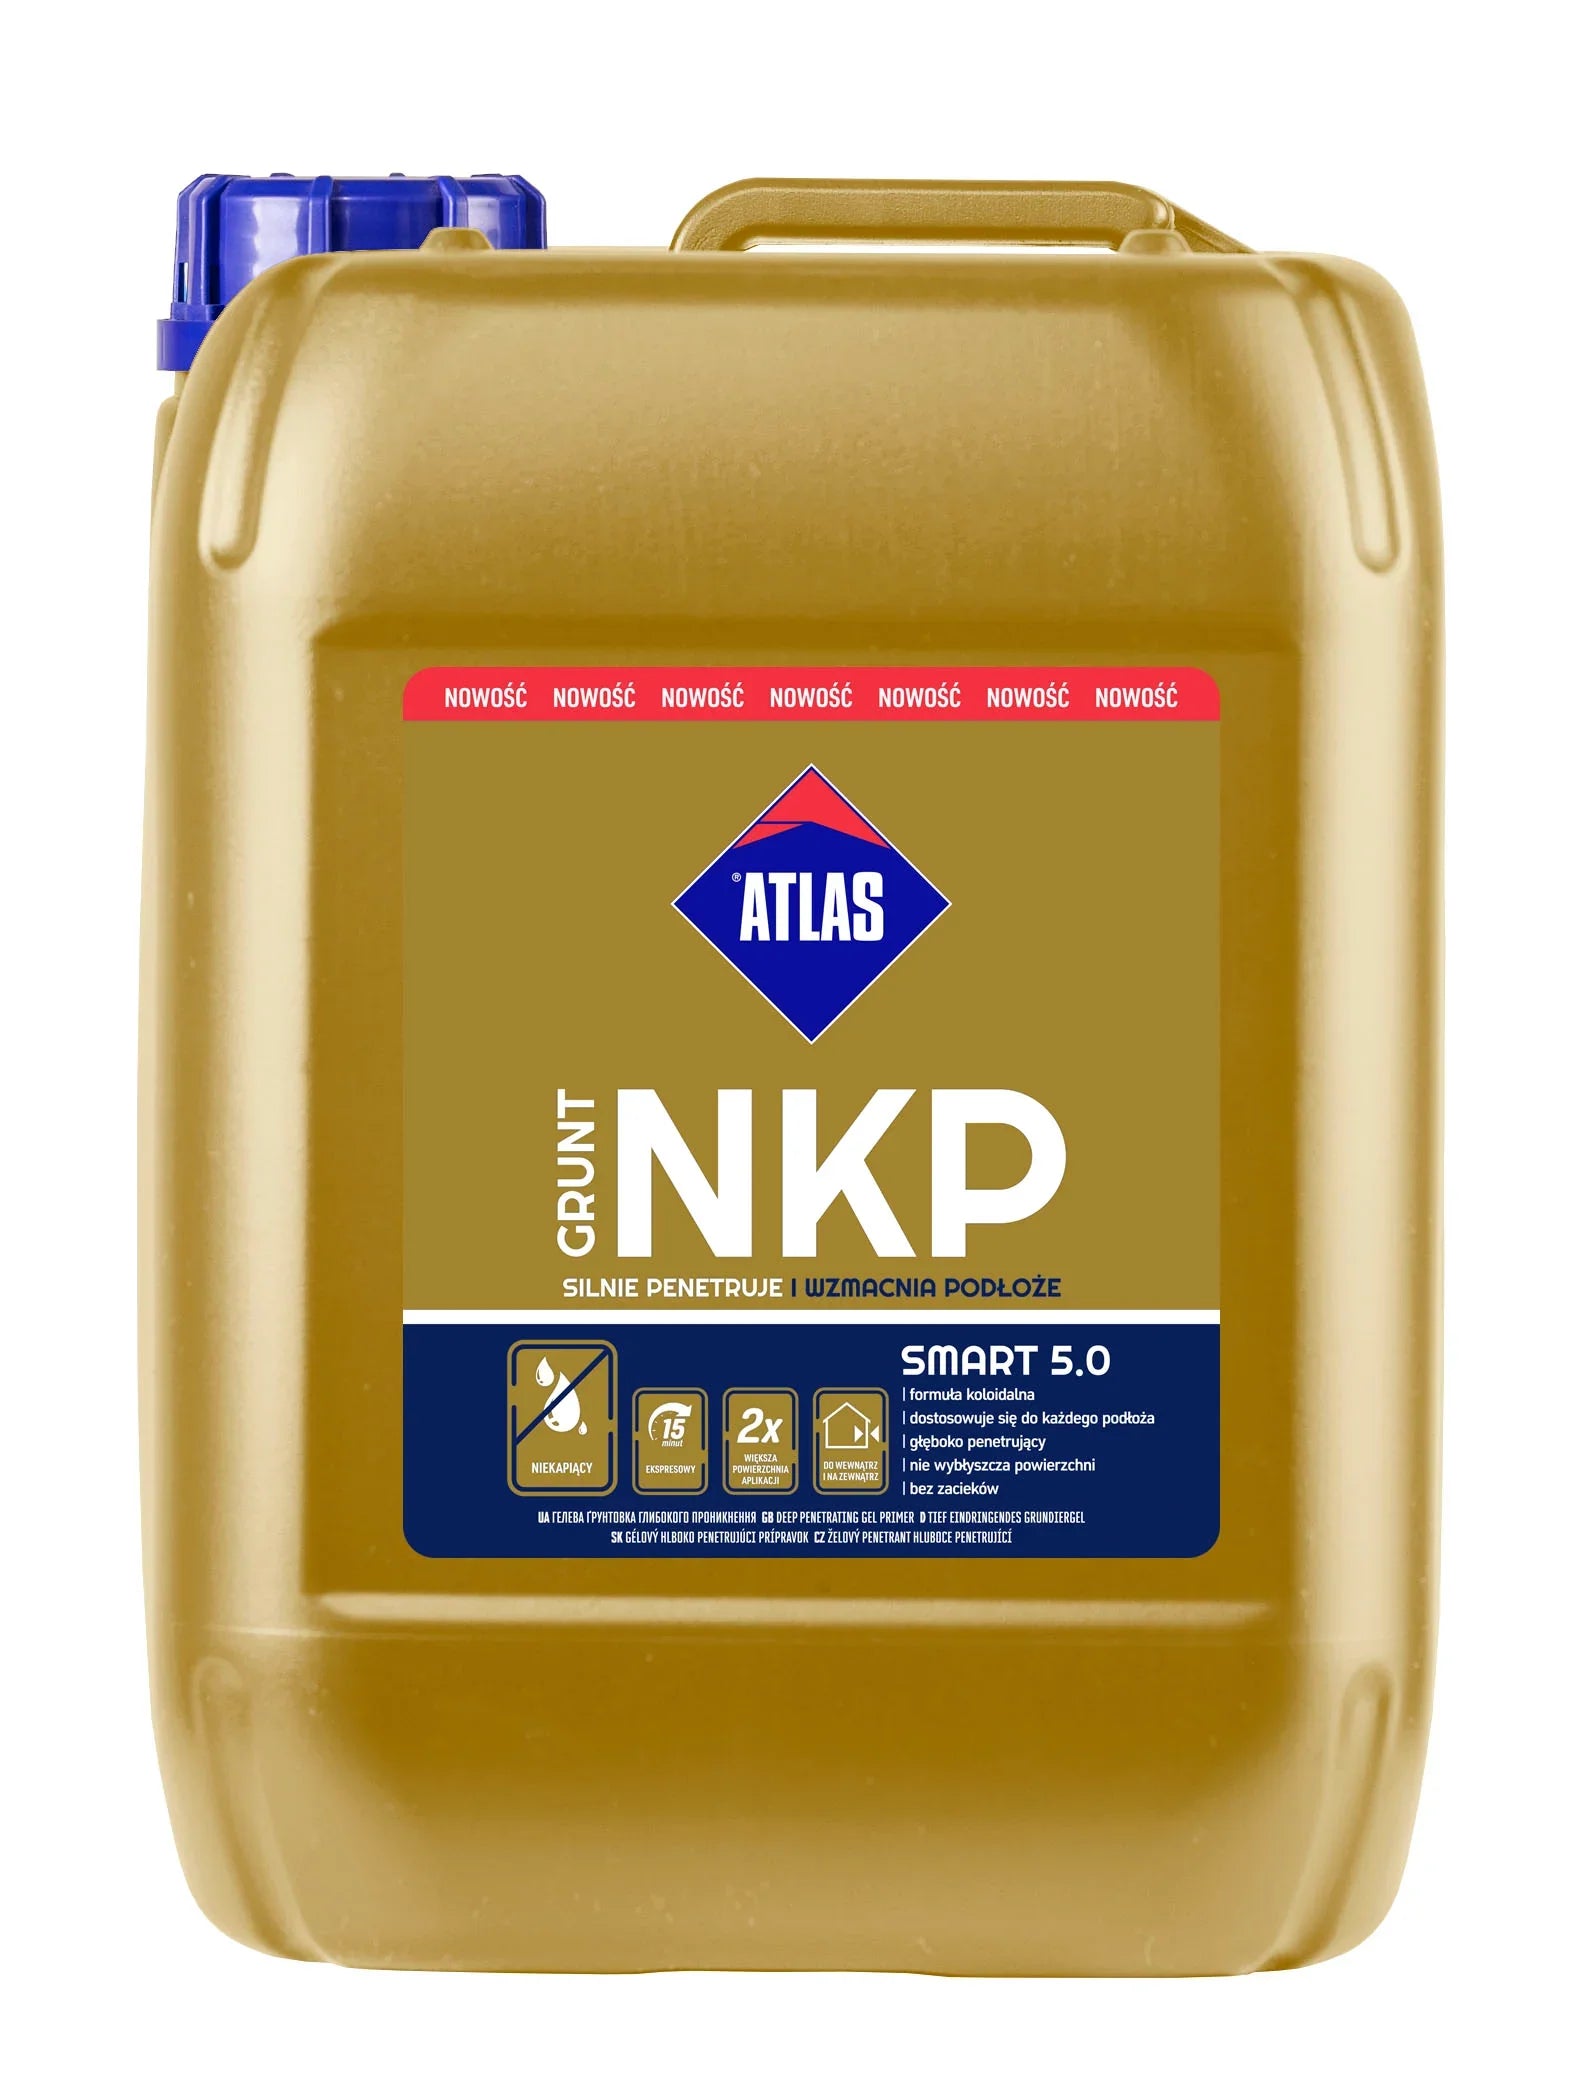
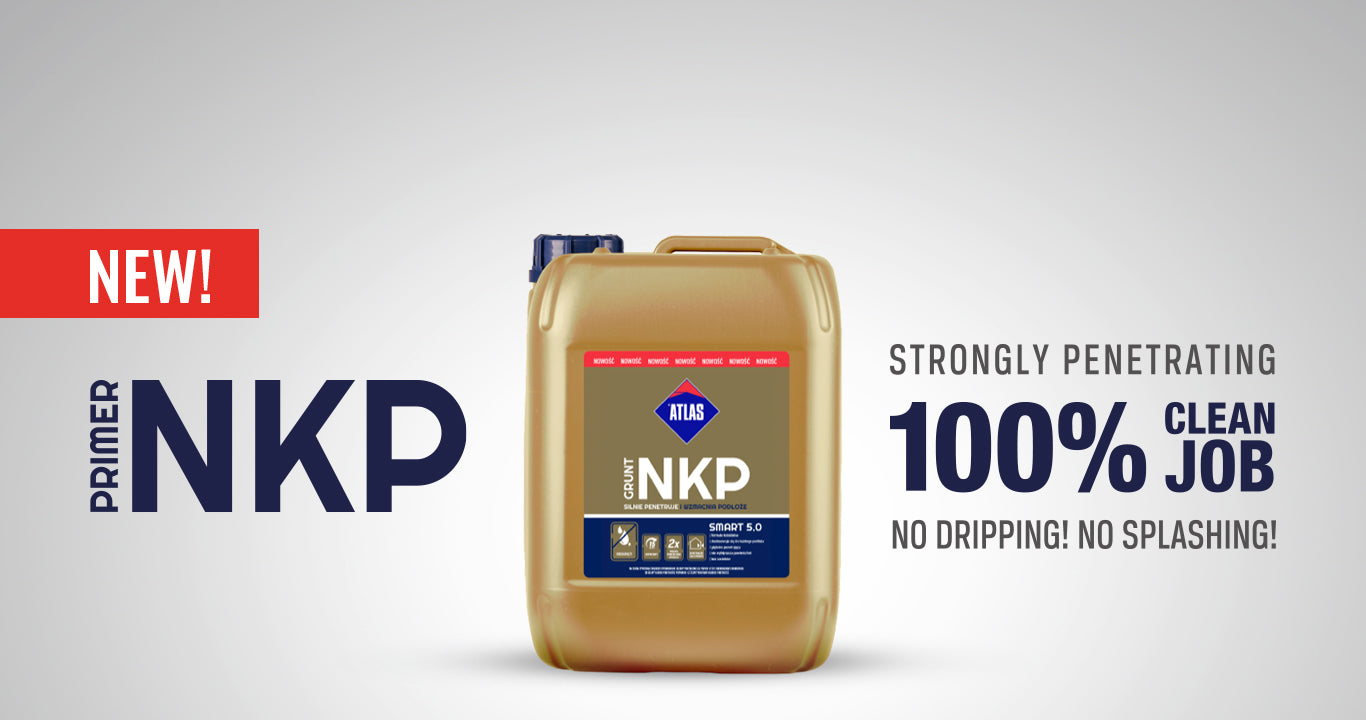
| Walls and ceilings where drips and splashes matter | Atlas NKP | Ready-to-use gel primer that does not drip |
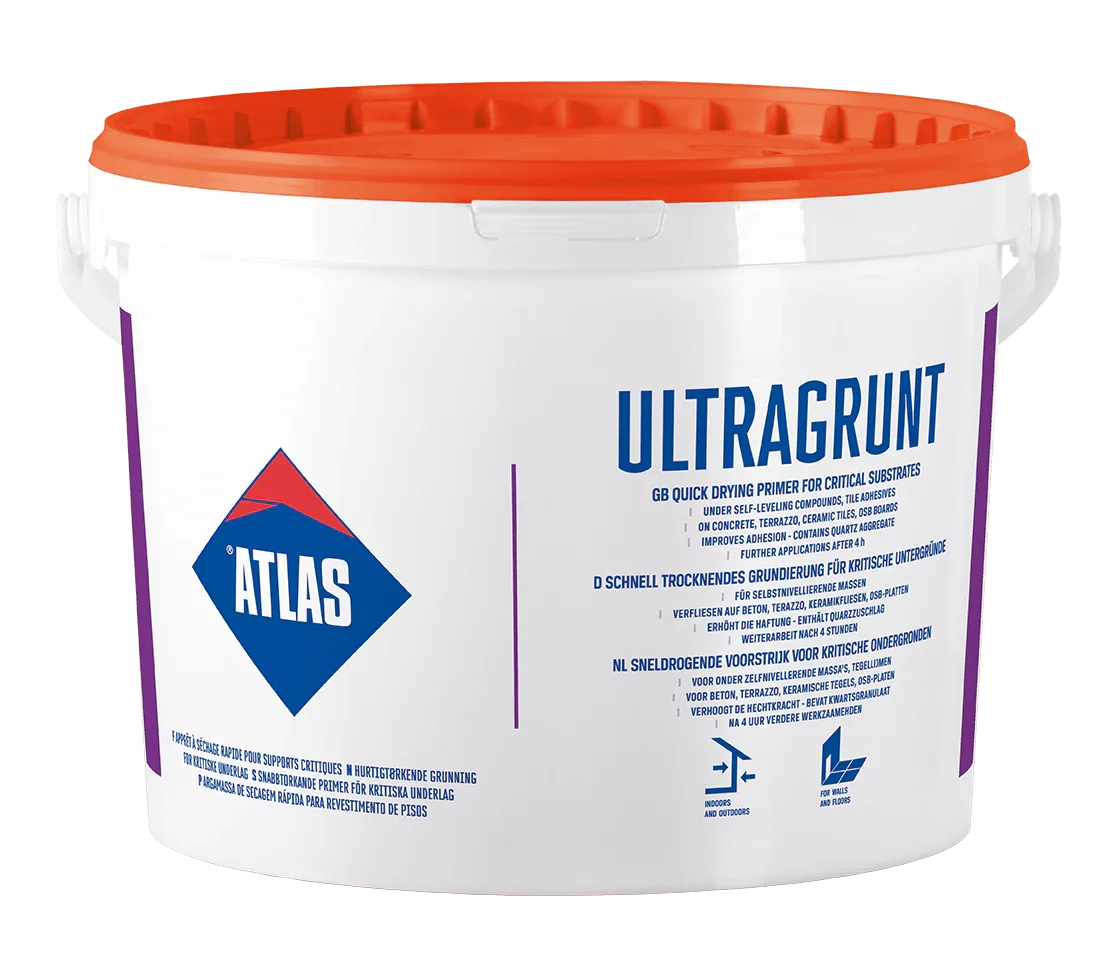
| Tiles, terrazzo, OSB and smooth concrete | Atlas Ultragrunt | Quartz-filled primer for non-absorbent backgrounds |
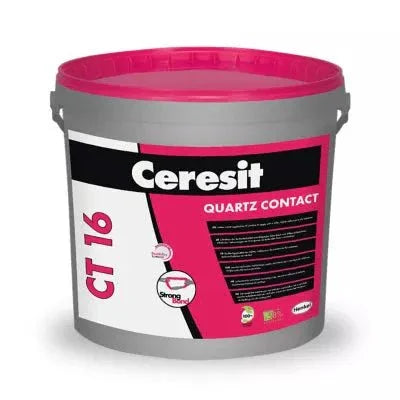
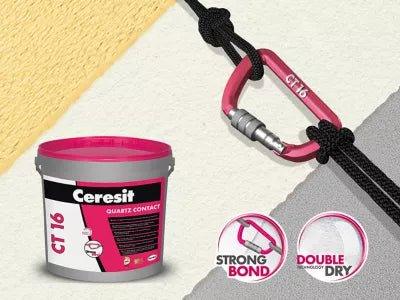
| Base coat under a Ceresit thin-coat render | Ceresit CT 16 | Quartz primer, used as supplied |
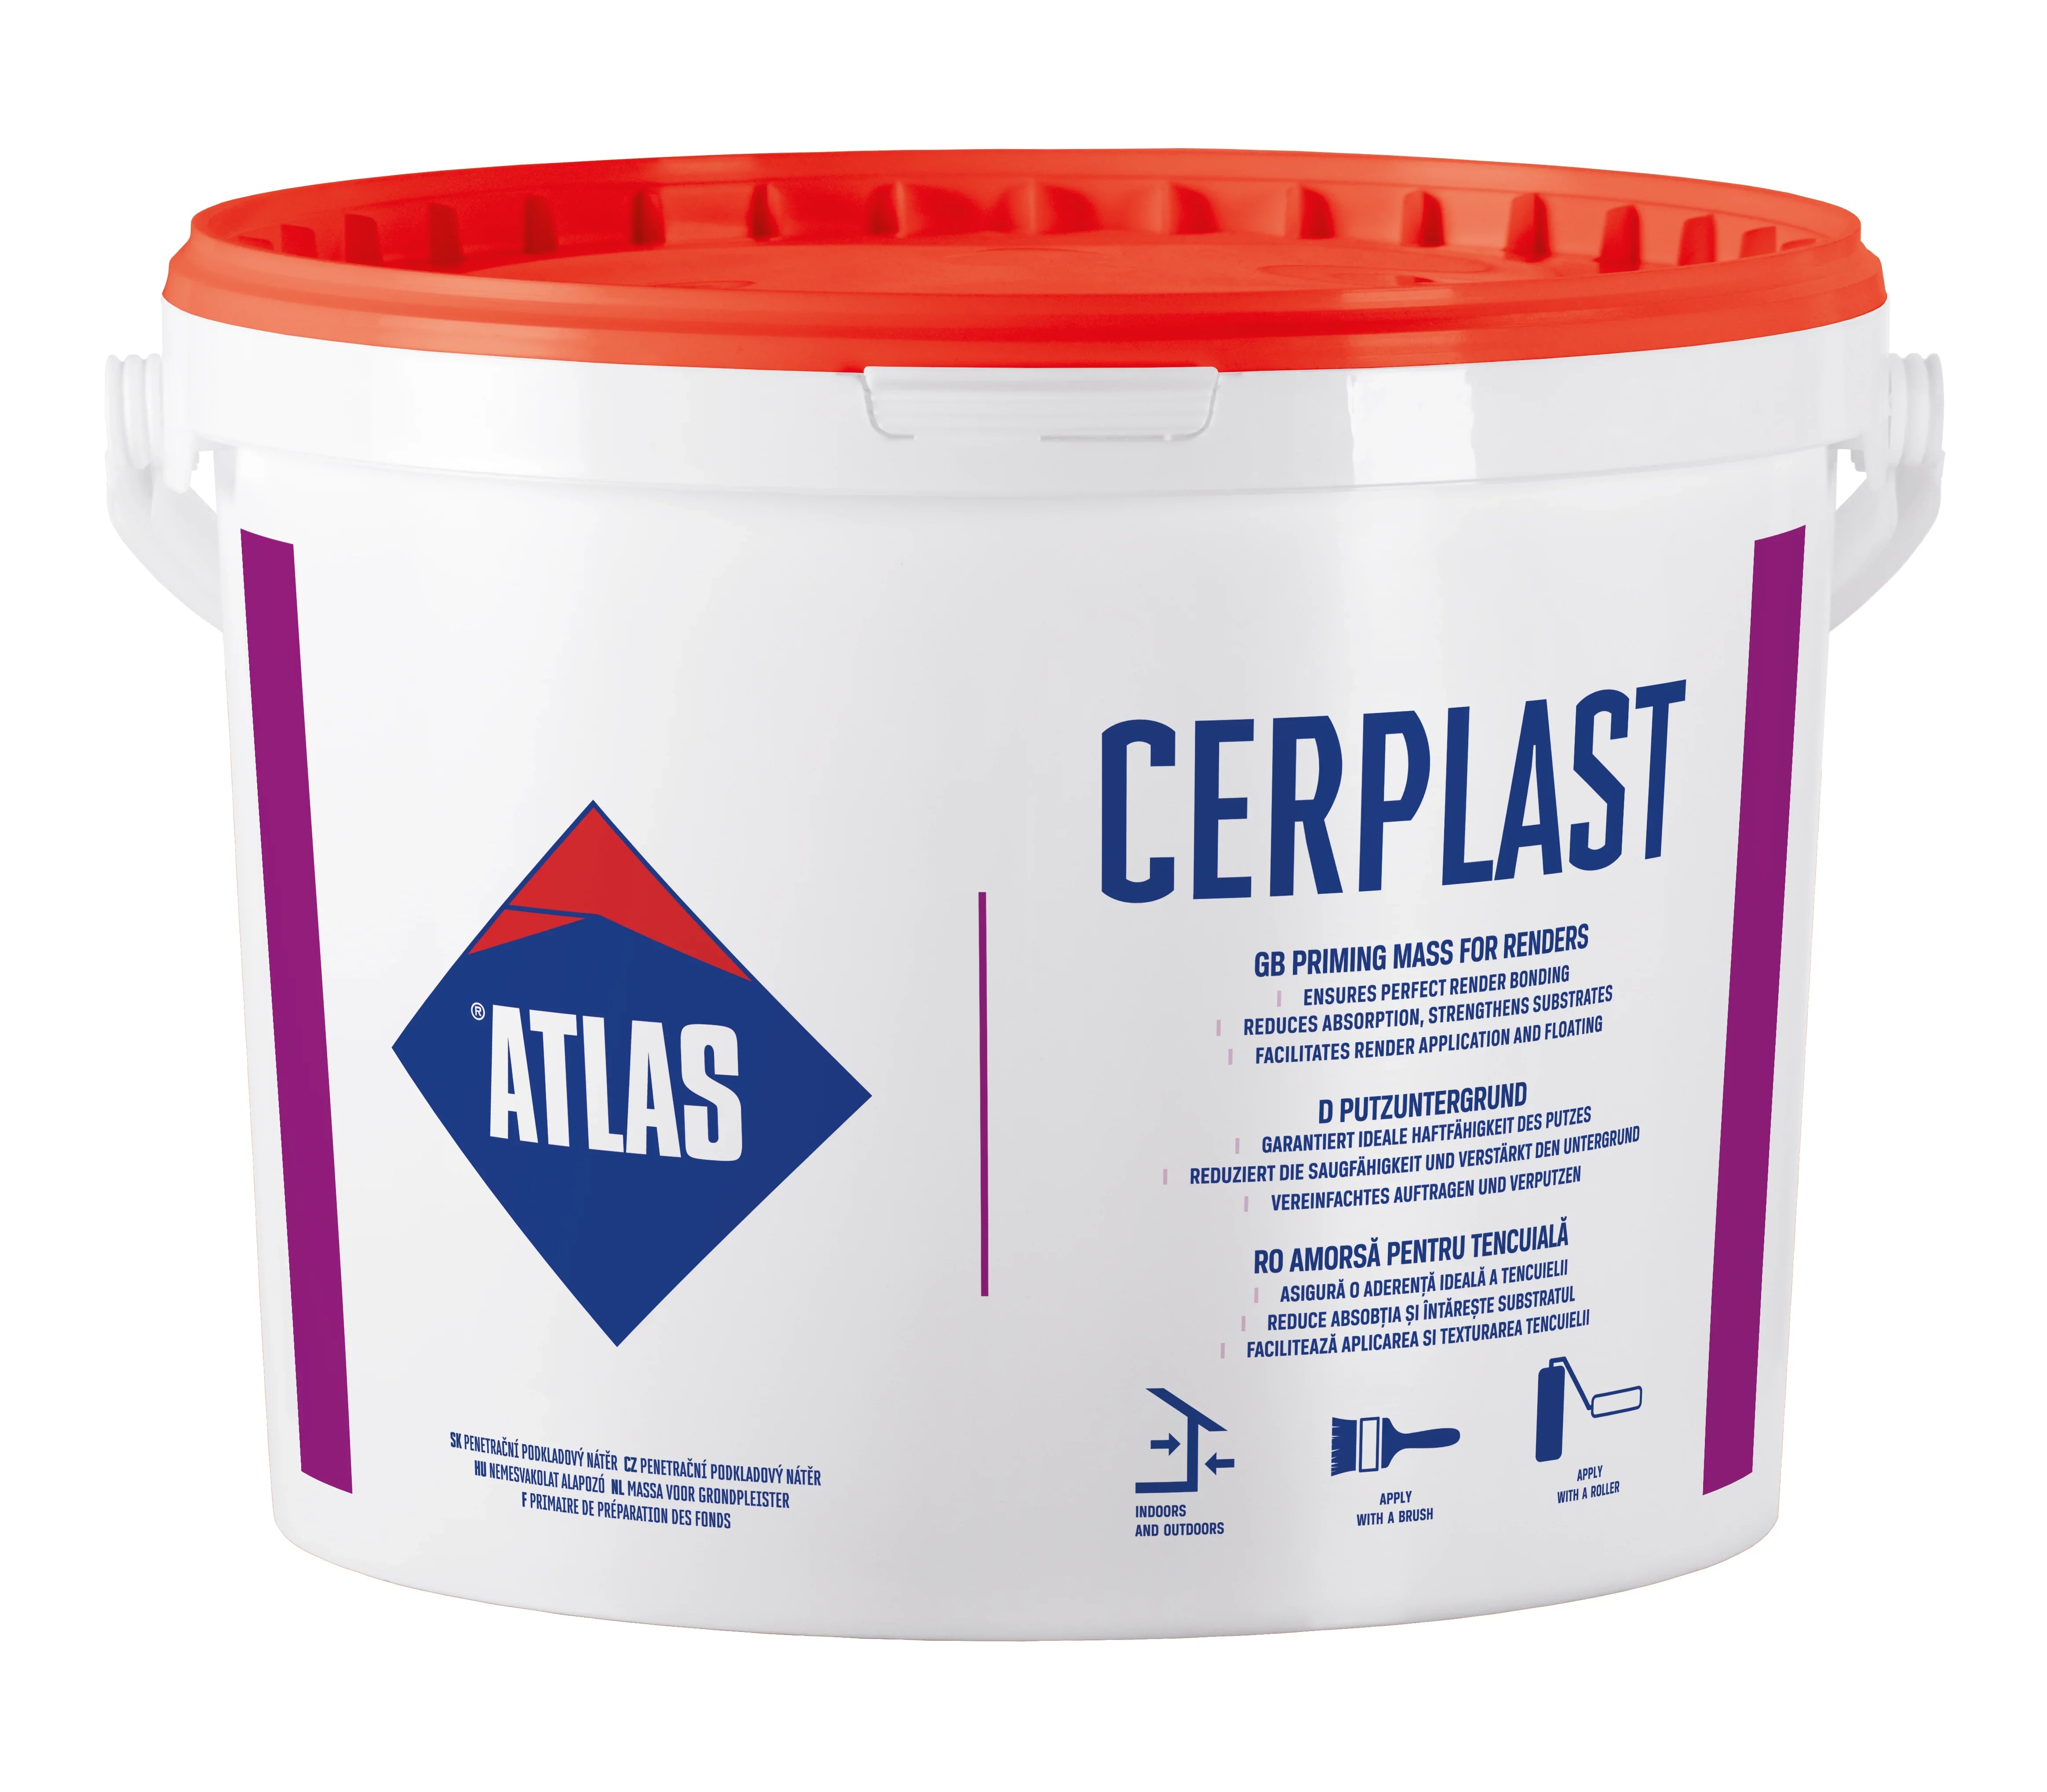
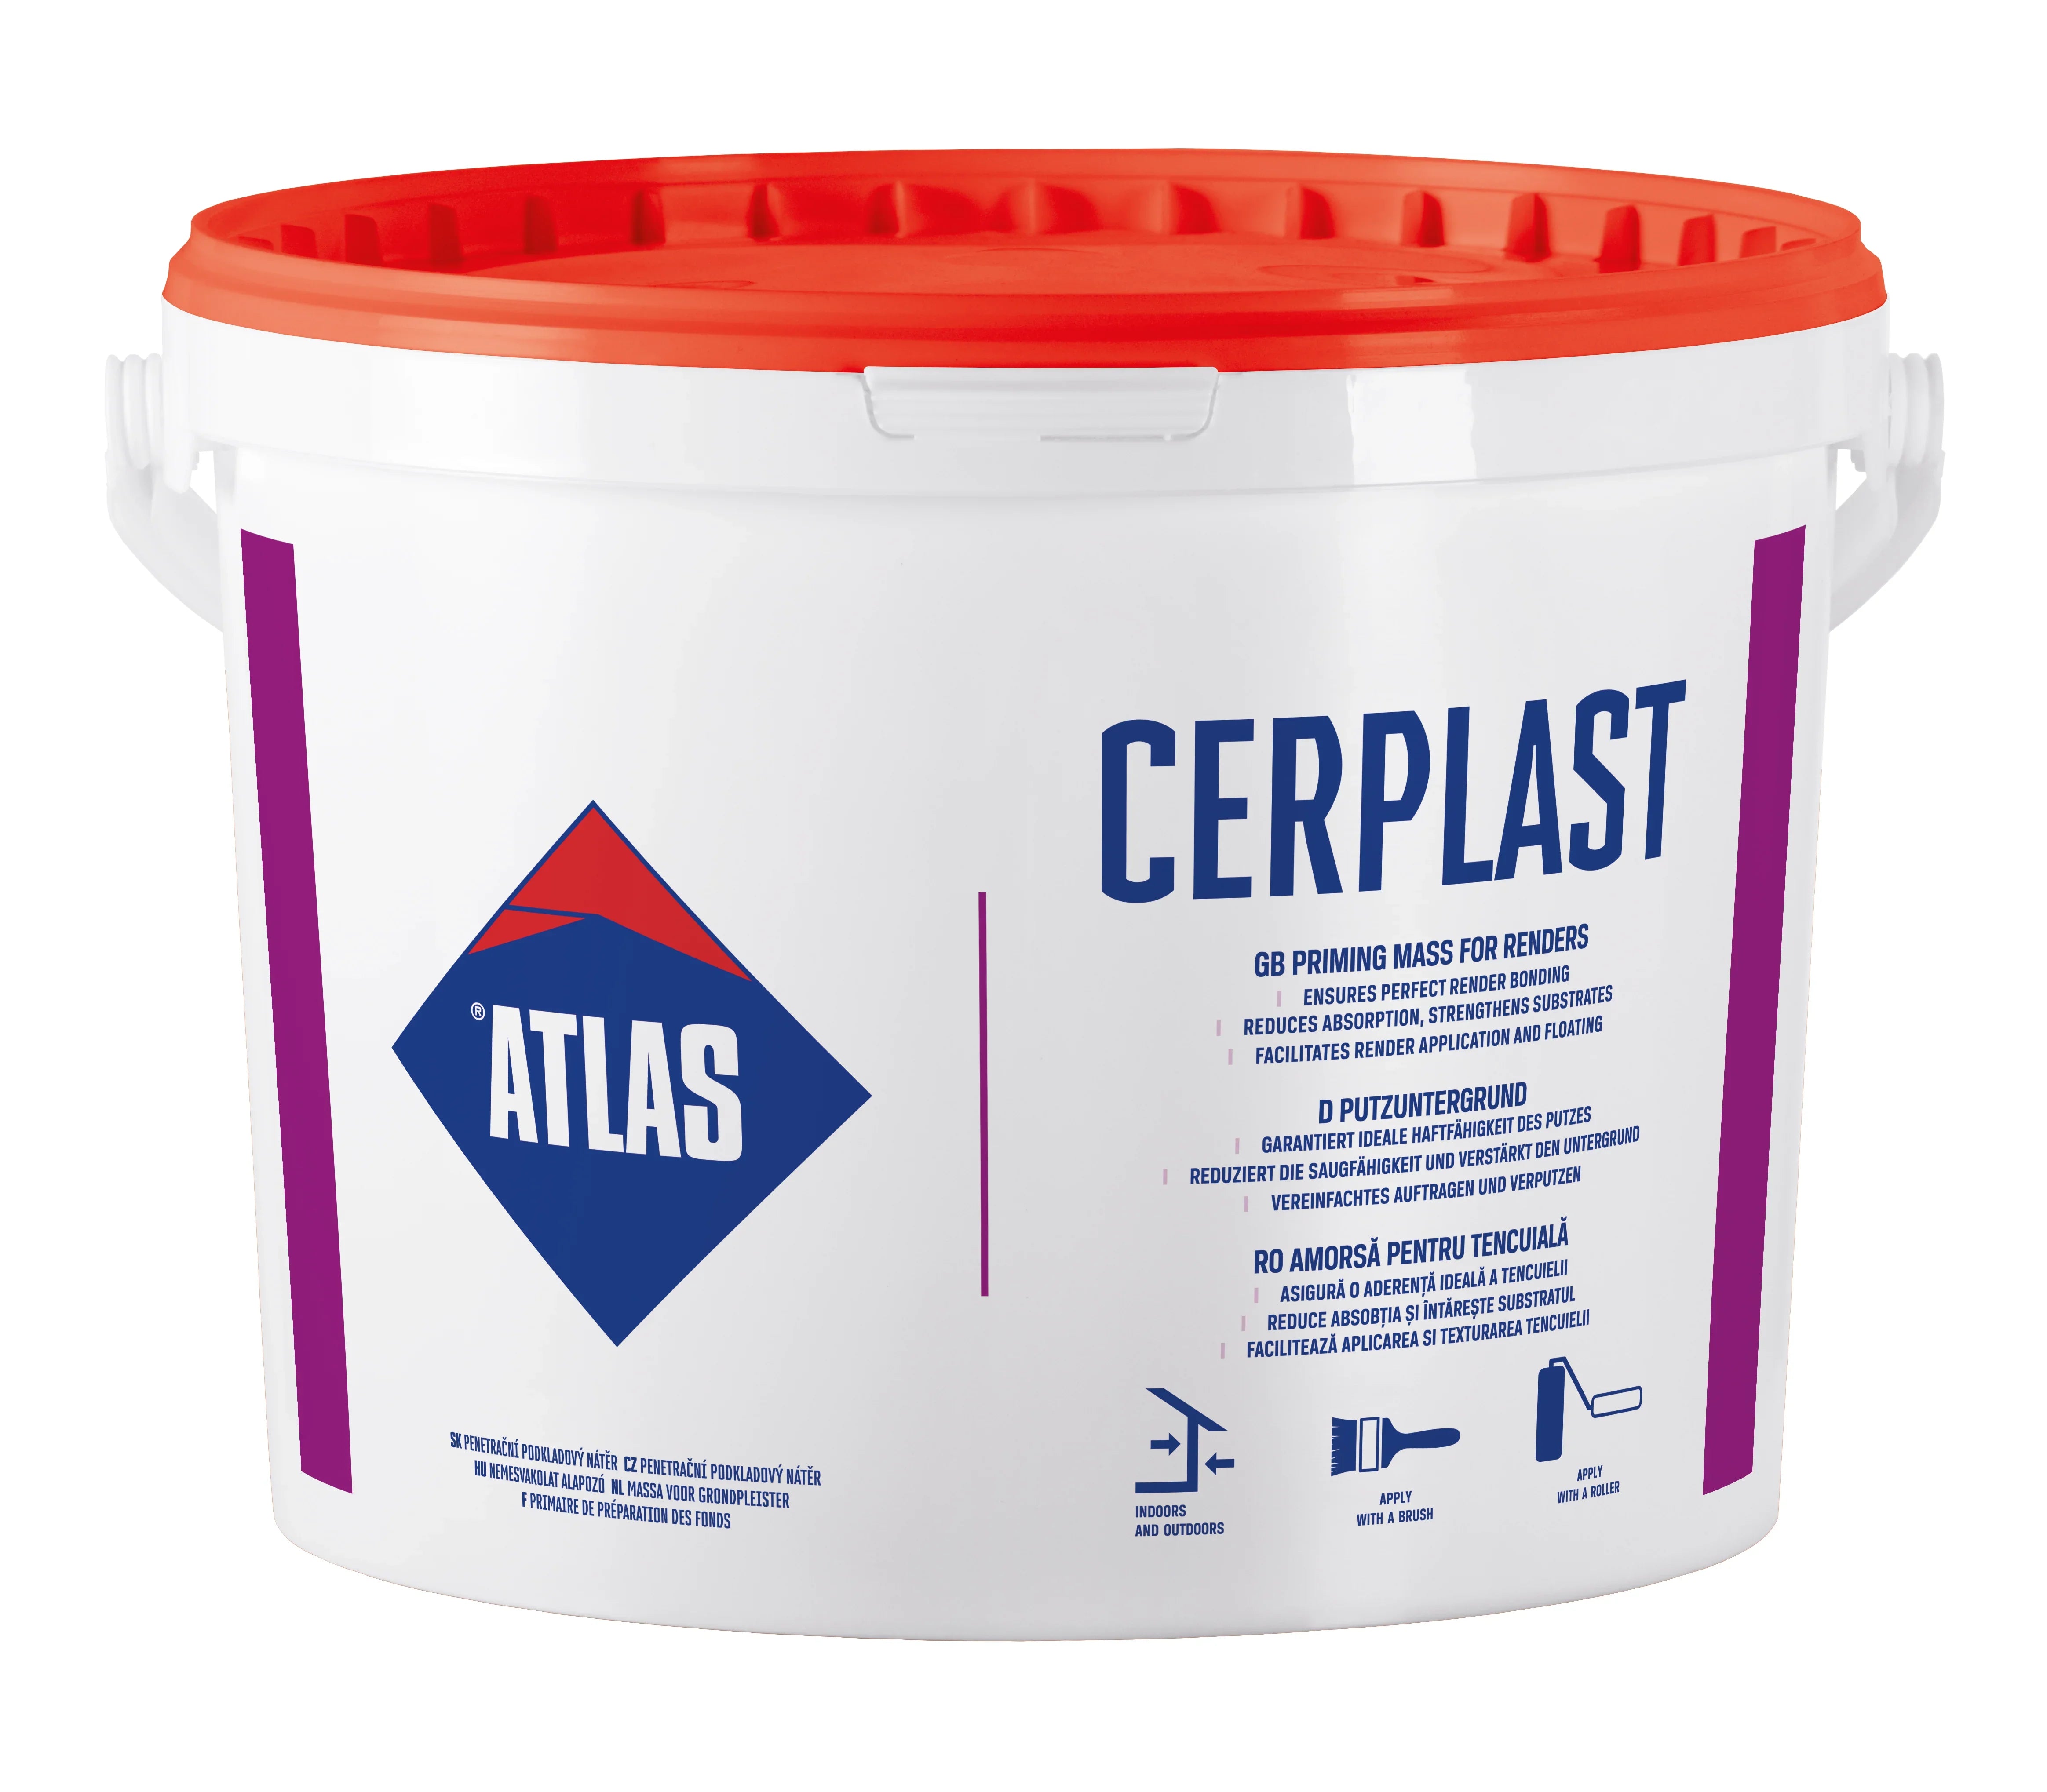
| Base coat under an Atlas thin-coat render | Atlas Cerplast 25 kg or 15 kg | Quartz primer, tintable to the render colour |
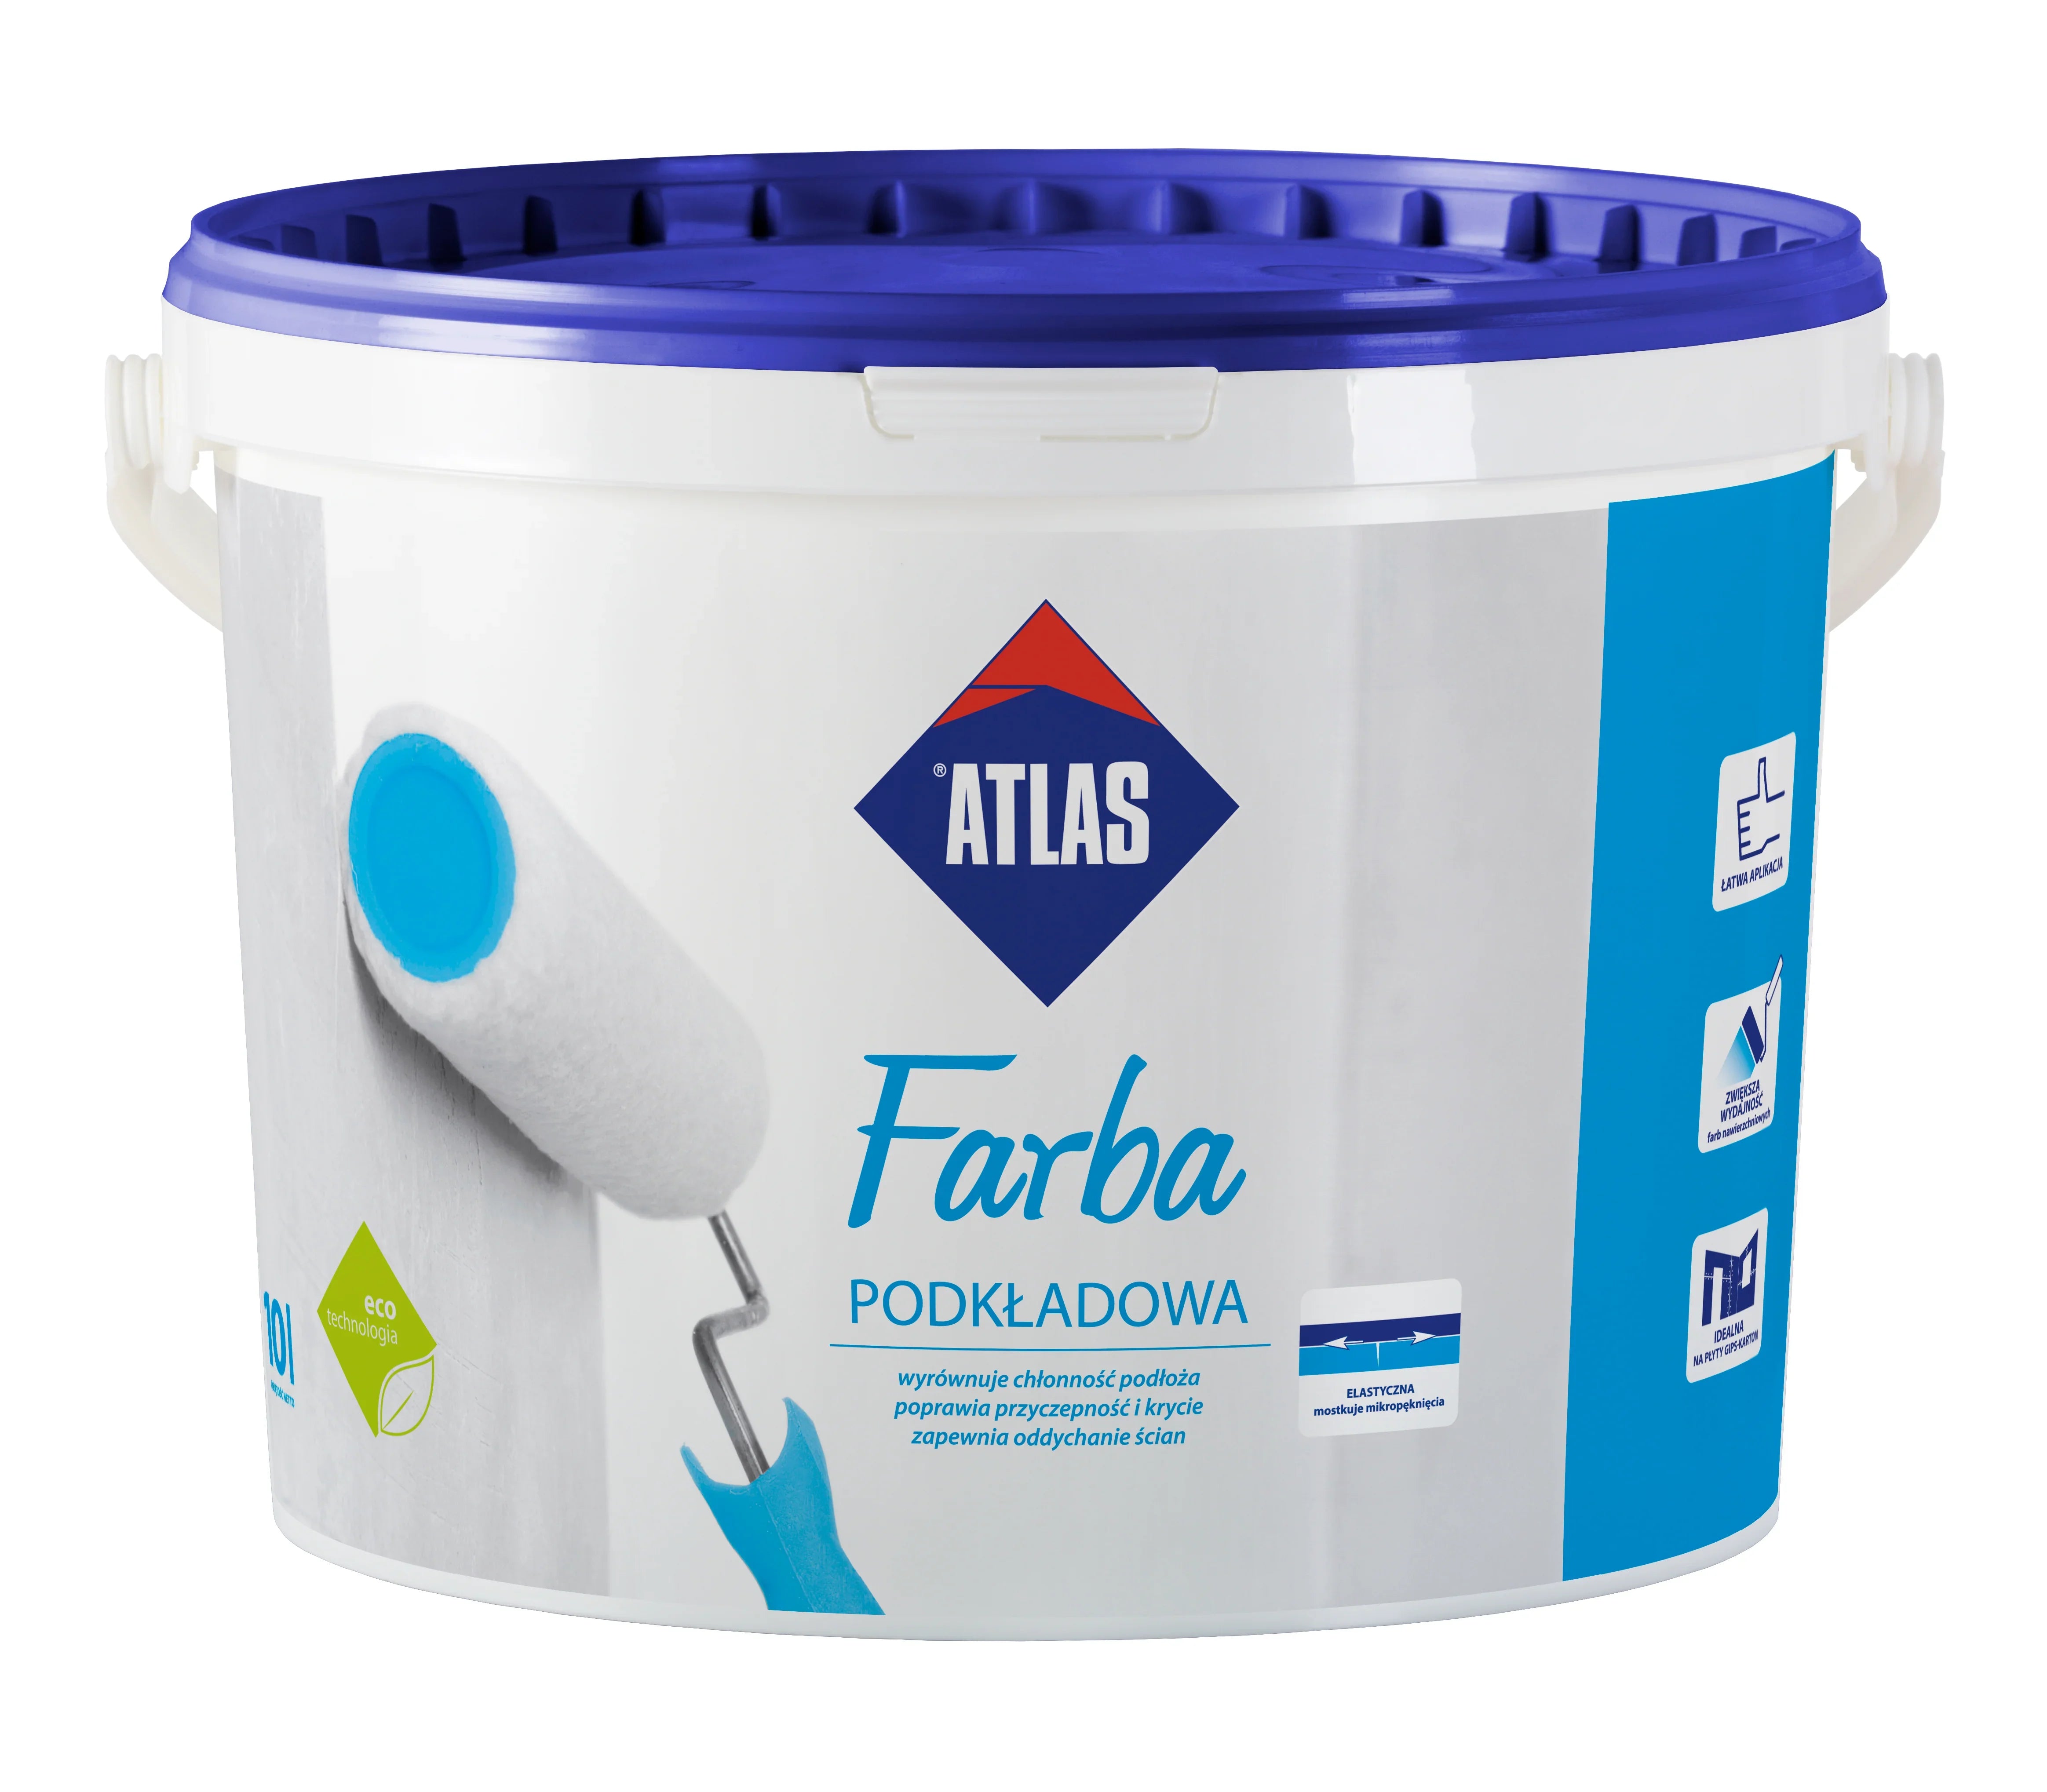
| Interior walls and ceilings before paint | Atlas Base Coat Paint | White acrylic base coat for indoor painting |
Penetrating Primers for Bare, Absorbent Walls
A penetrating primer goes on early, straight onto the wall. It soaks in, binds the surface and lowers suction, so the next layer keeps its water long enough to set.
- Ceresit CT 17 Profi is coloured yellow, so you can see where you have been. Ceresit names gypsum, anhydrite and aerated concrete as the backgrounds it is most recommended for. It dries in about 2 hours.
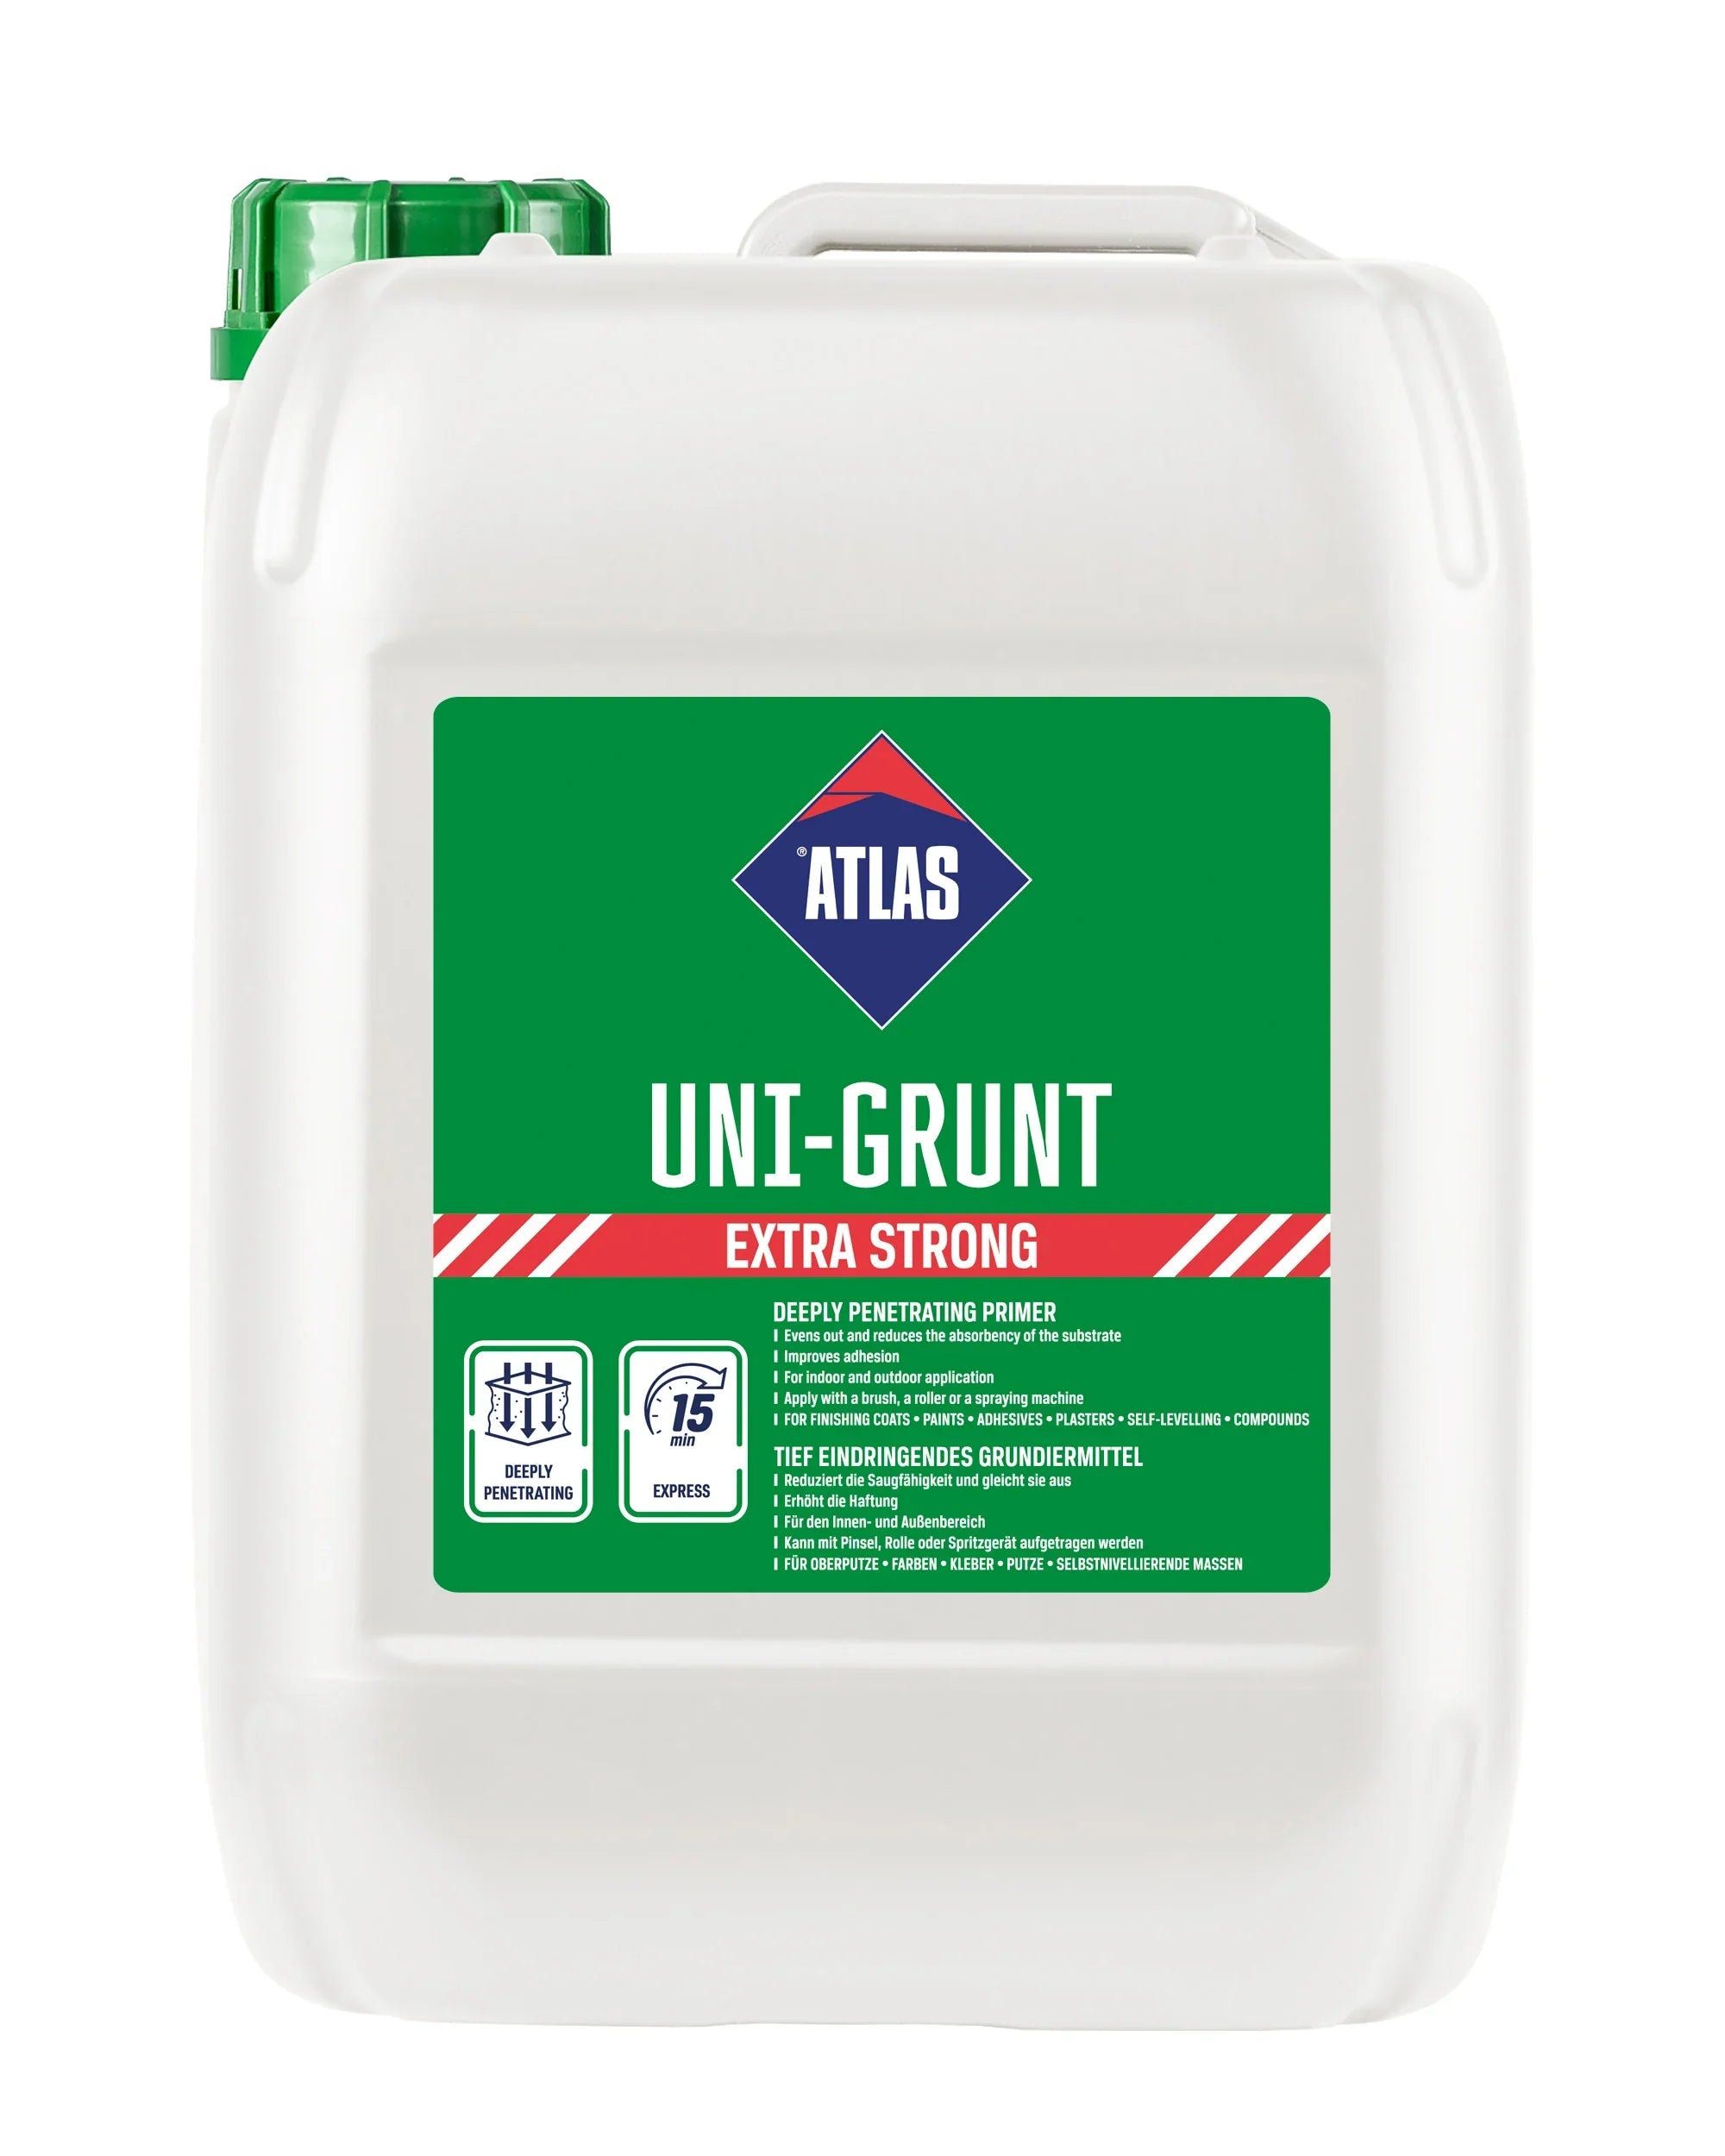
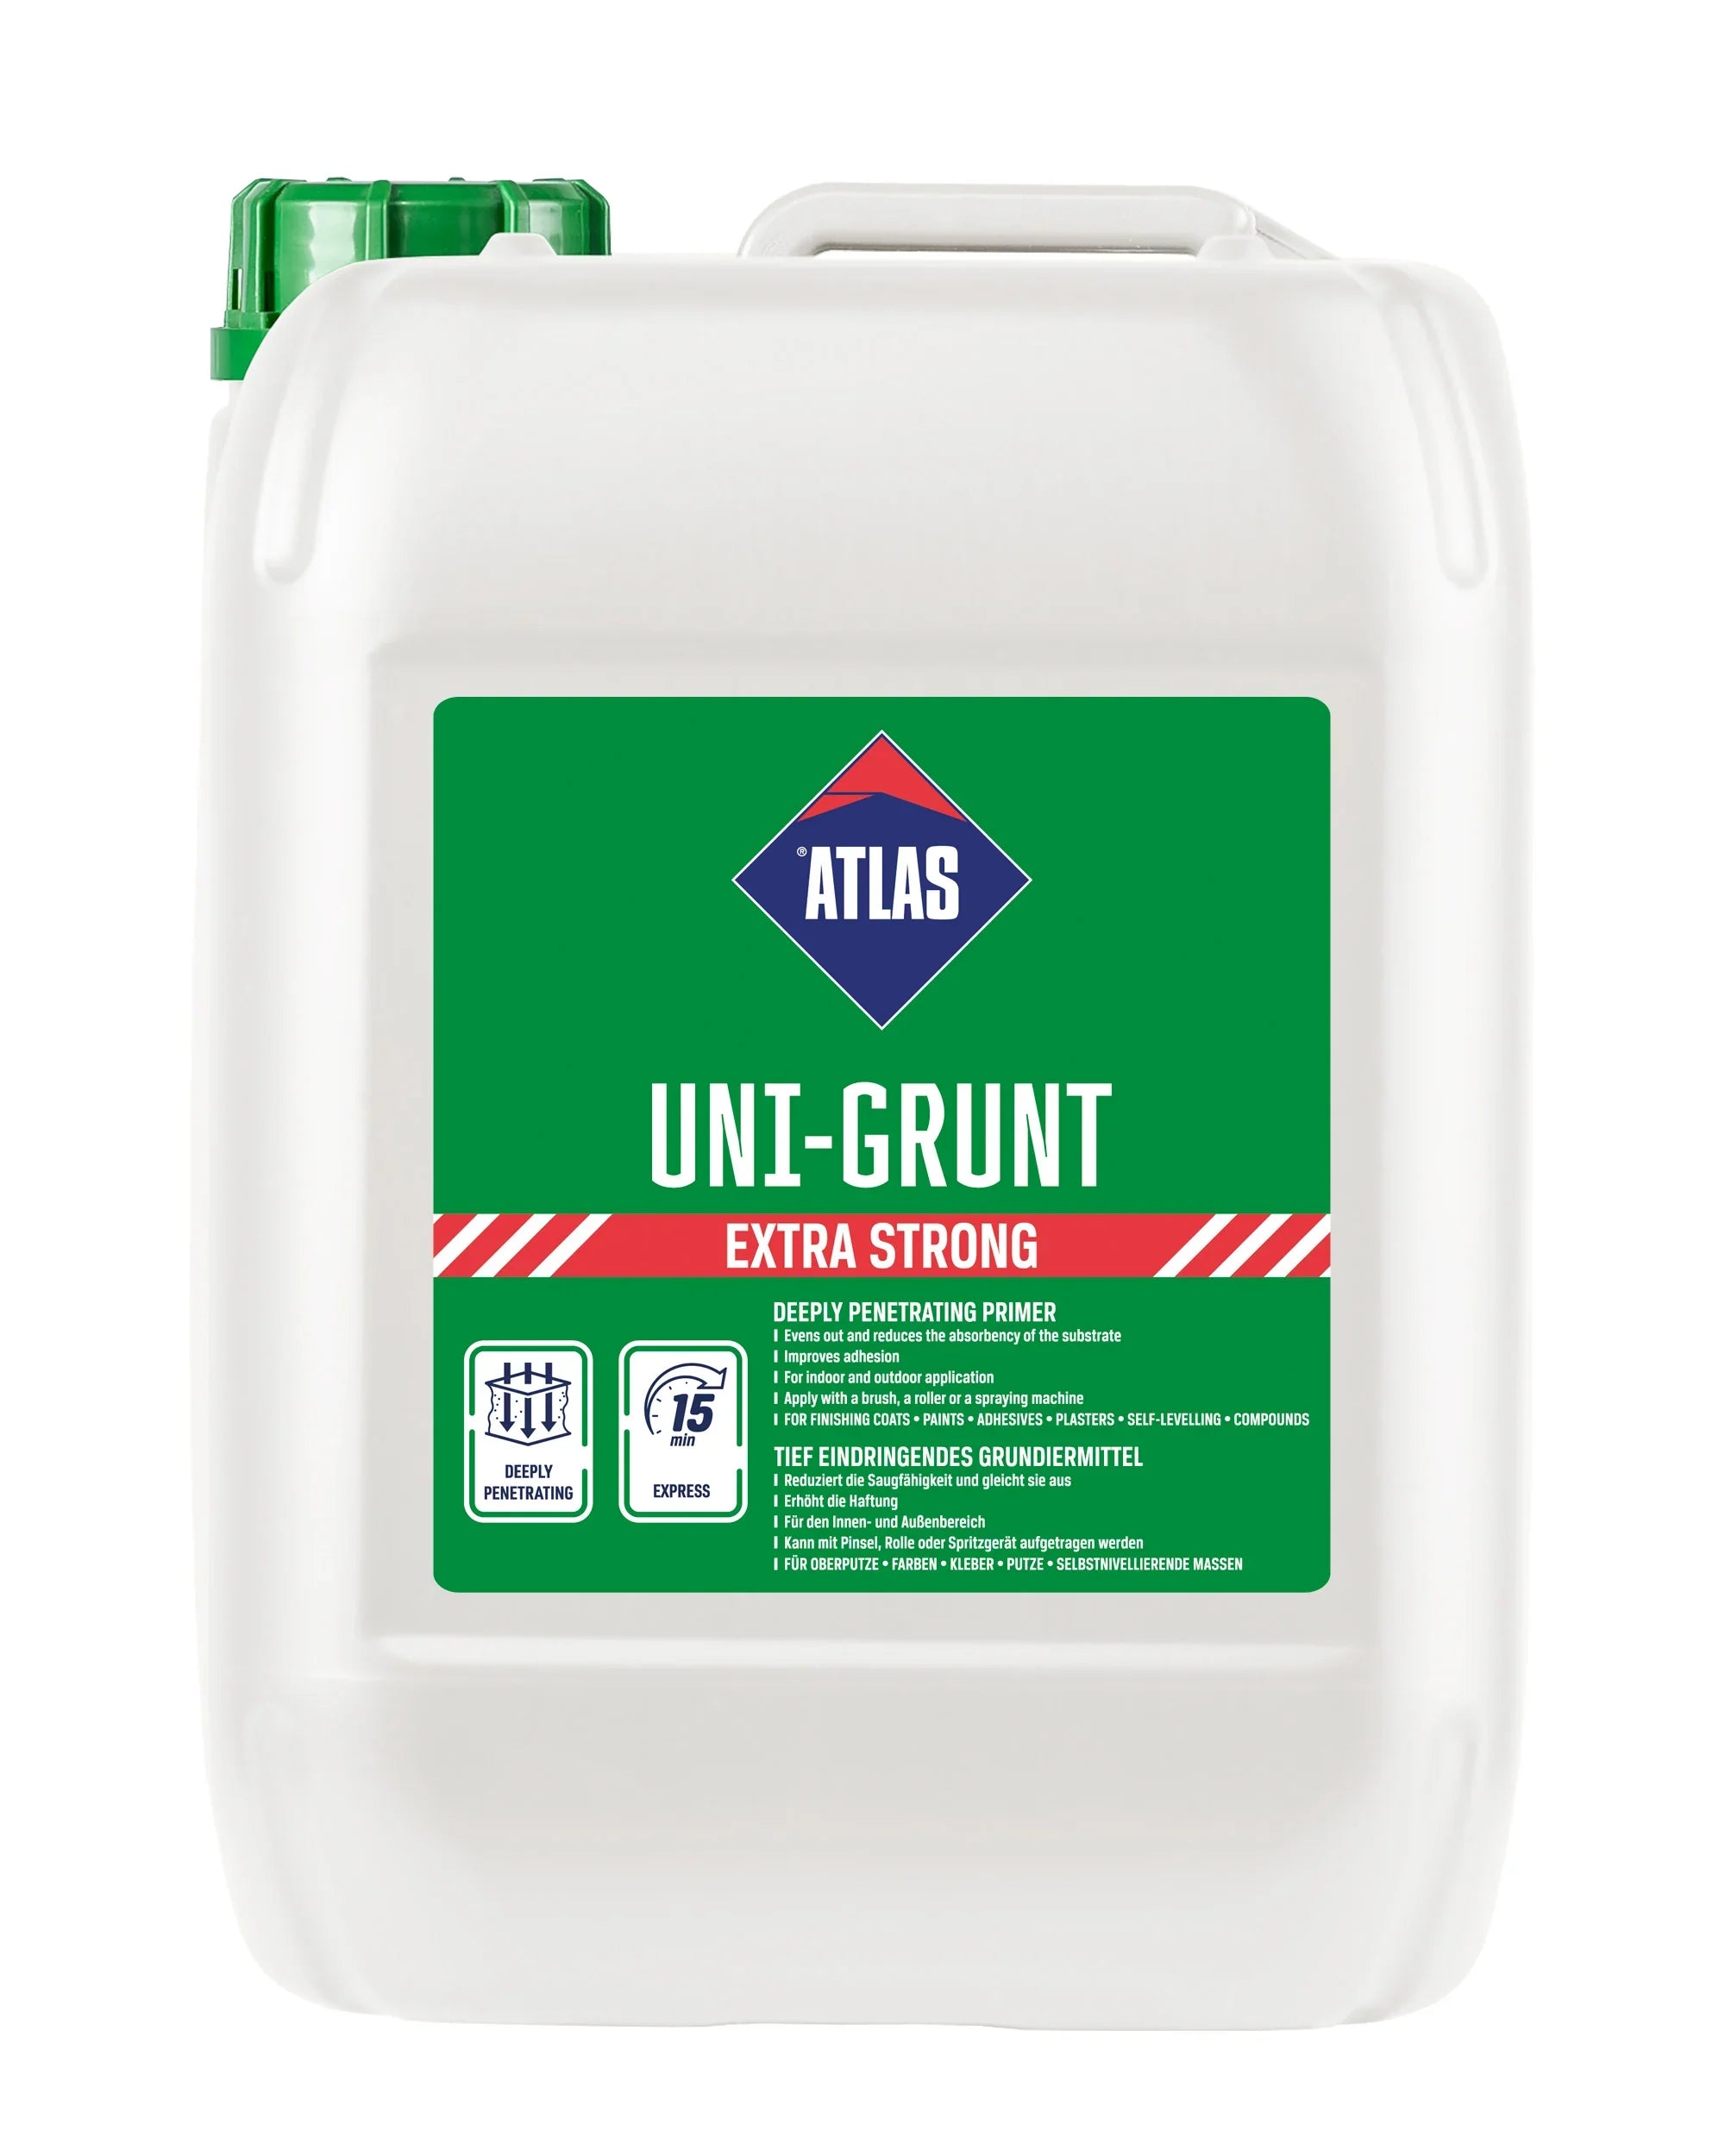
- Atlas Uni-Grunt is one emulsion in a 5 kg and a 10 kg container. Use it neat on weak, very absorbent walls, at 1:1 under plaster and screed, and at 1:3 under finishes, paint and adhesives.
- Atlas Uni-Grunt Ultra is a concentrate you dilute on site, the stronger choice for gypsum, anhydrite and dense concrete.
- Atlas NKP is a gel. It loads twice as much onto the roller as a standard primer and does not drip, which helps on ceilings.
- Atlas Ultragrunt handles the backgrounds a penetrating primer cannot soak into: tiles, terrazzo, OSB and smooth concrete. Its quartz aggregate leaves a rough surface for adhesive or levelling compound.
Quartz Primers: The Last Coat Before Render
A quartz primer goes on last, over a cured base coat or a sound, primed wall. Fine aggregate makes the surface rough and scratch resistant, which helps the render grip, and the coat evens out the colour so a thin-coat finish dries without stains.
- Ceresit CT 16 is the key coat for Ceresit renders and the coat Ceresit puts under its mosaic renders, such as those in the mosaic render range for plinths. Ceresit recommends it in a colour close to the render. It dries in about 3 hours.
- Atlas Cerplast is the render primer for Atlas mineral, acrylic, silicone and mosaic thin-coat renders, and it can be tinted towards the render colour. It comes in 25 kg and 15 kg buckets.
Stay with the quartz primer that belongs to the render system you are using: insulation systems are certified as complete build-ups, with each component named.
Applying a Render Primer
- Prepare the wall. It should be sound, dry and clean, free of dust, grease and loose or poorly bonded coatings.
- Check the conditions. Every render primer here has a minimum and a maximum temperature for the wall and the air, given on its product page; work inside that range, in dry weather.
- Mix or dilute as the product needs. Quartz key coats are stirred and used as supplied. Penetrating primers are used neat or diluted with clean water, depending on the wall.
- Apply one even layer by roller or brush. On very absorbent walls, prime twice, wet on wet.
- Let it dry before the next layer. Penetrating primers are usually ready in a couple of hours; quartz primers take a few hours longer. Each product page gives the exact time.
Our substrate preparation guide covers the checks before priming, and the quartz primer application guide follows the key coat on an insulated wall.
Habits That Show in the Finish
- Test the wall with water. Wet a patch once the primer is dry. If the wall still drinks it fast, prime again.
- Prime very absorbent walls twice. On weak, porous masonry, Atlas penetrating primers go on as two coats, wet on wet.
- Use a primer you can see. The yellow of Ceresit CT 17 Profi shows any patch you have missed before the next layer covers it.
- Match the quartz primer to the render colour. A tinted key coat stops the grey base coat showing through a thin, coloured finish.
- Order for the rough end. A rough or very absorbent wall uses more render primer per square metre, and each product page turns its rate into what one container covers.
Frequently Asked Questions
What is the difference between a quartz primer and a penetrating primer?
A penetrating primer soaks into bare masonry to bind dust and even out suction before adhesive, base coat or render. A quartz primer stays on the surface of a cured base coat and leaves a rough key for the render. On a full insulated wall you use both, at different stages.
How much primer do I need per square metre?
It depends on the product and on how rough and absorbent the wall is. Each product page gives the consumption rate and what one container covers, so measure the wall and order for the rougher end.
Can an Atlas primer go under a Ceresit render?
Insulation systems are certified as complete build-ups with named components, so on a certified wall use the key coat from the same system: Ceresit CT 16 under Ceresit renders, Atlas Cerplast under Atlas renders.
What are the temperature limits, and can primer be thinned?
Each render primer has its own temperature range on its product page; none goes on in frost. Quartz primers are used as supplied and never diluted. Penetrating primers such as Ceresit CT 17 and Atlas Uni-Grunt can be diluted with clean water on the walls that suit it.
Do I need a primer before the insulation adhesive?
On very absorbent walls, yes. Ceresit primes aerated concrete with CT 17 before its adhesive, and Atlas Uni-Grunt goes on at 1:3 under insulation adhesives.
For a coat-by-coat comparison, see our article on choosing a primer under silicone render. Every render primer here is part of the Renders World rendering materials range, and the Renders World counter in Southampton can help you match primer to render; Renders World stocks both the Atlas and the Ceresit systems.