The difference between a concrete-effect facade that looks like genuine cast concrete five years on and one that reads as render with a pattern pressed into it comes down to four disciplined stages executed in the right order with the right timing. This guide walks through the full application sequence for every product in the concrete effect render collection at Renders World — substrate preparation, render selection, application and texturing, curing protection, and sealing — so a UK trade installer or experienced renovator can plan each stage with confidence and deliver a finish that holds its colour, texture, and weather resistance through years of British conditions. The stencil-and-stamp technique itself sits in the dedicated stencils and stamps technique guide; this guide concentrates on the wider application sequence those tools work within.
Why Concrete-Effect Application Succeeds or Fails on the First Three Stages
Decorative effect renders are unforgiving compared to standard silicone or acrylic topcoats. The thin 1.5–3.0 mm layer that delivers the visual character of concrete, brick, or timber has no margin for substrate inconsistency underneath it. Every undulation, every patch of varying suction, and every degree of mismatched cure rate shows through the finished surface under raking light. So the order matters more than any individual product choice: a perfectly specified Silkon BA or Cermit WN topcoat applied over poorly primed substrate looks worse than a modest specification applied over a properly prepared wall — installers consistently report this as the single biggest predictor of finish quality at the five-year mark.
The application sequence runs through five stages: substrate preparation, render selection, application and texturing, curing, and sealing. The first three carry almost all the failure risk. Get the substrate level, prime it correctly, choose the render that matches the effect and the wall's exposure, and apply within the temperature and weather window the data sheet specifies, and the curing and sealing stages largely take care of themselves. The reverse also holds true: no amount of careful sealing recovers an elevation where the substrate suction varied wildly across the wall.
Stage One — Substrate Preparation and Quartz Priming
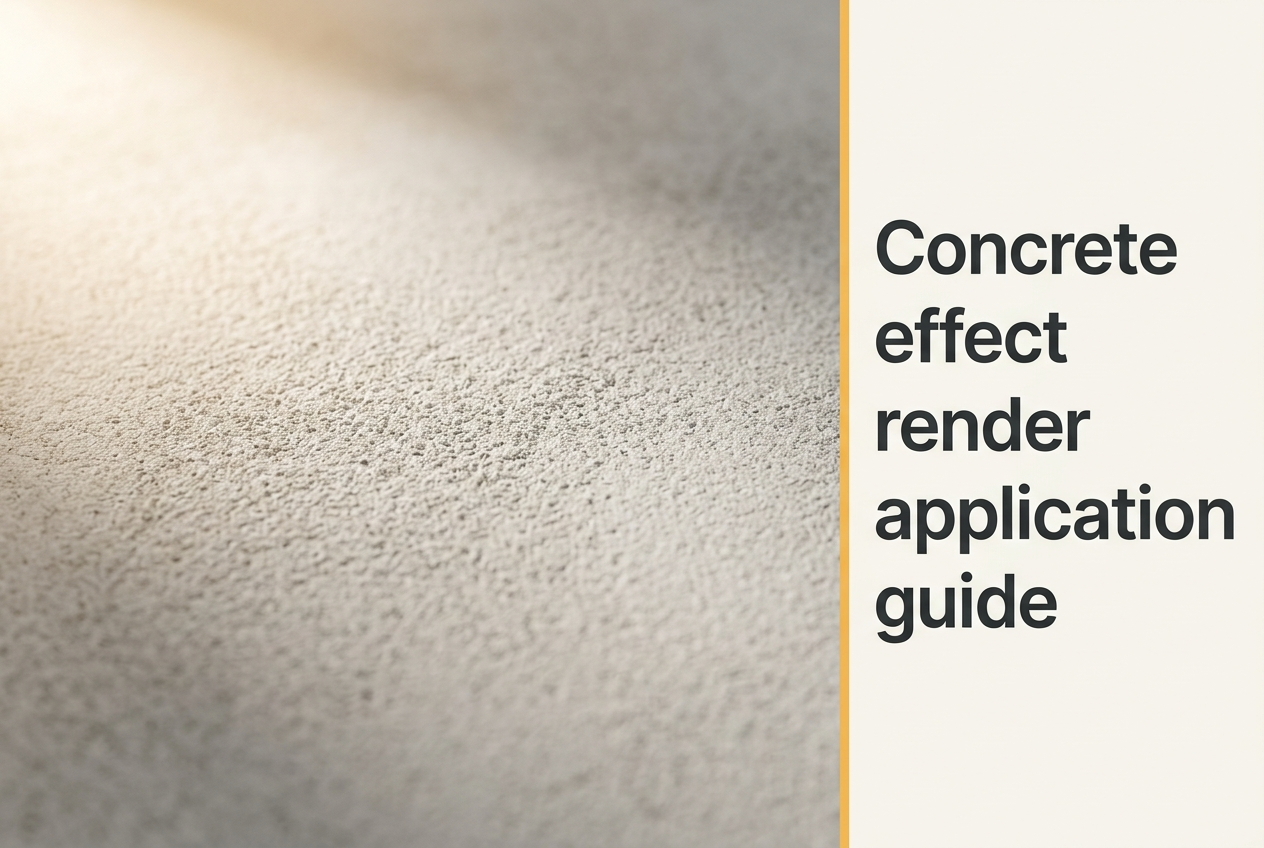
A level, stable, and correctly primed substrate is the foundation of every successful concrete-effect facade. The surface must be structurally sound, dry, and free from dust, grease, and loose material. Verifying the basecoat with a straight edge before priming catches undulations that the thin decorative coat would otherwise magnify into shadow lines across the finished wall. On EWI build-ups, the reinforced basecoat and fibreglass mesh layer must be fully cured before any primer is applied, which means three to seven days at twenty degrees depending on ambient humidity.
Applying a quartz-based primer from the render primer range is the next essential step. Atlas Base Coat Paint works particularly well here because it accepts pigment tinting — colour-matching the primer to the intended finish shade delivers a richer, more uniform tone from the first pass and stops the grey-white substrate showing through textured areas where the topcoat thins around aggregate peaks. This matters most with Atlas Silkon BA, where the semi-transparent silicone binder allows the primer colour to influence the final appearance under direct light.
The priming stage works best as a continuous primed band across each elevation rather than priming and rendering one wall at a time. Equalised suction across the full building is what produces the consistent drying speed that prevents tonal banding between elevations.
Stage Two — Selecting the Right Render for the Effect and Exposure
The render selection decision sits between substrate priming and topcoat application because the choice depends on two factors that need confirming once the wall is prepared: the visual effect the design intent calls for, and the exposure conditions the elevation will face once finished. The Renders World range covers three render systems matched to three distinct effect families, and they are not interchangeable. Each is engineered for the specific texturing or pattern-transfer technique that produces its target finish — so the comparison below shows exactly which system fits which brief.
| Render | Effect Type | Exposure Suitability | Coverage | Application Temp |
|---|---|---|---|---|
| Atlas Silkon BA 20 kg | Textured or monolithic concrete | Fully exposed UK elevations, south-facing walls | ~8 m² per bucket at 2.5 kg/m² | +5 °C to +30 °C |
| Atlas Cermit WN 25 kg | Timber-effect stamp, smooth polished concrete | Sheltered facades, interior features | 8–10 m² per bag at 2.5–3.0 kg/m² | +5 °C to +25 °C |
| Ceresit CT60 Visage 25 kg | Brick stencil — London or Boston bond | Most UK exposures with optional sealer | ~10 m² per bucket at 1.5–2.0 kg/m² | +5 °C to +25 °C |
Silkon BA is the silicone-acrylic render that delivers built-in hydrophobic, self-cleaning performance without needing a separate sealer — the right starting point for any wall that takes the full force of UK wind-driven rain. Cermit WN is the mineral cement-lime render whose fine aggregate accepts sharp silicone-mould impressions, making it the specialist base for timber-effect stamped finishes and polished smooth concrete aesthetics; it relies on a sealer coat for both colour depth and weather resistance. CT60 Visage is the ultra-fine acrylic render purpose-engineered for the brick-stencil two-layer reveal process, with the 0.5 mm grain producing the crisp mortar-joint definition that coarser renders blur.
Stage Three — Render Application, Texturing, and Pattern Transfer
Each effect family uses a different texturing or pattern-transfer method, but all three share the same core working discipline: apply in manageable sections, maintain a wet edge between sections, and complete the texturing or pattern step before the render begins its initial set. The working window varies from approximately thirty minutes for Silkon BA and CT60 Visage to around sixty minutes for Cermit WN, so the simpler approach usually wins — planning each elevation as a single uninterrupted session avoids the visible lap joints that form where fresh and partially cured material meet.
- Textured concrete with Silkon BA. Apply the render at grain thickness — approximately 1.2 mm — with a stainless-steel float, working in sections of two to three square metres. Texture immediately using a sponge float for a pitted, honeycombed shutter-cast surface, or press firmly with a clean steel trowel for a polished monolithic finish. Cutting horizontal and vertical shuttering lines with a straight edge while the material is still pliable adds the panel-joint detail that makes the concrete read as genuinely cast rather than rendered.
- Timber-effect stamping with Cermit WN. Apply the mineral render at 1.5–2.0 mm thickness, then press a silicone wood stamp firmly into the fresh surface to transfer the grain pattern. The stamping discipline itself — release-agent application, impression overlap, pattern alignment across panels — sits in the stencils and stamps technique guide, which walks through both the brick stencil reveal and the wood stamp impression workflows.
- Brick stencil with CT60 Visage. Fix the polymer stencil to the primed and base-coated surface, apply the brick-face shade of CT60 Visage uniformly over the stencil with a steel float, texture lightly with a plastic float, then peel the stencil away after initial set. The same technique guide covers the two-layer process, the timing for clean stencil release, and the pattern alignment across adjacent sheets.
Across all three effects, the working principle stays the same: work to the boundaries that the natural panel layout suggests, not against them. Vertical shuttering lines on concrete, plank seams on timber, and bond breaks on brick all give natural pause points where one working session can end and the next begin without a visible joint.
Stage Four — Curing Discipline and Weather Protection
Adequate curing time is what locks in the colour stability, surface hardness, and weather resistance the decorative render is engineered to deliver. Each product has a different curing profile, and shielding the freshly rendered elevation from direct rain with scaffold netting or tarpaulins during this period keeps the surface clean and free from the milky haze that can occur when uncured polymer or mineral binder contacts water — the curing window below shows by how much each system varies.
- Silkon BA. Reaches initial cure in twelve to forty-eight hours depending on temperature and humidity. The self-cleaning silicone binder begins repelling water soon after surface hardening, so a forty-eight-hour dry-weather window after application is the standard professional precaution.
- Cermit WN. Requires a minimum of three days at twenty degrees before any sealer coat is applied. In typical UK shoulder-season conditions between eight and fifteen degrees, extend the curing window to five to seven days so the cement-lime binder hydrates fully and releases residual moisture.
- CT60 Visage. Acrylic binder reaches handling strength within twenty-four hours under standard conditions, with full hydrophobic performance developing over three to five days. Keeping relative humidity below eighty percent during this period allows the polymer to cross-link evenly.
Air temperature must stay between five and twenty-five degrees throughout application and curing, with substrate temperature confirmed by an infrared thermometer rather than the air reading alone. A north-facing wall can sit several degrees below the ambient figure even on a mild spring afternoon. In practice, the UK's April-to-October window provides six to seven months of reliably workable conditions for concrete-effect work, and planning the application within a confirmed forty-eight-hour weather forecast is the discipline that prevents most curing issues.
Stage Five — Sealing for Colour Depth and Long-Term Weather Resistance
Sealing is a mandatory final step for mineral renders like Cermit WN and an optional enhancement for acrylic CT60 Visage. Silkon BA's built-in silicone hydrophobic binder delivers full weather protection without a separate sealer coat, so for plain textured-concrete elevations the sequence ends at curing. For timber-effect and smooth-concrete facades built on Cermit WN, Atlas Bejca sealer provides both colour depth and a hydrophobic barrier in a single application — covering twenty to twenty-six square metres per four-litre tin at 0.10–0.15 kg/m² per coat, with two thin coats and a thirty-minute interval delivering the richest tone and strongest moisture protection.
The shade selection itself — choosing between teak, walnut, birch, ebony, and the other Bejca tones for the timber effect a project needs — is its own discipline, and the sealers for concrete effect renders guide covers tone matching against real hardwood reference samples, coat-building strategy for layered colour depth, and weather-window planning for the sealer application itself. For brick-effect facades built on CT60 Visage, sealing is an aesthetic choice rather than a structural one, and many installers leave the Visage finish as applied for a clean uniform brick read.
Key Takeaway: A convincing concrete-effect facade is built in five disciplined stages — prepare and prime the substrate, select the render matched to the effect and exposure, apply and texture within the working window, protect the surface during curing, and seal where the system requires it. The first three stages carry almost all the failure risk; the last two largely take care of themselves once the substrate, render, and timing decisions are right.
Trade Habits That Lift a Decorative Facade From Good to Professional
Experienced UK renderers running concrete-effect work as a regular line of business consistently apply the same five habits to keep finish quality high across every panel — and these are the practical details that separate a polished architectural facade from one that reads as inconsistent under raking light five years on.
- Stir each bucket on a slow-speed drill before opening. Mixing each bucket with a basket mixer until pigment is uniformly distributed eliminates the subtle shade differences that appear when ready-to-use renders are applied straight from the tin. On large elevations, combining two or three buckets of the same batch in a larger vessel before application produces the most consistent colour across the full wall panel.
- Float in a single consistent direction. A straight, consistent float direction on Silkon BA lets the aggregate settle into its natural texture and prevents the swirl marks that become visible in low raking light. Cross-floating disrupts the aggregate alignment and shows as a visible inconsistency under morning or evening sun.
- Apply the first sealer coat thinner than the maximum rate. For Cermit WN timber-effect work, applying the first Bejca coat at around 0.10 kg/m² and allowing it to dry fully before judging colour depth prevents dark pooling in stamp grooves. A light first coat followed by a standard second coat consistently delivers the most natural-looking grain.
- Use an infrared thermometer on shoulder-season jobs. Below ten degrees ambient, the air may read above the five-degree minimum while a north-facing masonry surface sits several degrees colder. An IR reading on the wall itself confirms whether the render will reach the firmness needed for clean texturing or stamp transfer within the working session.
- Work the sealer into stamped grooves before flat areas. Brushing Bejca into the deepest parts of a wood-grain pattern with a soft-bristle brush before smoothing the flat areas with a roller ensures every recess receives full colour saturation — the visual depth this creates is what separates a stamped surface that reads as render from one that reads as timber.
Order the Complete Concrete-Effect System for Your UK Project
A complete concrete-effect facade typically ships as four to five components ordered in a single delivery: the primer or base-coat paint, the chosen decorative render, the stencil pack or wood stamp where the design calls for one, the release agent on stamping jobs, and the sealer where the render system requires it. The full concrete effect render collection at Renders World ships next-day across the UK on stocked components, and the trade desk confirms coverage calculations and full system pairings for mixed-effect facades that combine textured concrete, brick stencil, and timber stamp on the same building.
Ordering every component in the same delivery keeps the certified Atlas and Ceresit system arriving as a single warranty-compliant package, rather than a sequence of separate orders that risk delivering compatible-but-not-certified pairings. Trade accounts at Renders World include technical-desk support for full project specification across mixed-effect work.
Written by Mariusz Saja. Technically reviewed by Renders World Team. Last reviewed Jun 2026.
FAQ — Application Sequence, Coverage, and Timing
How much concrete-effect render do I need per square metre?
Coverage depends on the product and the texture depth chosen. Atlas Silkon BA covers approximately eight square metres per 20 kg bucket at 2.5 kg/m², Atlas Cermit WN covers eight to ten square metres per 25 kg bag at 2.5–3.0 kg/m², and Ceresit CT60 Visage covers around ten square metres per 25 kg bucket at the 0.5 mm grain. Measure the wall area, divide by the coverage rate for the chosen product, then add ten percent to absorb reveals, cuts, and normal site wastage so each elevation completes in a single uninterrupted session without running short.
Do I always need to seal a concrete-effect render?
Atlas Silkon BA's silicone-acrylic binder provides built-in hydrophobic and self-cleaning performance, so no separate sealer is required on plain textured-concrete elevations. Mineral-based Atlas Cermit WN does require a dedicated sealer coat — Atlas Bejca for timber-effect finishes adds both colour depth and a moisture barrier that typically extends the maintenance-free interval to eight to twelve years on sheltered elevations. Acrylic Ceresit CT60 Visage carries enough built-in hydrophobic protection that sealing becomes an aesthetic choice rather than a structural one.
Can concrete-effect render be applied over an existing rendered wall?
Decorative effect renders bond well to existing sound render provided the substrate is stable, dry, and properly primed to regulate suction. Loose, flaking, or hollow-sounding areas should be cut out and patched with a compatible repair mortar before the primer and decorative coat go on. A quartz primer creates the mechanical key the thin decorative layer needs to grip permanently to the prepared surface. For first-time renovators tackling a full facade, partnering with an experienced thin-coat installer is the most reliable route to a professional result — the texturing and timing benefit from hands-on guidance on larger elevations.
What happens if it rains before the render has fully cured?
Shielding the freshly rendered elevation with scaffold netting or tarpaulins keeps the surface clean and prevents the temporary milky haze, pigment wash-off, or streaking that can occur when uncured render contacts water. Silkon BA needs twelve to forty-eight hours of dry weather after application; Cermit WN needs three to five days at twenty degrees, or five to seven days in cooler UK conditions. Planning the render and sealer stages around a confirmed forty-eight-hour weather forecast is the straightforward professional practice that prevents the vast majority of curing issues, and an additional twenty-four-hour buffer either side covers the shoulder-season forecast variability common in UK spring and autumn.
What temperature window allows concrete-effect application in the UK?
Both substrate and air must sit between five and twenty-five degrees Celsius throughout application and the full curing period. Silkon BA extends to thirty degrees on the upper end for warm-weather application. In practice, this gives a reliable April-to-October window across most of the UK, with shoulder-season work in March, April, October, and November requiring infrared substrate temperature checks rather than air-temperature readings alone. North-facing walls in particular can sit several degrees below the ambient air figure even on mild afternoons.
Which effect should I choose for my project — textured concrete, brick stencil, or timber stamp?
The choice depends on the design intent and the exposure conditions the wall will face. Textured concrete using Silkon BA suits any exposure and reads as cast concrete on contemporary facades, entrance features, and full elevations. Brick stencil work using CT60 Visage suits heritage, conservation, and contemporary brick aesthetics on garden walls, plinths, and full elevations. Timber-effect stamping using Cermit WN suits sheltered facades, gable accents, and entrance features where a hardwood cladding appearance is the design target. For a side-by-side technique comparison covering the brick reveal and timber impression methods, the stencils and stamps technique guide linked in Stage Three sets out the working principles for each.
How do concrete-effect facades hold up over time in UK weather?
A properly applied and sealed concrete-effect facade typically delivers fifteen to twenty-five years of service before maintenance becomes necessary, depending on exposure, render choice, and whether a sealer coat is part of the system. Silicone-based Silkon BA resists UV degradation, freeze-thaw cycling, and wind-driven rain across the full UK climate range without needing periodic refinishing. Sealed Cermit WN timber-effect work delivers eight to twelve years between sealer reapplications on sheltered elevations, and Bejca's water-based low-VOC formulation produces minimal odour during reapplication so the maintenance interval is straightforward to manage on occupied buildings.