WALL PRIMERS
10 products
Showing 1 - 10 of 10 products
Exterior Render Primers UK — Professional Substrate Preparation
Product Overview — What This Category Covers
Exterior render primers are the preparation coats applied to masonry and cured basecoats before a decorative topcoat, designed to regulate absorption, strengthen the substrate, and create the bonding surface that keeps rendering systems permanently attached to the wall. This collection brings together two distinct primer families — deep-penetrating consolidators that soak into porous masonry to even out suction, and quartz-aggregate priming masses that deposit a rough, sand-textured key onto the surface for mechanical grip. Matching the right primer type to the wall condition and the specified render system is one of the most reliable ways to guarantee a uniform, crack-free facade finish across any UK project.
Quartz primers keep your render firmly in place from the moment it touches the wall — products like Ceresit CT16 and Atlas Cerplast deposit fine aggregate particles onto the surface, creating a tactile "sandpaper" texture (what installers call a "mechanical key") that prevents the wet render from sliding during application. Deep-penetrating consolidators like Atlas Uni-Grunt and Ceresit CT17 Profi take a different approach: they soak into the pore structure of the masonry, binding loose dust and evening out absorption so that the render dries at the same rate across an entire elevation. On most certified EWI and thin-coat render systems, both primer types play a role — the consolidator goes onto bare masonry before the adhesive stage, and the quartz coat goes onto the cured basecoat before the decorative topcoat.
Key Benefits & Technical Advantages
- Crack-Free, Even Drying: A primed surface absorbs moisture from the wet render at a controlled, uniform rate, so every section of the facade cures at the same speed — delivering consistent texture and colour free from the map-cracking that occurs when suction varies across patched or mixed-masonry walls.
- Permanent Mechanical Bond: Quartz-aggregate primers achieve adhesion values above 1.0 MPa on concrete (independently verified to ETA and BBA standards), locking the render system to the substrate through freeze-thaw cycles and thermal expansion for the full service life of the facade.
- Lower Render Consumption: A properly sealed substrate draws less water from each bucket of wet topcoat, meaning the full rated coverage area is achieved — installers typically report a 15–20% reduction in render consumption after correct priming, saving material cost on every project.
- Same-Day Workflow: Express-drying formulas such as Atlas Uni-Grunt allow adhesive application after just 15 minutes, while quartz primers cure in 4–6 hours — enabling a prime-in-the-morning, render-in-the-afternoon schedule that keeps scaffolding costs under control.
- True Colour Accuracy: Tintable quartz primers like Atlas Cerplast mask the grey tone of the cured basecoat across up to 400 shades, ensuring the finished facade matches the colour chart sample the homeowner selected without any bleed-through on light or pastel finishes.
- Full System Certification: Every primer in this collection is specified within BBA- and ETA-certified facade systems (certifications current as of 2025), giving developers and contractors documented evidence that the build-up has been approved as a complete, independently tested assembly.
Technical Specifications / Selection Guide
Choosing the right render primer comes down to three questions: what is the substrate or basecoat surface, which topcoat system follows, and how quickly does the project need to move forward. The selection guide below maps every primer in the collection to its ideal use case — start with the "Best For" column to narrow the choice, then check coverage and drying time to plan quantities and scheduling.
| Primer | Type | Coverage | Drying Time | Temp Range | Best For |
|---|---|---|---|---|---|
| Ceresit CT16 Quartz 10 L | Quartz-filled bonding coat | ~0.3 L/m² (~30 m²) | 3–6 hrs | +5 °C to +25 °C | Grip coat under Ceresit renders (CT74, CT76, CT174) on cured EWI basecoats |
| Atlas Cerplast 25 kg | Quartz-filled priming mass | ~0.3 kg/m² (75 m²) | 4–6 hrs | +5 °C to +30 °C | Grip coat under Atlas silicone, acrylic-silicone, and mosaic renders; tintable to 400 shades |
| Atlas Cerplast 15 kg | Quartz-filled priming mass | ~0.3 kg/m² (45 m²) | 4–6 hrs | +5 °C to +30 °C | Same formula as the 25 kg in a mid-size pack for single-elevation projects |
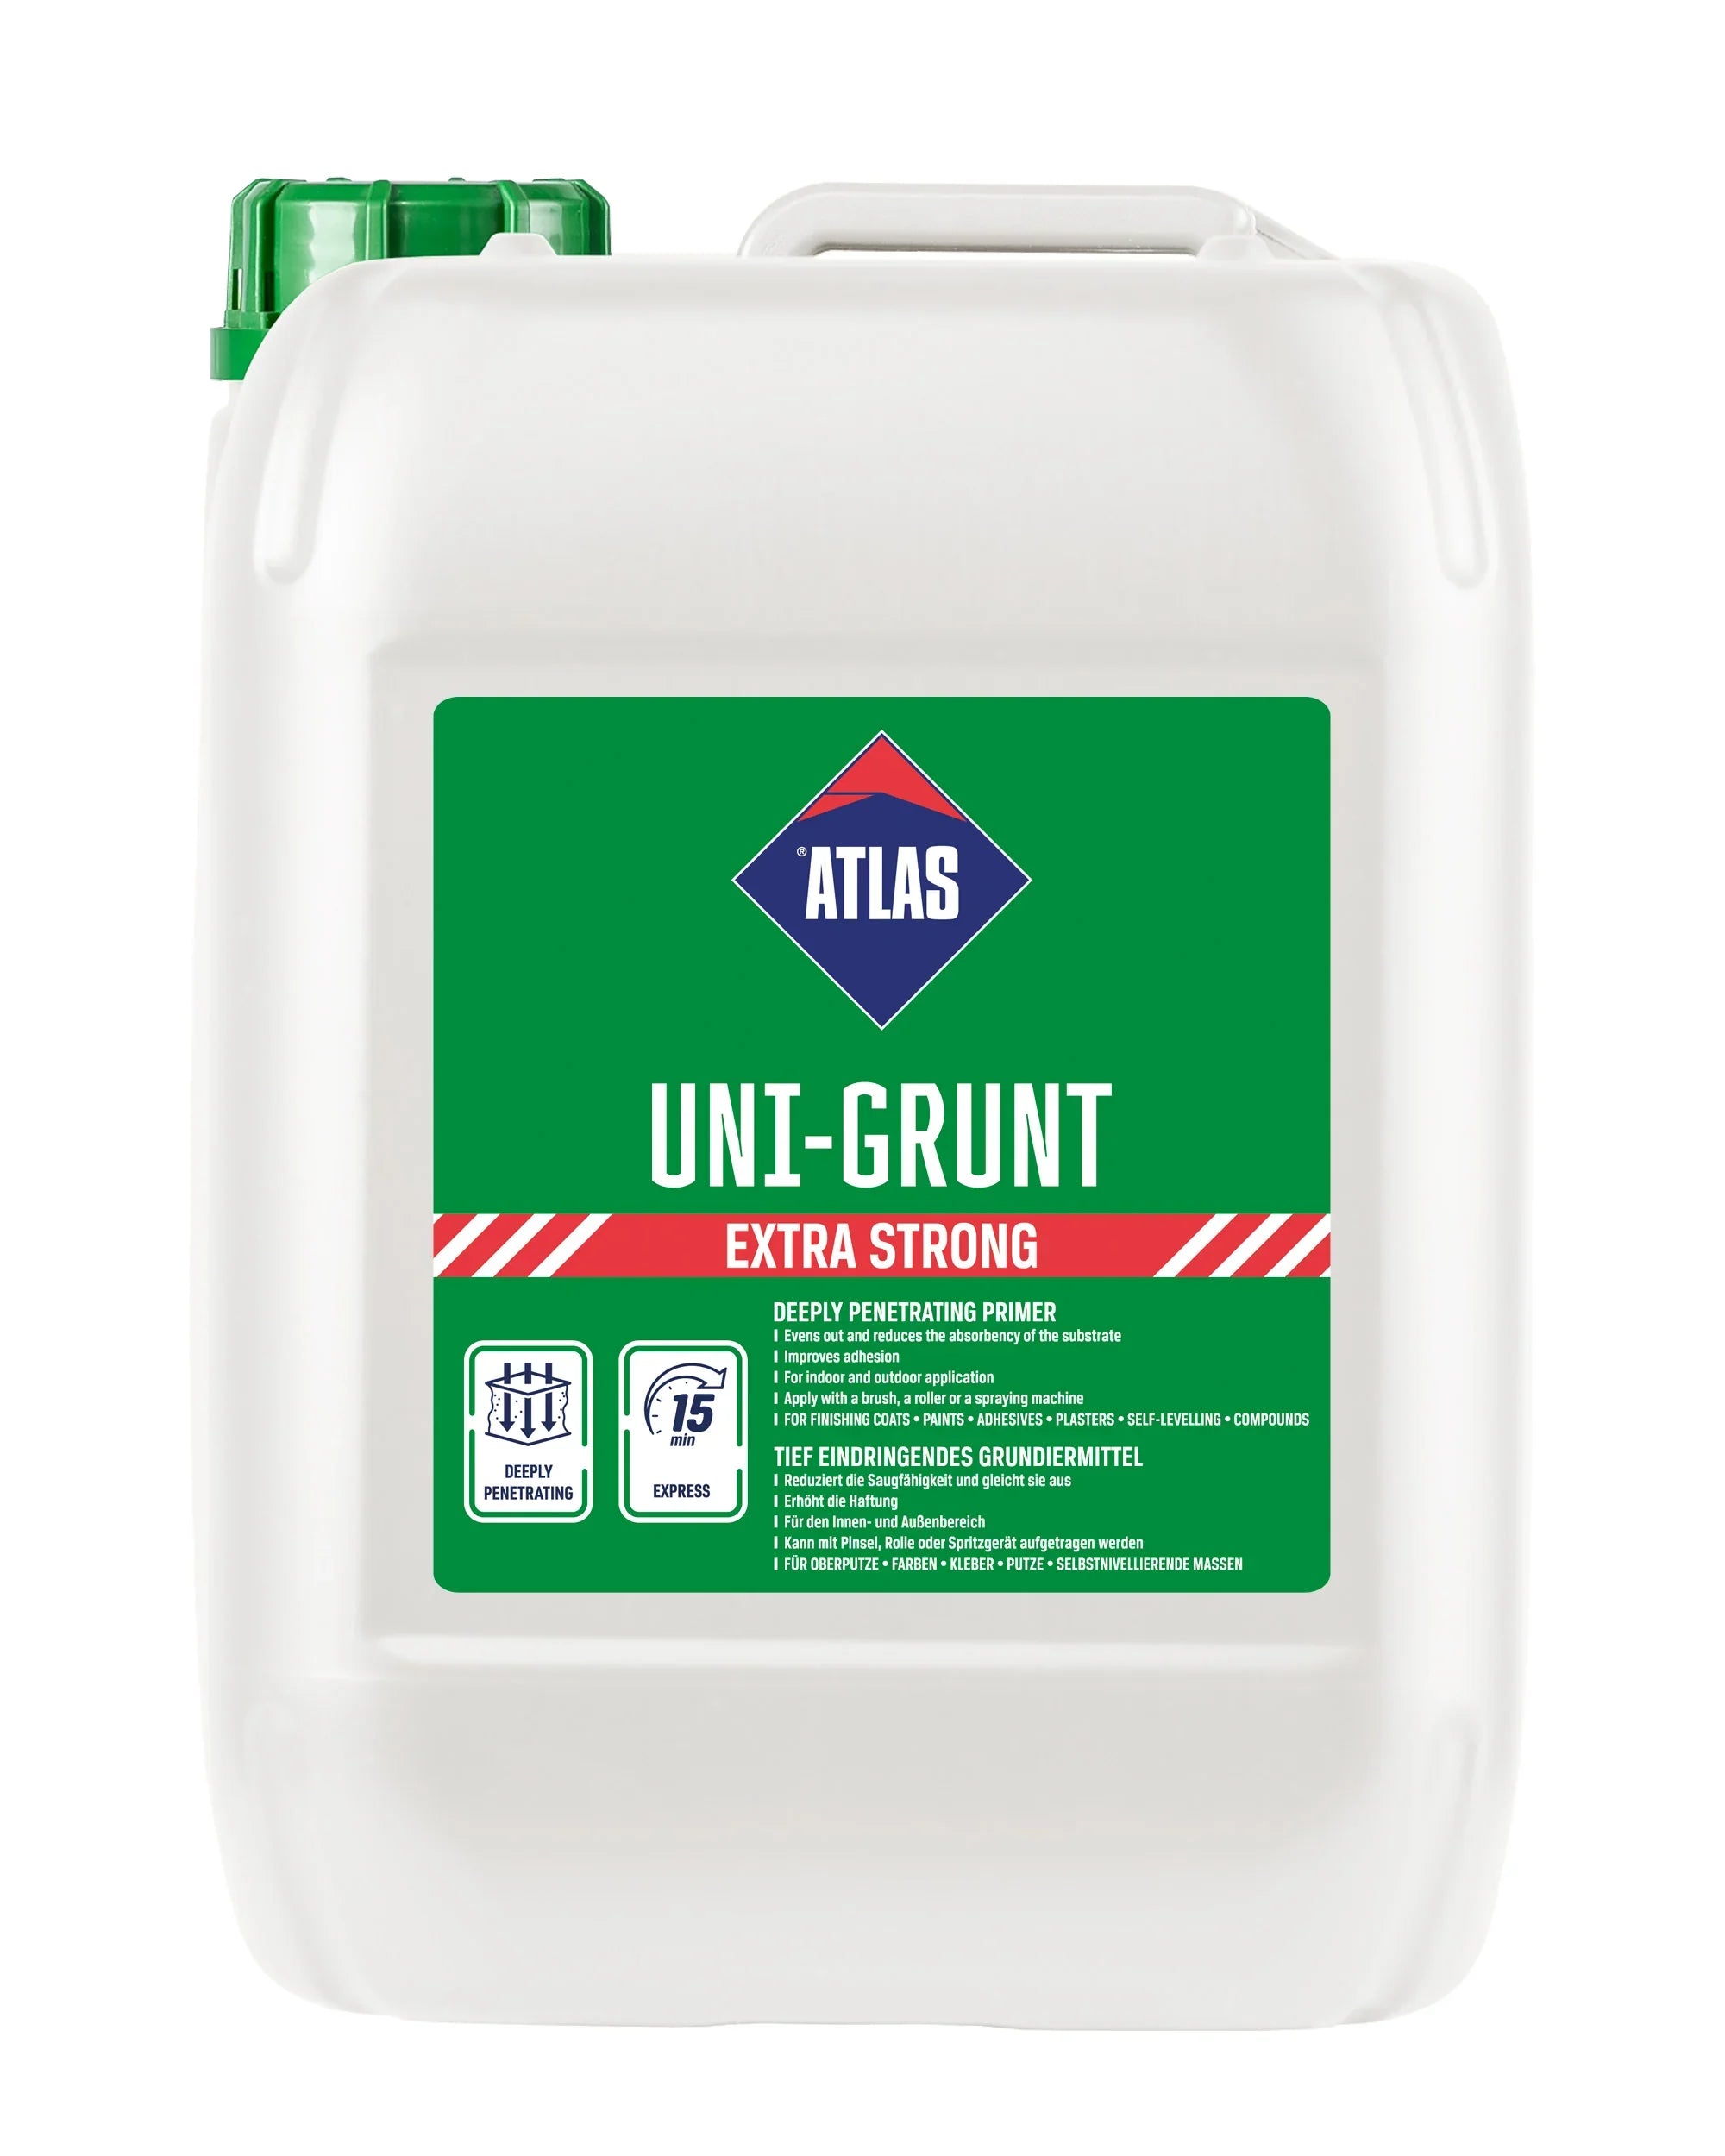
| Atlas Uni-Grunt 10 kg | Deep-penetrating consolidator | 0.05–0.2 kg/m² (up to 100 m²) | 15 min – 2 hrs | +5 °C to +30 °C | Sealing dusty or absorbent brick, block, and plaster before adhesives or render |
| Atlas Uni-Grunt 5 kg | Deep-penetrating consolidator | 0.05–0.2 kg/m² (up to 50 m²) | 15 min – 2 hrs | +5 °C to +30 °C | Same formula as the 10 kg for smaller elevations or single-room jobs |
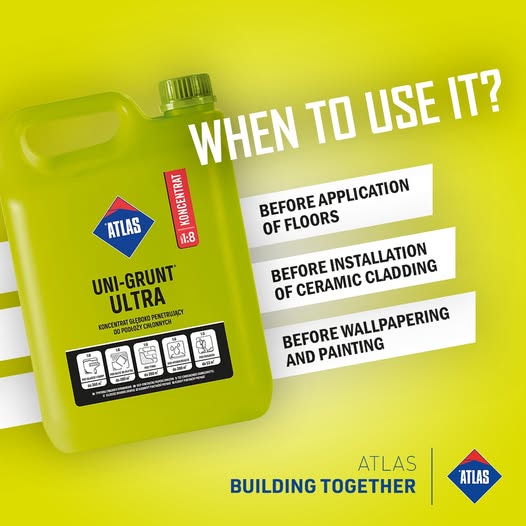
| Atlas Uni-Grunt Ultra 4 kg | Concentrate consolidator | 0.022–0.075 kg/m² (up to 280 m²) | 15 min – 2 hrs | +5 °C to +30 °C | Large-area projects; pigmented for visible coverage progress on the wall |
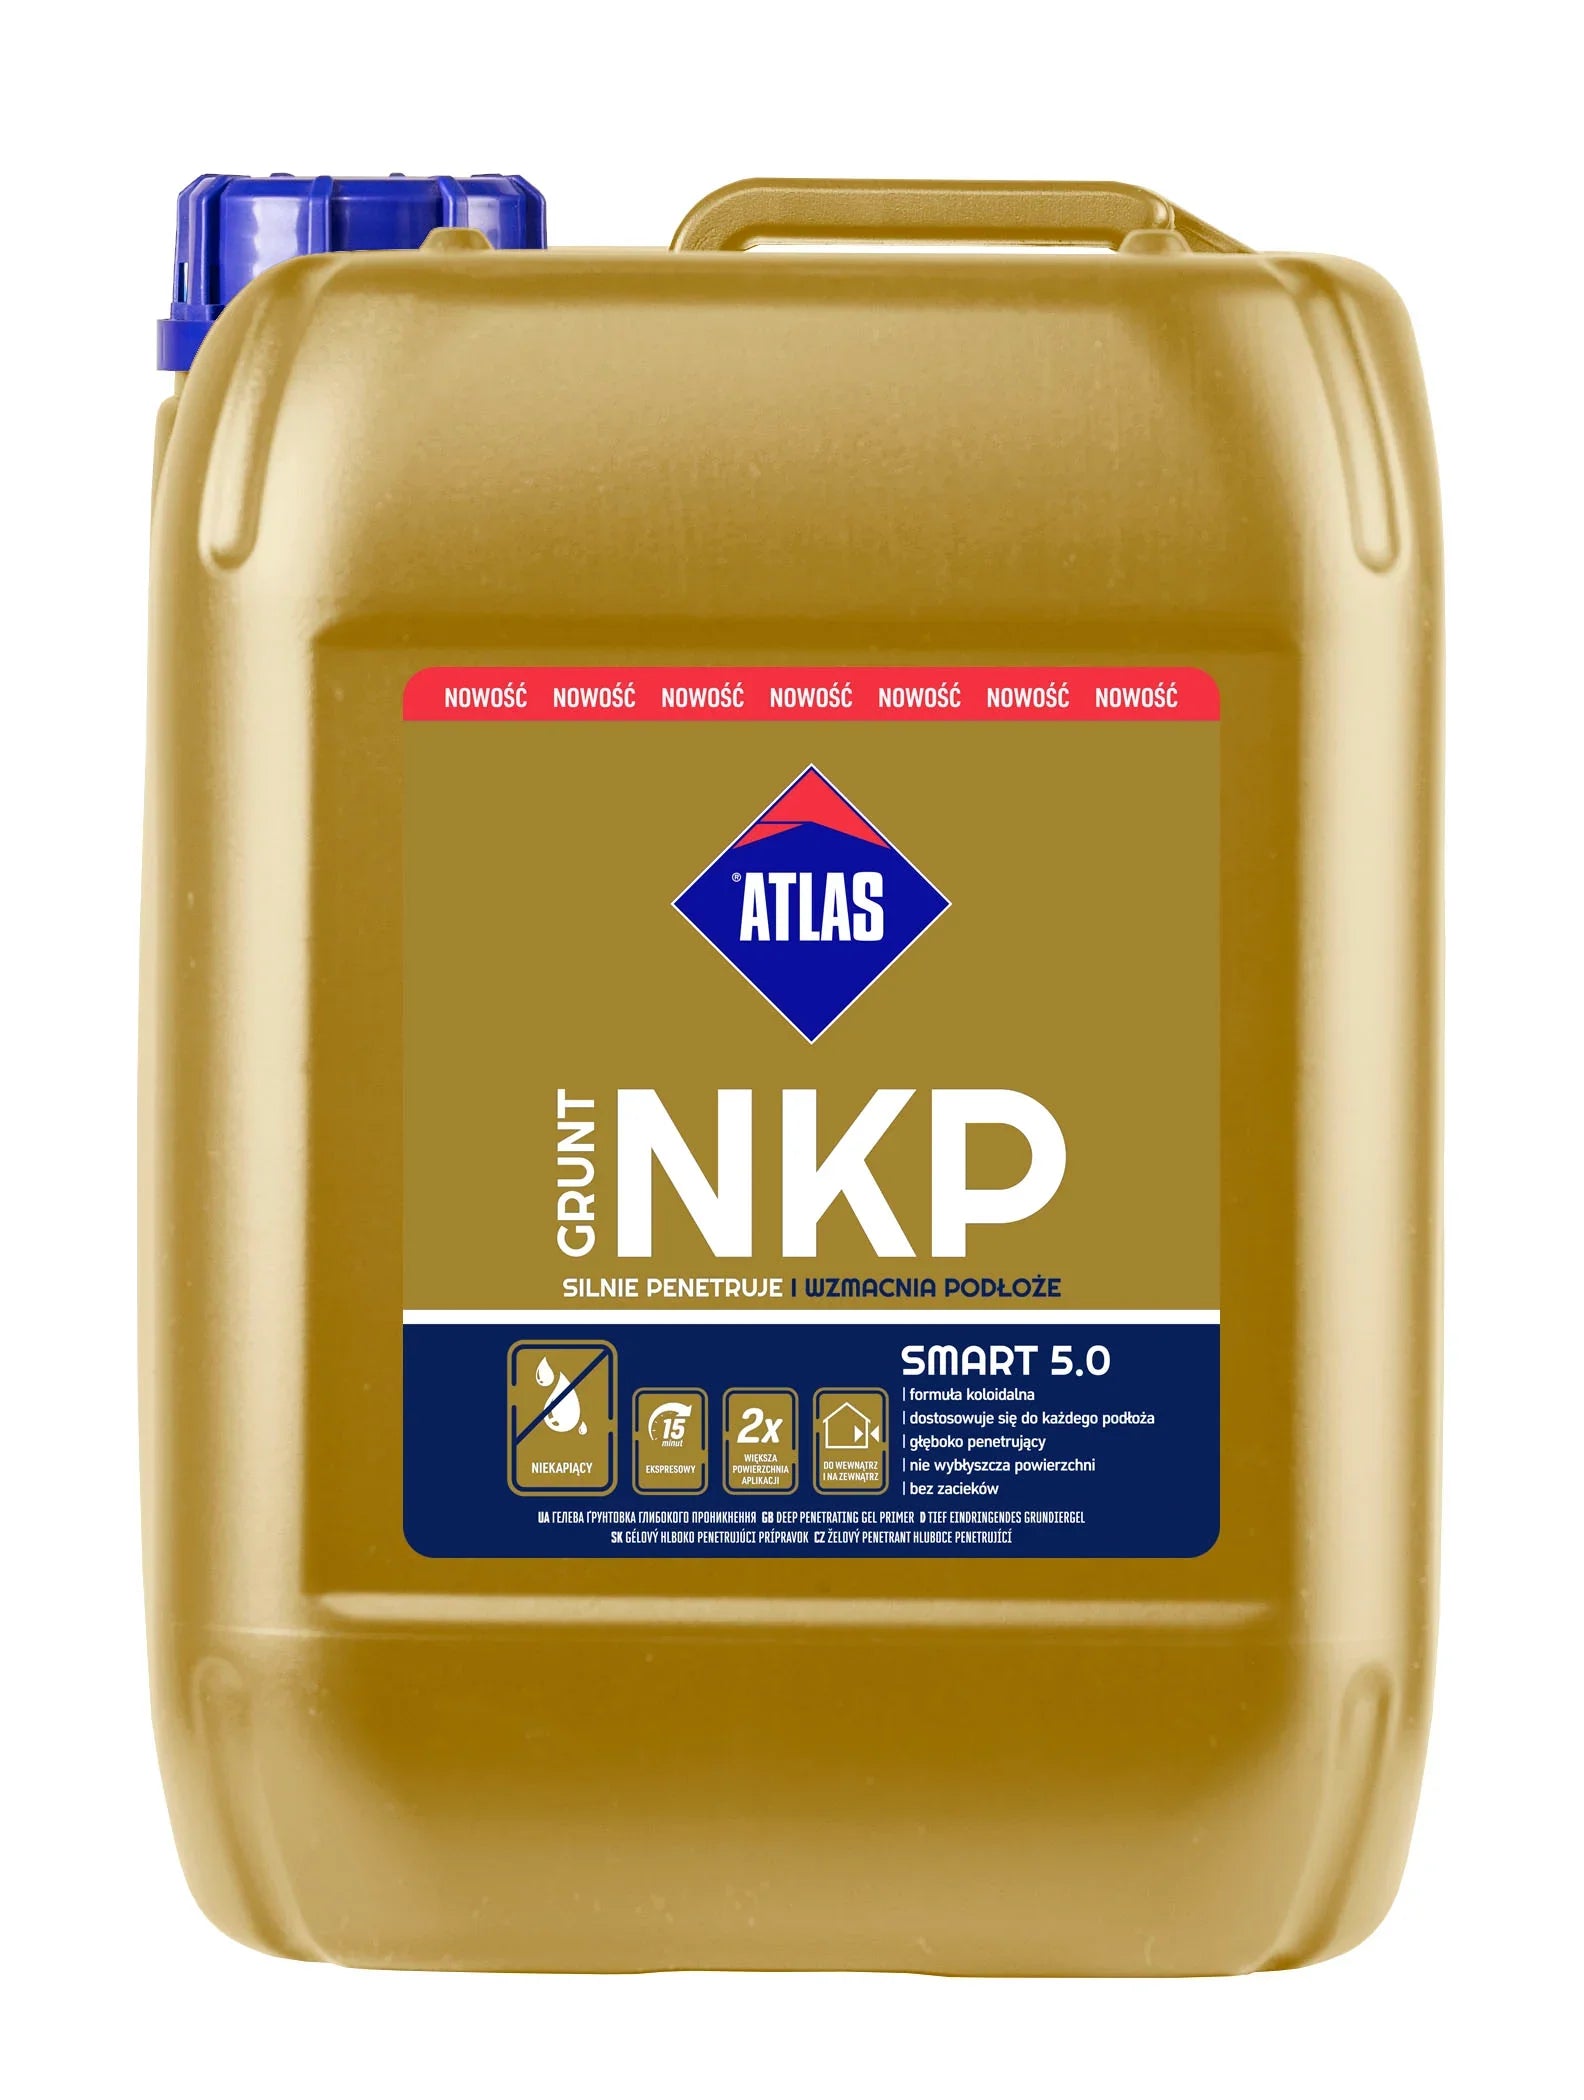
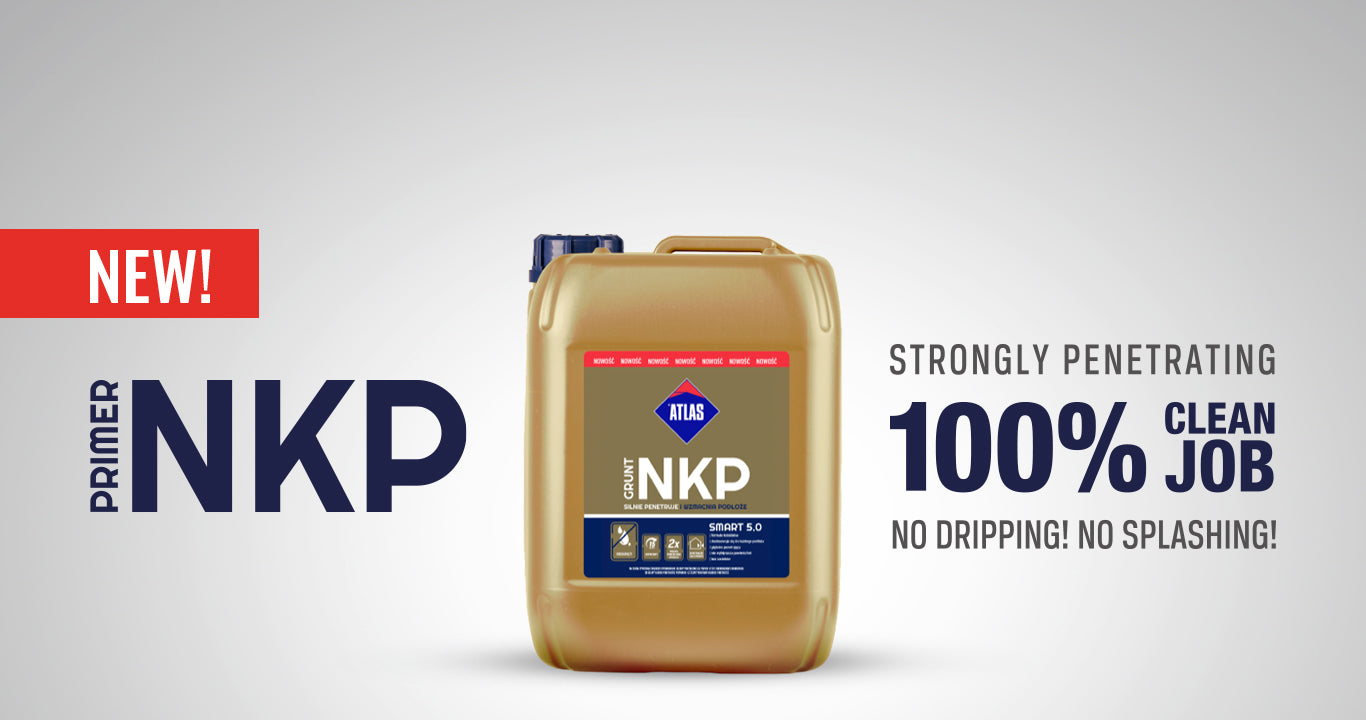
| Atlas NKP 5 kg | Colloidal gel consolidator | 0.05–0.2 kg/m² (~50 m²) | 15–90 min | +5 °C to +35 °C | Overhead and vertical work; no-drip gel consistency for cleaner application |
| Atlas Ultragrunt 5 kg | Heavy-duty quartz aggregate | ~0.3 kg/m² (~16.7 m²) | ~4 hrs | +5 °C to +35 °C | Difficult surfaces: terrazzo, ceramic tiles, OSB, smooth concrete, steel |
| Ceresit CT17 Profi 5 L | Deep-penetrating liquid | 0.1–0.5 L/m² (10–50 m²) | 15 min – 2 hrs | +5 °C to +25 °C | General-purpose consolidation; yellow tint shows coverage on site |
| Atlas Base Coat Paint 10 L | Acrylic base coat / primer | Up to 8 m²/L (80 m²) | ~2 hrs | +5 °C to +25 °C | Base coat before concrete effect renders; masks substrate colour |
Application & System Compatibility
Specifying the primer that belongs to the same certified system as the render topcoat keeps every layer chemically compatible, maintains the manufacturer's warranty chain, and satisfies BBA or ETA documentation requirements — particularly important for developers and contractors who need to demonstrate compliance at Building Control sign-off.
- Ceresit Certified Systems (CT74, CT76, CT174): Specify Ceresit CT16 Quartz as the mandatory grip coat on the cured basecoat before the render topcoat, and CT17 Profi to seal bare masonry before insulation boards are bonded. The two products work at different stages — CT17 consolidates the substrate, CT16 provides the mechanical key for the decorative finish. A detailed walkthrough of how each primer fits into its system is available in the primer-to-render pairing guide.
- Atlas Certified Systems (Atlas Silicone, Gemini RS, Silicone-Silicate, Acrylic): Specify Atlas Cerplast beneath the topcoat for the aggregate grip, and Atlas Uni-Grunt or Atlas NKP to consolidate the masonry before bonding insulation boards. Cerplast can be tinted to match the final render shade across 400 colours, eliminating basecoat show-through on pastel or light finishes.
- Difficult or Non-Standard Surfaces (Terrazzo, Ceramic, OSB, Smooth Concrete): These low-porosity surfaces require Atlas Ultragrunt, which deposits coarse quartz aggregate to create a physical grip — achieving bond strength above 1.0 MPa on terrazzo and ceramic tiles where standard quartz primers would simply pool on the surface without bonding.
- Concrete Effect and Decorative Render Systems: Pair Atlas Base Coat Paint 10 L with the Cermit WN or Silkon BA ranges for a unified colour base, reducing bleed-through on translucent concrete-effect finishes. Full application steps are covered in the substrate preparation guide.
- Renovation and Overcoating Projects: Old, dusty, or highly absorbent brick and block benefit from a two-coat priming sequence — a diluted first pass to penetrate deeply, followed by a full-strength second coat to seal the surface and equalise suction across the elevation. Where the wall includes different substrates on the same facade, a substrate-by-substrate priming strategy prevents visible drying differences in the finished topcoat.
These primers also prepare surfaces for the full range of silicone render topcoats in the Renders World collection, from standard 1.5 mm grain silicone through to specialist solar-protect and heritage-grade silicone-silicate formulations.
Trade Insight: Pro Application Notes
Experienced installers treat priming as the insurance policy for the entire facade — a step that protects every layer applied above it. Apply quartz primers in a single, even coat with a medium-nap roller, working in sections no wider than one scaffold lift to keep a wet edge and avoid lap marks where a dried film meets fresh product. On hot summer days above 25 °C, prime the shaded elevation first and follow the shade around the building, because direct sunlight on freshly applied CT16 or Cerplast can skin the surface before the aggregate has bedded in, reducing the mechanical key by up to 30%.
For the cleanest result, complete all priming across the full building before starting the topcoat rather than priming and rendering one elevation at a time — this equalises suction across every wall and prevents drying-speed differences that show as colour banding in the finish. In marginal winter conditions, an infrared thermometer on the masonry surface confirms whether the wall is genuinely above +5 °C, because a north-facing substrate can sit several degrees colder than the air temperature reading.
Is This Right for Your Project?
- Choose a quartz primer (CT16, Cerplast, or Ultragrunt) if you are applying a coloured silicone or acrylic topcoat over a cured basecoat or smooth masonry — the quartz aggregate creates the rough surface texture these renders need for a permanent, crack-free bond that lasts the full life of the facade.
- Choose a deep-penetrating primer (Uni-Grunt, NKP, or CT17 Profi) if the wall is dusty, porous, or unevenly absorbent and needs stabilising before adhesives, basecoats, or paint can be applied — the consolidator evens out suction so the next coat dries consistently across the whole elevation.
- Consider silicone masonry paints instead if you want to refresh a sound, stable facade without installing a full new render system — silicone paint bonds directly to clean masonry with just a light consolidation prime and offers a vapour-permeable, self-cleaning finish at a lower total project cost.
Frequently Asked Questions
Which primer do I need for silicone render over an EWI system?
A quartz-filled primer is the layer that sits directly beneath the silicone render topcoat on a cured EWI basecoat, and its job is to add grip and regulate suction so the finish applies cleanly and dries evenly across the elevation. For Ceresit render systems, use Ceresit CT16; for Atlas render systems, use Atlas Cerplast. Keeping the primer and the render within the same certified system maintains the full product warranty and satisfies BBA documentation requirements.
How much primer do I need per square metre?
Coverage depends on the primer type and substrate porosity. Quartz primers (CT16, Cerplast, Ultragrunt) consume approximately 0.3 kg/m² on standard substrates, while deep-penetrating consolidators are more economical — Atlas Uni-Grunt uses 0.05–0.2 kg/m² undiluted, and the Ultra concentrate covers up to 280 m² per 4 kg bucket when diluted for render preparation. Ordering 10% extra for highly absorbent masonry is a worthwhile precaution, because the first square metres of a porous blockwork wall draw noticeably more product than the manufacturer's average figure suggests.
Can I apply render primer in cold weather?
All primers in this collection require a minimum substrate and air temperature of +5 °C during application and throughout the drying period. Applying above this threshold gives the primer film ideal conditions to form a continuous, well-bonded layer — and checking the surface temperature with an infrared thermometer rather than relying on the air reading alone ensures accuracy, because north-facing masonry can sit several degrees below the ambient figure.
Are these primers safe for use on occupied buildings?
Every exterior render primer in this collection is a water-based formulation with very low volatile organic compound content. Atlas Uni-Grunt, for example, measures just 1.92 g/L, which is fifteen times below the 30 g/L UK regulatory threshold. The products are solvent-free, produce minimal odour during application, and do not release harmful fumes during curing — making them suitable for use on homes, schools, and care buildings while they remain occupied.
What is the difference between a quartz primer and a deep-penetrating primer?
They serve different jobs in the render system. A deep-penetrating primer (Uni-Grunt, CT17 Profi, NKP) soaks into the bare masonry to strengthen it, lock down dust, and regulate how quickly the wall absorbs moisture from the next coat. A quartz primer (CT16, Cerplast, Ultragrunt) stays on the surface and deposits aggregate particles that create a rough, grippy texture the decorative topcoat holds onto permanently. On a full EWI project, the consolidator goes onto the bare masonry before the adhesive stage, and the quartz primer goes onto the cured basecoat before the render topcoat — so the two products work as a pair at different points in the system build-up.
Do I need to prime before applying insulation adhesive?
Priming bare masonry before the insulation adhesive stage gives the adhesive a stable, dust-free surface with regulated suction, which improves board bond strength and reduces the risk of boards loosening over time. On most professional projects, a single coat of consolidation primer adds less than £1 per m² while significantly improving the reliability of the bond — and express-drying formulas like Atlas Uni-Grunt are ready for the next coat in as little as 15 minutes.