

Description
The Over Sill White 2.5m 110mm Depth extends an existing window sill after external wall insulation and render have pushed the wall face outwards. You get one 2.5 m length at 110 mm depth — the shallowest of the four white depths — in the same white as the range's verge trim and end caps, so a light façade keeps a clean, matching sill line.
Five Reasons to Pick the White 110 mm
- Right for shallow openings. The Over Sill White 2.5m 110mm Depth is the first of four white depths, made for windows that need only a short extension.
- Clean against white frames. White sill, white verge trim and white end caps make one continuous trim colour.
- A full 2.5 m piece. One length spans an opening up to 2.5 m and is trimmed to size on site.
- A dark twin. The same 110 mm depth is listed in anthracite for grey or black frames.
- Agreed before dispatch. Two measurements by phone and the counter confirms the depth with you before the order goes in.
The Over Sill White 2.5m 110mm Depth in Detail
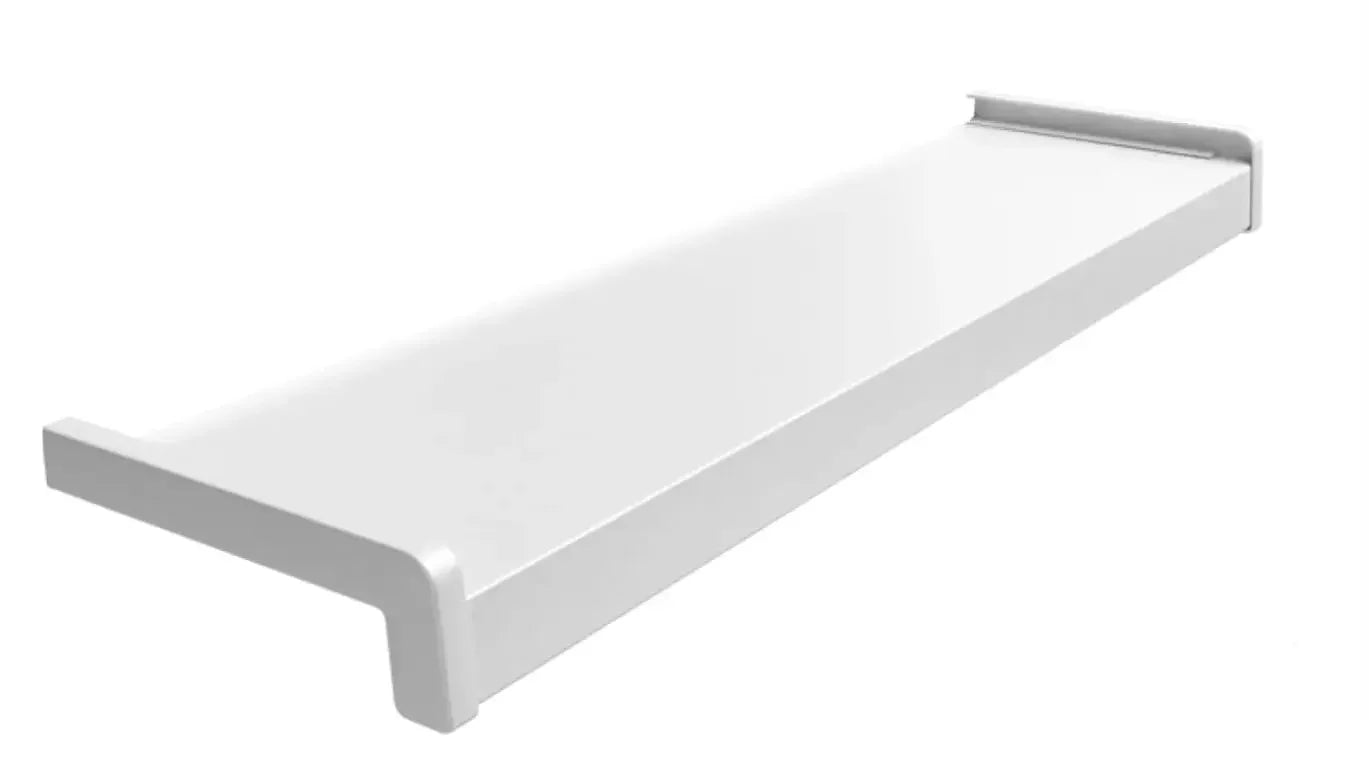
Window sill extensions, oversills and over sills are names for the same thing: a sill board laid over the old one so rainwater is carried clear of the thicker wall. The picture shows a flat white board with a low upstand at the back and a turned-down front edge, fitted with an end cap at each end.
| Property | This over sill |
|---|---|
| Colour | White |
| Depth | 110 mm, the shallowest of four |
| Length | 2.5 m per piece |
| Shape | Flat board, low back upstand, turned-down front |
| End caps | Sold as their own item: the white pair |
| Matching trim | White verge trim with upstand, 2.5 m, 140 mm |
Every Depth and Colour in the Range
All eight over sills share the 2.5 m length. Find the depth first, then the colour.
| Depth | White | Anthracite |
|---|---|---|
| 110 mm | This over sill | Anthracite 110 mm over sill |
| 140 mm | White 140 mm over sill | Anthracite 140 mm over sill |
| 170 mm | White 170 mm over sill | Anthracite 170 mm over sill |
| 220 mm | White 220 mm over sill | Anthracite 220 mm over sill |
Getting the Depth Right
Before ordering, take two readings at each window.
- How thick the insulation plus render will be at the opening — measure it on site; drawings and site often differ.
- How far the present sill projects from the wall today.
Call Renders World on 023 8200 2442 with those two readings and the counter agrees the depth with you. If the windows on one wall are not the same, read out the figures window by window.
Counting Lengths and End Caps
Divide the width of each sill by 2.5 m and round up.
- A 1.2 m window needs one length trimmed down.
- A 4 m opening needs 4 ÷ 2.5 = 1.6, so two lengths.
- End caps go by open ends, not by lengths: a sill closed at both ends takes one white pair.
Where an opening is wider than 2.5 m, talk to the counter about the join between the two lengths before you order.
The White Trim Family
The white family has three parts:
- Four over sill depths — 110, 140, 170 and 220 mm.
- Verge trim — the white verge trim with upstand for the top of the wall.
- End caps — the white end cap pair, listed for both the white sills and the white verge trim.
White or Anthracite
Let the frames decide.
- White frames — the Over Sill White 2.5m 110mm Depth with its white trim.
- Anthracite frames — the anthracite 110 mm over sill and the anthracite cap pair.
Fitting the Over Sill
- Step by step — the guide on installing window sill extensions.
- At the reveal — how the sill, the beads and the render finish meet, in render detailing at windows and doors.
- Trims and caps side by side — the full range of window sill extensions.
Ordering, Delivery and Returns
- Dispatch — Renders World processes orders the same day when the stock is there; add the white cap pairs to the same basket.
- Delivery — quoted by the team after the order; parcels up to 25 kg go next day, always kerbside.
- Collection — from the counter at Unit 9A, Central Trading Estate, Southampton SO14 5JP, Monday to Friday 7am to 5pm and Saturday 7am to 12pm.
- Returns — goods bought directly from Renders World can go back within 14 days in their original condition; special orders and promotion purchases are excluded.
FAQ
Which insulation thickness does the 110 mm depth suit?
That depends on the wall at each window. Phone 023 8200 2442 with the insulation-plus-render thickness and the projection of the old sill, and the depth is agreed with you before you order.
Does the picture show the 110 mm profile?
The picture shows the shape common to all four white depths. You receive the 110 mm depth named in the title.
What shape is the profile?
A flat white sill board, a low upstand along the back and a turned-down front edge, with an end cap closing each end.
Are end caps included?
The end caps for the Over Sill White 2.5m 110mm Depth are sold as their own item, the white end cap pair. One pair closes one sill with two open ends.
How many lengths does a 3 m opening take?
Two. 3 ÷ 2.5 = 1.2, which rounds up to two lengths, plus one white cap pair for the two ends.
Is the 110 mm depth sold in anthracite?
Yes — the anthracite 110 mm over sill, with the anthracite end cap pair.