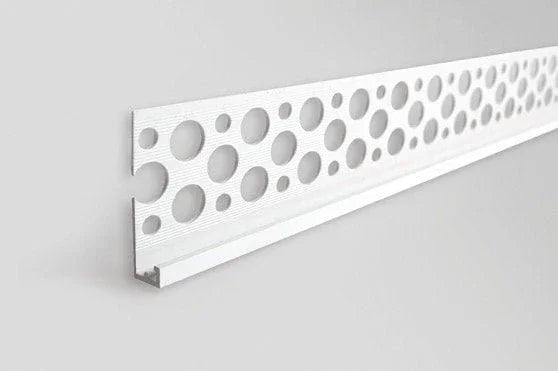
STOP BEADS
5 products
Showing 1 - 5 of 5 products
A render stop bead gives the render a clean, straight line wherever it ends: at a window or door frame, under a soffit, or where the wall meets another material. The PVC profiles in this range differ in two ways that decide the order, the depth of the nose and whether the profile carries its own mesh wing.
Render Stop Bead Profiles: With Mesh or Without
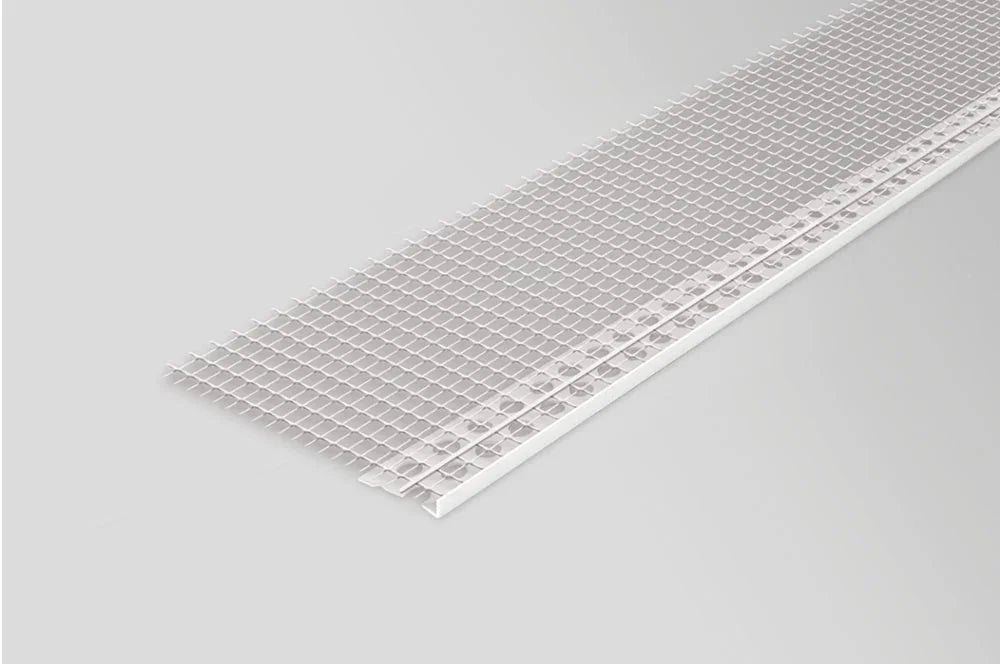
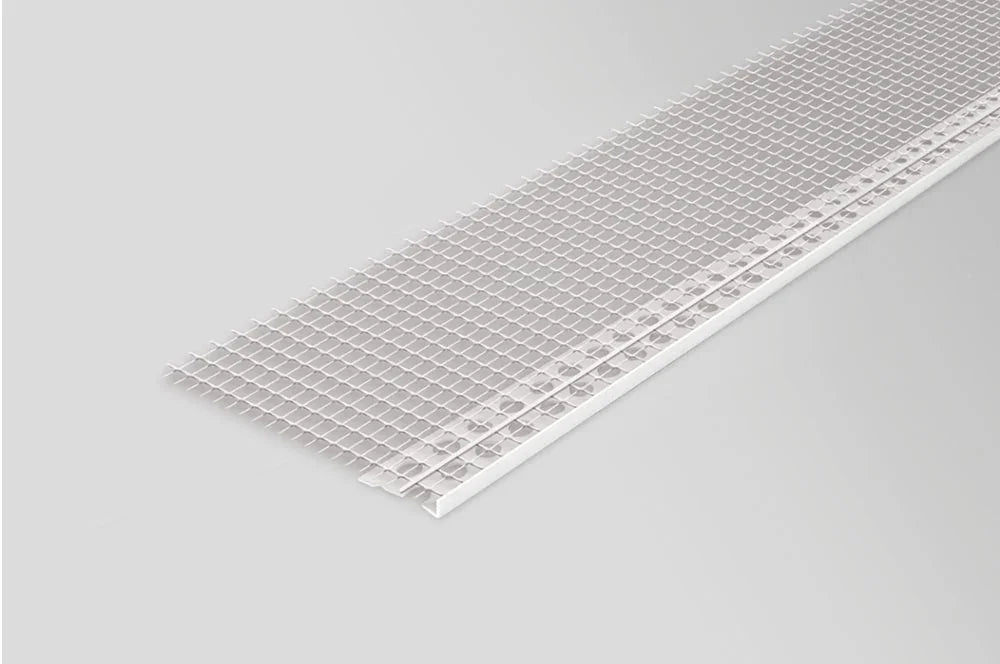
The 6 mm render stop bead comes with mesh and without it, and that pair is the one most often mixed up. The 6 mm stop bead with mesh is for a wall where the render sits on a reinforced basecoat, as it does on external wall insulation: its mesh wing is bedded into that layer so the edge is tied into the reinforcement. The 6 mm stop bead without mesh is for a coat with no mesh layer, where the profile only has to set the line and the depth.
The range splits into two families.
- With a mesh wing: 3 mm and 6 mm profiles for thin finishes over a reinforced basecoat.
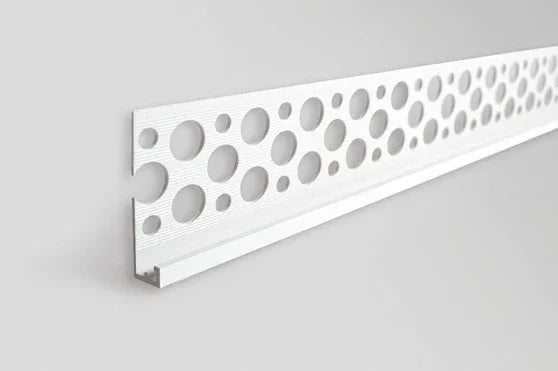
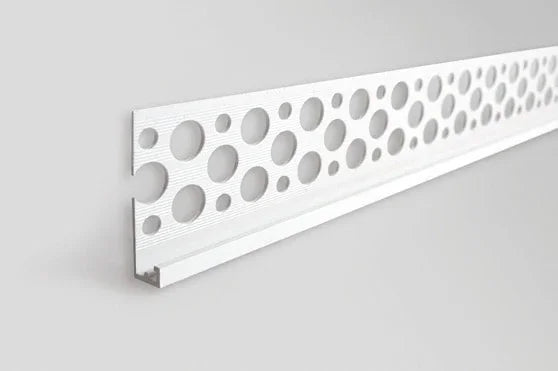
- Without mesh: 6 mm, 10 mm and 15 mm profiles, chosen by the thickness of the render at the edge.
All of them sit in the render beads and mesh range at Renders World, alongside the corner and drip profiles for the rest of the same wall.
Why a Stop Bead Goes on Every Render Edge
- A straight finishing line: the stop bead is fixed true first and the render is ruled off to it, so the line stays straight along a frame or soffit.
- A fixed render depth: the nose sets how thick the render finishes where it stops, which is where a thin or thick patch would show most.
- A protected finish: the stop bead carries the exposed end of the coat instead of leaving bare render to chip.
Against a window or door frame the stop bead does one more job. The render stops on the profile rather than being feathered onto the frame, so there is a clean, straight joint between the two that can be sealed once the render is finished.
Choose a Render Stop Bead by Render Depth
Pick the wall build-up first, then match the stop bead nose to the finished thickness at the edge.
| Your Project | Best System | Standout Spec |
|---|---|---|
| Very thin finish over a reinforced basecoat | 3mm PVC render stop bead with mesh | 3 mm · mesh wing · 2.5 m |
| Thin-coat finish on an insulated wall | 6mm PVC render stop bead with mesh | 6 mm · mesh wing · 2.5 m |
| Thin coat with no mesh layer behind it | 6mm PVC render stop bead, no mesh | 6 mm · no mesh · 2.5 m |
| Medium traditional coats | 10mm PVC render stop bead | 10 mm · no mesh · 2.5 m |
| Thick traditional coats | 15mm PVC render stop bead | 15 mm · no mesh · 2.5 m |
A nose shallower than the render leaves the coat standing proud of the stop bead, and a nose deeper than the render leaves the stop bead standing proud of the coat. Measure the build-up at the edge itself, not the average across the wall.
How to Fit a Stop Bead Before the Render
- Cut the stop bead to length, keeping the nose straight at the cut.
- Set it along the frame, soffit or material edge on the system's mortar, nose facing the way the render will finish.
- Check the stop bead straight and true along its full length before the mortar grabs.
- On an insulated wall, bed the mesh wing into the basecoat so the field mesh laps over it.
- Rule the render off against the nose once the stop bead has set.
The full method is in the guide to fitting render stop beads, and the order in which stop, corner and drip profiles meet around an opening is worked through in render detailing at windows and doors. Where a render stop bead without a wing is used on a reinforced wall, the field mesh runs to the edge from a rendering mesh roll.
Where Stop Beads Go on a Wall
Walk the elevation before ordering and mark every place the render will stop rather than turn a corner or run on. Those are the places a render stop bead goes.
- Round the sides and heads of window and door frames that sit within the render.
- Under soffits, and along the top of the render where it meets eaves or cladding.
- At junctions with brick, stone, timber or other finishes left unrendered.
- Around meter boxes, vents and other fixtures the render finishes up to.
Each of those runs is a stop bead run, and adding them up gives the length to order.
Which Profile Each Edge Needs
Each edge of a rendered wall has its own profile, and the choice follows what the render does at that edge.
- The render stops at a frame, a soffit or another material: a render stop bead from this range.
- The render turns an external corner: one of the corner beads instead.
- The render ends above a plinth or over a window head: a drip bead for render, which throws water off the edge.
When the choice between profiles is still open, the guide to matching each profile to its detail sets the options side by side. Stop beads go on before the finish, so they are ordered with the basecoat and the thin-coat silicone finishes that will be ruled off against them.
Renders World dispatches orders the same day when the stock is there, the team quotes delivery after the order, and every delivery is kerbside. Stop beads can also be collected from the Renders World counter in Southampton during opening hours.
Render Stop Bead Questions
Do I need the 6 mm render stop bead with mesh or without?
With mesh where the render sits on a reinforced basecoat, as on external wall insulation, so the wing can be bedded into that layer. Without mesh where the coat has no mesh layer and the stop bead only sets the line.
How many lengths does a job take?
Add up every run where the render stops, measured around each frame and along each soffit, and divide by the length of one stop bead. Round up for each opening separately, because offcuts rarely reach the next one in a single piece.
What if the render is thicker than the deepest stop bead?
The deepest profile here has a 15 mm nose. Where the render at the edge will be thicker than that, build out the edge first so the finish coat sits at the depth of the profile.
Can a render stop bead be used where render meets brick or timber?
Yes. That is one of its main jobs: the render stops on the profile in a straight line, and the brick, stone or timber beyond it is left clean. Choose the nose to suit the render thickness at that junction.
Is a stop bead the same as a drip profile?
No. A stop bead gives a flat, straight edge, while a bellcast profile has a drip that throws water clear. Use the bellcast profile at the bottom of the render and over openings, and a stop bead where the render meets a frame or another material.