
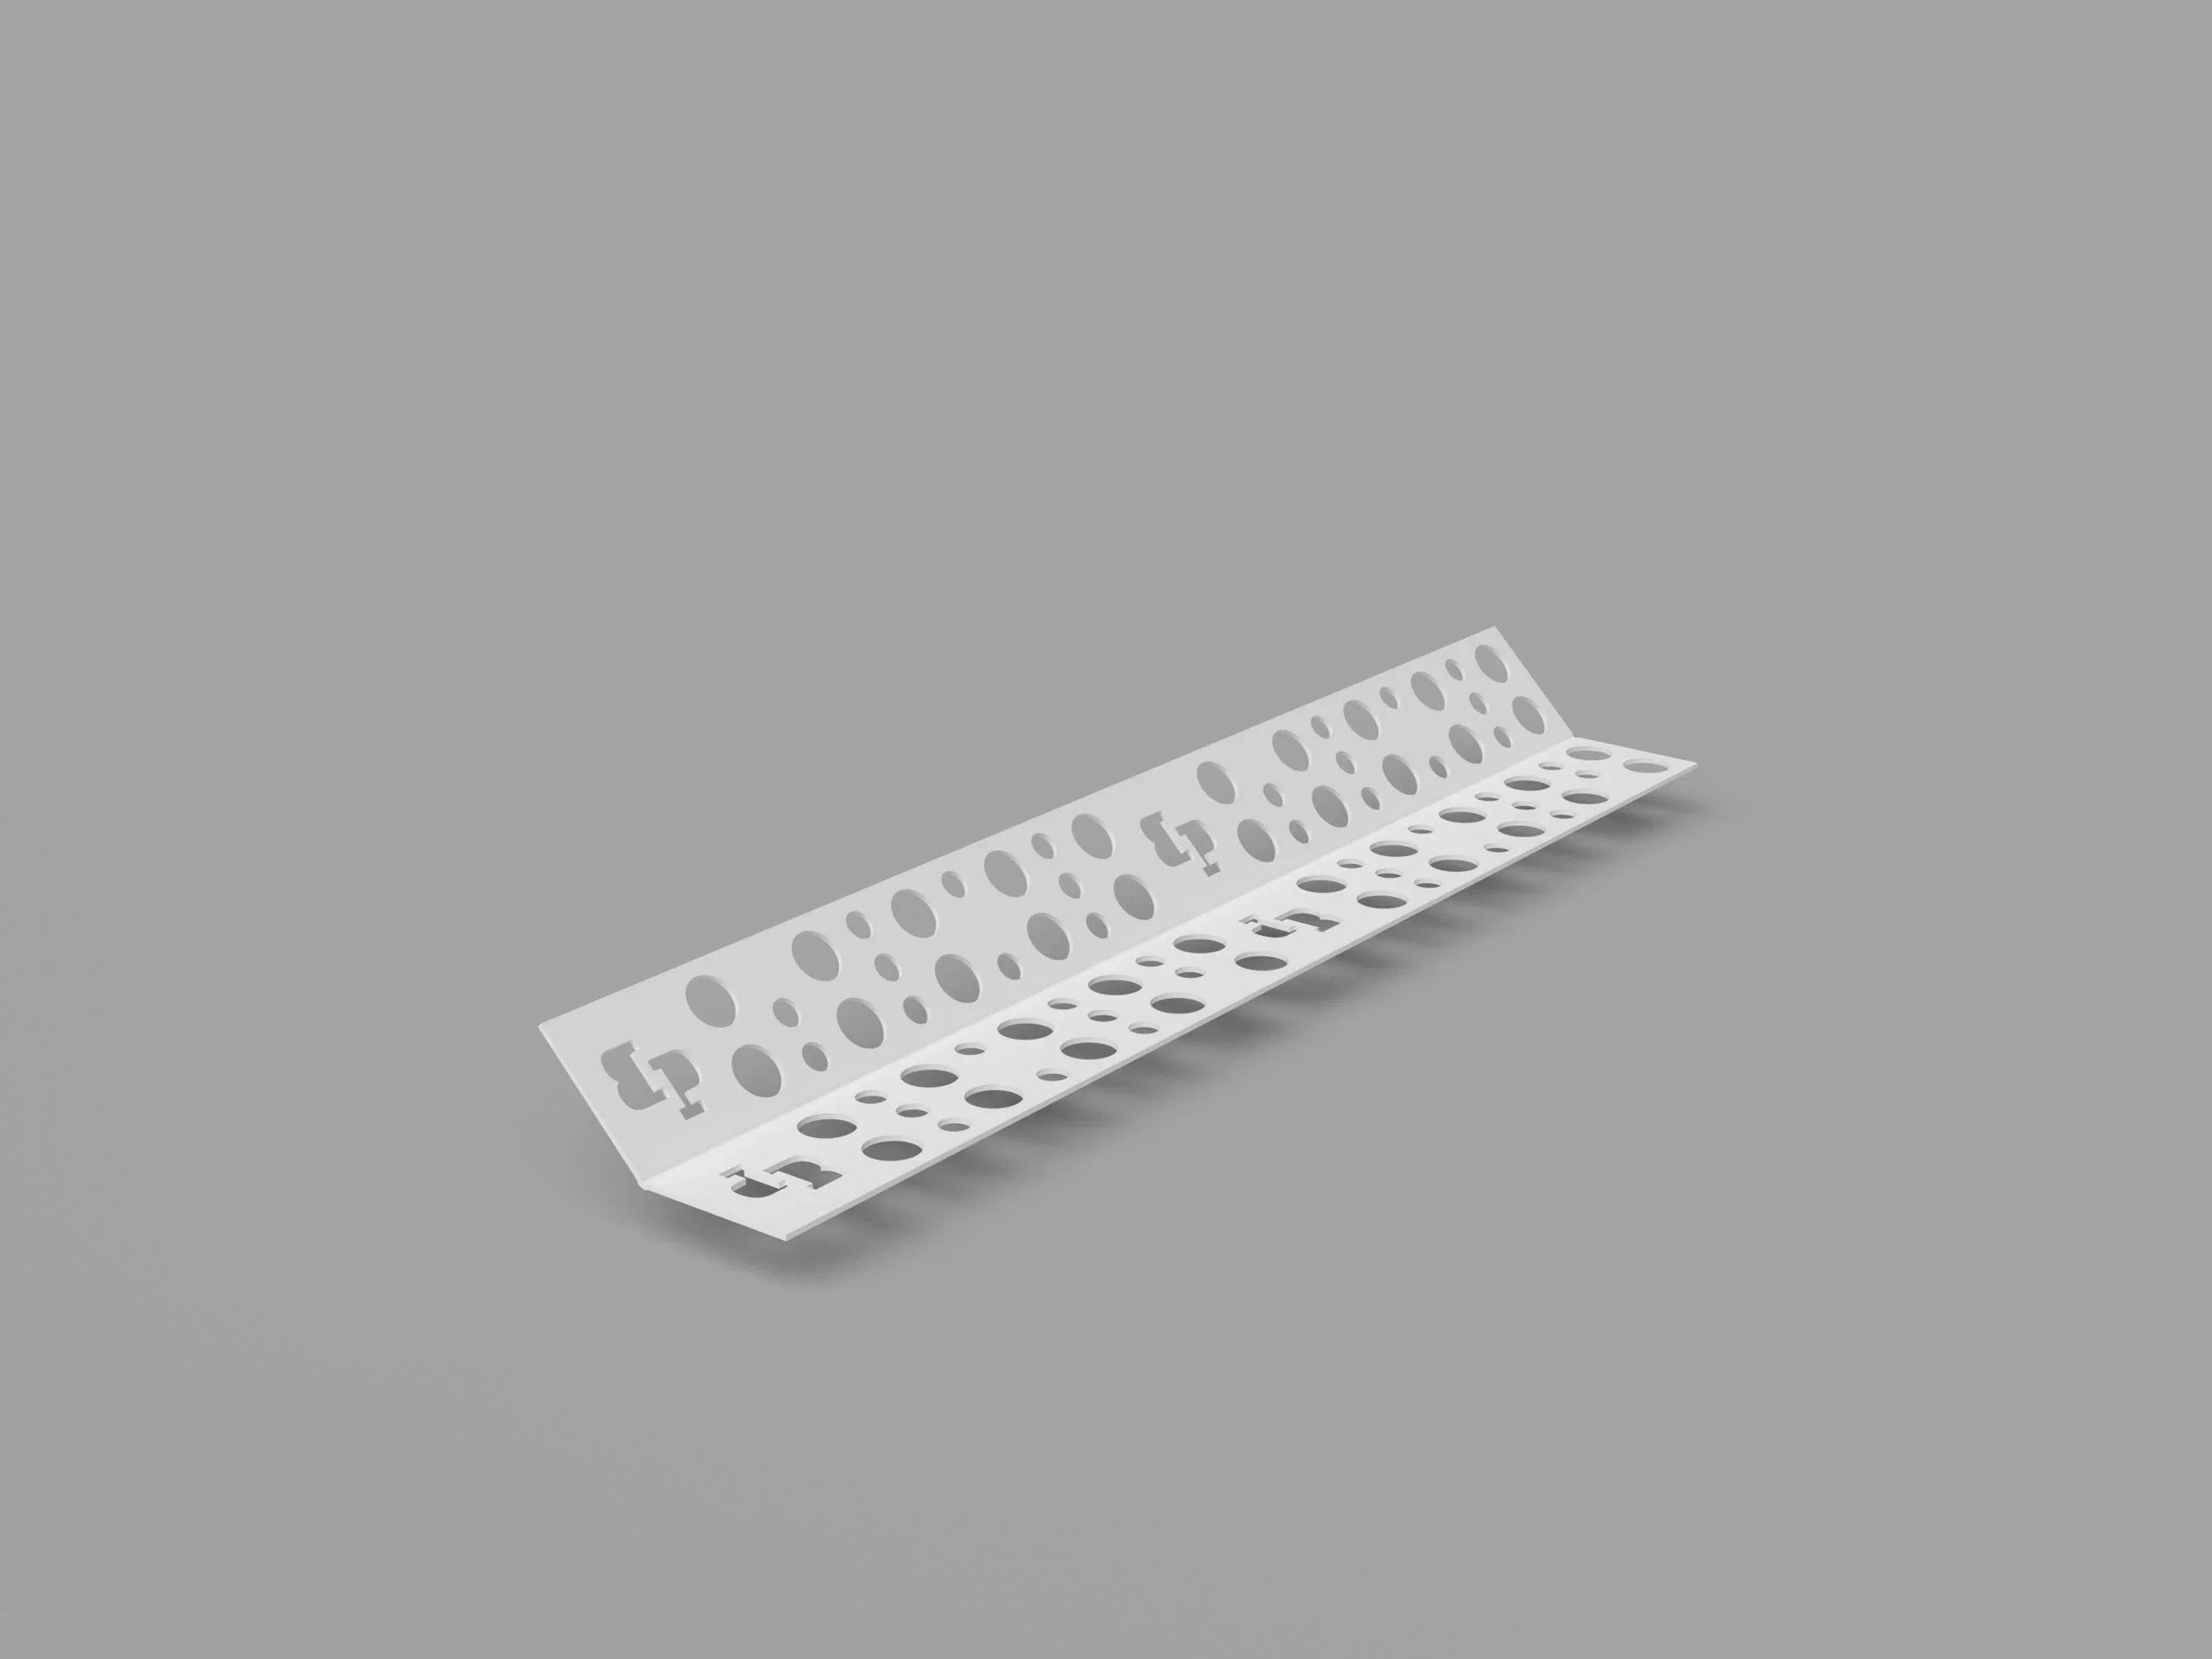

Description
A clean, unbroken corner line on a full-house elevation comes down to how many end-to-end joints sit in it, and a 2.5 m bead in a 3 m wall places one right where the eye lands — the long-length no-mesh profile removes that joint across render, scratch coat, traditional plaster, and internal skim alike.
What the BP4 L300 PVC Universal Corner Bead Does on UK Render and Plaster Walls
The BP4 L300 is a 3,000 mm PVC external corner profile with perforated wings on both faces of the arris, supplied without a coextruded mesh and working across the full range of finishing systems, from internal skim and traditional wet plaster through scratch-coat and modern thin-coat render. It is stocked within the render and plaster corner beads range in storey-height lengths sized to typical UK wall heights.
The "universal" designation reflects breadth of compatibility rather than optimisation for one system: the profile is lighter and quicker to set than a mesh-wing equivalent, and reinforcement around the corner comes from lapping the wall's separate fibreglass mesh onto the wings during basecoat application. At 3.0 m the L300 covers a typical storey-height corner in a single piece, and that single-length geometry is the structural reason to choose it over 2.0 m or 2.5 m alternatives on full-house elevations: one set bead, one plumb check, no end-to-end joint sitting visible mid-run under raking light.
What Makes the BP4 L300 Universal Corner Worth Specifying
- 3.0 m continuous length: covers a full storey-height corner without an end-to-end joint, removing the alignment break that telegraphs through the finish on long elevations under raking light.
- Universal system compatibility: works across thin-coat render, scratch-coat render, traditional wet plaster, and internal skim, a single specification line covering multiple finish types on a mixed-trade project.
- Perforated wings on both faces: basecoat or plaster extrudes through during bedding, locking the bead mechanically as well as adhesively into the substrate as the coat cures.
- No coextruded mesh: lighter, faster to set out, and quicker to cut than mesh-wing alternatives, with mesh continuity coming from the wall's main reinforcing layer instead.
- UV- and alkali-stable PVC: formulated to stay dimensionally stable against the alkali chemistry of cementitious basecoats and the residual UV exposure during the build-up stage.
Technical Specifications — BP4 L300 PVC Universal Corner Data
| Property | Value |
|---|---|
| Product code | BP4 L300 |
| Profile type | Universal external corner bead, PVC, no mesh |
| Length | 3,000 mm |
| Material | PVC, UV- and alkali-stable |
| Wing dimensions | ~21–25 mm per side, class-typical |
| Internal angle | ~88° (forms 90° external arris after bedding) |
| Wing perforation | Yes, for mechanical key into basecoat or plaster |
| System compatibility | Thin-coat render, scratch-coat render, wet plaster, internal skim |
| Application temperature | +5 °C to +30 °C, air and substrate |
| Mesh continuity | Wall mesh lapped ~100 mm onto each wing before basecoat closes up |
| Cutting | Bead snips or fine-tooth hacksaw |
| Pack | Single 3.0 m length; trade pack quantities available |
Wing dimensions are class-typical for universal PVC corner profiles and may vary slightly between consignments. Where project specification calls for exact tolerances, verify the supplied product against drawings before committing to a bedding sequence.
How the BP4 L300 Installs Across Render, Skim, and Plaster Systems
The bedding sequence is the same across the bead's compatible systems, with only the bedding medium changing to suit the finish. On thin-coat render and EWI build-ups, apply a continuous strip of basecoat along the corner, press the bead in until basecoat extrudes through the wing perforations, and lap the wall's fibreglass reinforcing mesh approximately 100 mm onto each wing before the basecoat closes over, which is the standard ETICS approach to crack control at external corners. On scratch-coat render, traditional wet plaster, or internal skim, the bedding medium becomes the relevant plaster or scratch coat, with the same wing-keying and skim-over principles applying.
Check plumb along the full 3 m with a spirit level before the bed begins to grip, then finish across both wings with the smooth side of the trowel to feather the edge into the surrounding wall. The full step-by-step bedding technique covering embedment depth, joint treatment, and finish-coat ruling is set out in the corner bead installation guide for UK projects, and where each profile type sits in a render elevation is covered in the render detailing guide for windows and doors.
Installation Notes — Bedding, Cutting, Joint Reinforcement
Work within +5 °C to +30 °C ambient and substrate temperature, and confirm the corner is sound, clean, and free of loose material before applying the bed. Lay the full 3 m bed in one pass rather than walking the bead in from one end, since a continuous generous bed distributes pressure evenly across all seven contact points along the length, which is what keeps the arris straight after the coat sets.
Cut with bead snips for fast clean trims or a fine-tooth hacksaw for square ends on long cuts, and avoid heavy tin snips on PVC, which crush the wing edges and leave a ragged end that will not butt cleanly. Where two beads meet on a longer run, butt the ends tightly and reinforce the join with a 250 × 250 mm patch of fibreglass mesh embedded in the basecoat across the joint, which stops the join telegraphing through the finish as the render shrinks during cure.
What UK Installers Do Differently With Long PVC Corner Beads
The failure that undoes a long bead's whole advantage is walking it in from one end, which runs the bed thin at the far end and locks a shallow bow into the arris that no trowel work recovers. Across full-house corner specifications supplied through Renders World, the elevations that read dead-straight are the ones where the installer laid the complete 3 m bed first and pressed the whole length home in one movement, letting the continuous bed hold the line while every contact point grips together rather than sequentially.
- Lay the full bed first, bed the whole length second: walking the bead in from one end runs the bed thin at the far end and leaves a bow no trowel work will hide later.
- One 3 m bead beats two shorter sections: a single set length on one plumb check sits straighter than two beads joined end-to-end, with no mid-elevation joint to telegraph through the finish.
- Lap the mesh 100 mm onto each wing on thin-coat work: the absent coextruded mesh is not a shortcoming on render, since the wall's main reinforcing mesh provides corner crack control, which is the standard ETICS approach.
- Patch every butt joint: a 250 × 250 mm mesh square in the basecoat over each end-to-end joint costs almost nothing and stops the join showing three months on.
- Snips for short trims, hacksaw for long cuts: snips are faster but bow cuts over a metre, where a fine-tooth hacksaw stays square and keeps butt joints tight.
How the BP4 L300 Compares to the Depth-Defined No-Mesh Beads
All three are no-mesh PVC render corners, so the decision comes down to run length against finished render depth. Read across to match the profile to your elevation and coat thickness before ordering.
| Variant | Key Spec | When to Choose |
|---|---|---|
| BP4 L300 PVC universal corner | 3.0 m · universal · ~88° arris | Long runs, mixed render and plaster |
| 10 mm PVC corner bead no mesh | 10 mm nose · 2.5 m · depth-defined | Standard thick-coat render depth |
| 6 mm PVC corner bead no mesh | 6 mm nose · 2.5 m · shallow | Lime and fine shallow finishes |
Is the BP4 L300 Universal Corner Bead Right for Your Project?
- Long external corners on full-house elevations: the primary use case, where a 3 m continuous run avoids the visible end-to-end joint that 2.0 m and 2.5 m beads place mid-elevation under raking light.
- Mixed-trade projects spanning render, scratch-coat, plaster, and skim: a single corner profile that works across all four finish types simplifies the materials schedule and stockholding on site.
- Specifications requiring an integrated coextruded mesh wing: use the PVC corner bead with coextruded mesh instead, whose mesh-integrated wing simplifies the basecoat reinforcement detail where the project spec mandates it.
- Internal skim or plastering work with shorter runs: the PVC L250 plastering corner is the matched profile for exclusively internal skim and plaster where 2.5 m lengths suit the geometry.
- High-exposure facade edges within ladder-contact range: the aluminium corner 3.0 m is the harder-edge upgrade for ground-floor reveals, eaves edges, and positions where impact loading is elevated.
The BP4 L300 is UK-stocked for next-working-day trade despatch at Renders World. One 3 m bead covers a storey-height external corner in a single piece with the offcut available for short reveal returns, so count one length per corner and order with a 10% overage for cut-end discards and jamb returns.
FAQ — BP4 L300 Specification and Installation
Why is the BP4 L300 supplied without a coextruded mesh wing?
The universal designation prioritises compatibility across finish types. In skim and traditional plaster work, integrated mesh adds cost without benefit because the plaster ties the corner together at the wing perforations, and on thin-coat render the mesh continuity comes from the wall's main reinforcing mesh lapped onto each wing, which is the standard ETICS approach in any case. A no-mesh bead lets the installer use the project's specified mesh consistently across the whole elevation rather than introducing a second mesh weight at the corners only.
Can the BP4 L300 be used on external wall insulation systems?
Yes, the BP4 is fully compatible with thin-coat EWI build-ups when the wall's main fibreglass reinforcing mesh is lapped approximately 100 mm onto each wing during basecoat application. Where the system specification mandates a coextruded mesh corner, typically on certified ETICS bundles tied to a specific manufacturer detail, choose an integrated mesh variant so the bead matches the certified detail.
How is the 3 m length cut down for shorter runs?
Use bead snips for fast clean cuts on short trims, or a fine-tooth hacksaw for square ends on cuts above a metre. Avoid heavy tin snips, which crush the PVC wing edges and leave a ragged end that will not butt cleanly against the next length. Deburr the cut with a fine file or abrasive paper if any edge is left rough after trimming.
Will the PVC remain stable in long-term external use?
The PVC compound is formulated to be UV- and alkali-stable for the service life of the render system once embedded in the basecoat. Once the finish coat is applied over the wings, the render protects the bead from direct UV, and that protection from sunlight is the primary durability factor in long-term performance. Storing unbedded stock out of prolonged direct sunlight keeps it in optimum condition before fitting.
How many BP4 L300 beads are needed for a typical project?
One 3 m bead covers one storey-height external corner in a single piece, with the offcut available for short reveal returns at openings. A standard detached house with rendered upper storey, projecting bays, and four to six windows tends to land in the 12–20 length range depending on bay geometry and reveal detailing. Order with a 10% overage for cut-end discards and short returns at jambs where a main-run offcut is not long enough to reach.
Are mechanical fixings needed in addition to basecoat bedding?
On most substrates the basecoat or plaster bed provides sufficient grip, since the material extrudes through the wing perforations and locks the bead mechanically once it cures. On hard, low-suction backgrounds where bed adhesion alone is uncertain, supplementary non-corrosive fixings can be added at 600 mm centres during bedding. Standard PVC profiles accept galvanised or stainless steel fixings without the bimetallic concerns that apply to aluminium beads.