Wood Effect Render
8 products
Showing 1 - 8 of 8 products
A wood render puts a timber face on a wall that still has to behave like render. It arrives as four stages rather than one product: the mineral render that holds the impression, the mould that presses it, the agent that lets it lift and the wood shade that colours it. Renders World keeps all four on the shelf.
Where Wood Render Works on a UK Facade
Wood render is a decorative thin-coat finish, declared to EN 998-1 and classed A1 for reaction to fire, so a timber face reaches elevations where boards and battens would be refused outright.
That is the whole point of a wood render. The grain is pressed into a white mineral coat while it is still fresh, and the colour goes on afterwards as a thin coating rather than as paint. What the wall ends up with is a render build-up wearing a timber pattern, not a timber wall.
- The render — a white mineral coat scoped to external walls and to ETICS build-ups over polystyrene and mineral wool.
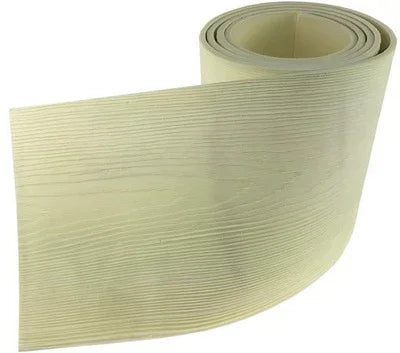
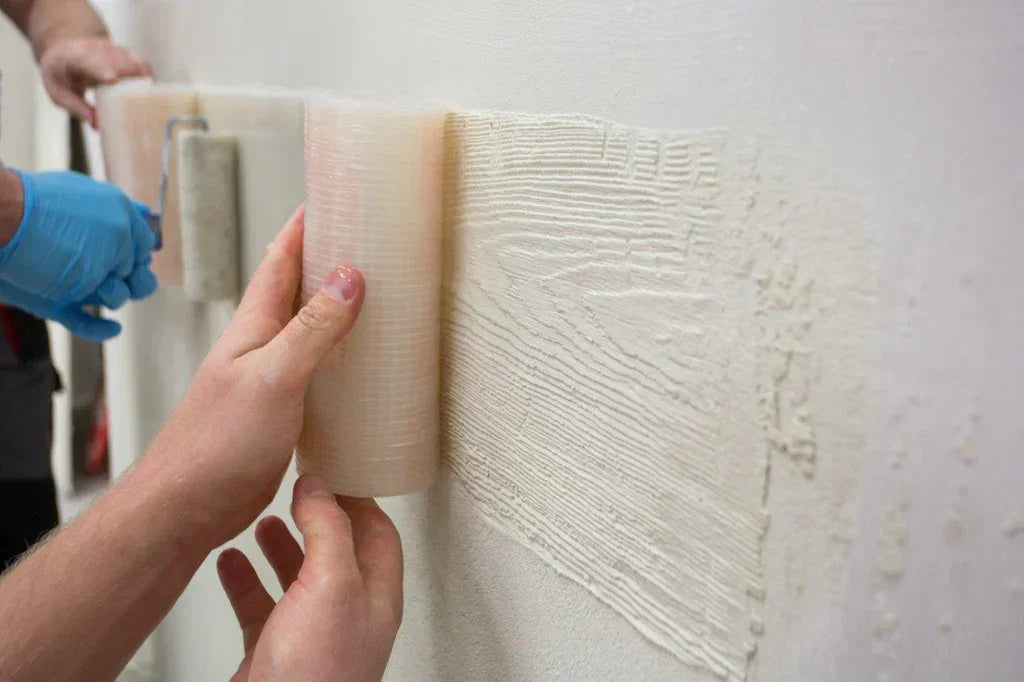
- The mould — a patterned silicone roll or a hand stamp, pressed into the fresh wood grain while it takes.
- The release agent — brushed onto the pattern face so it lifts clean instead of pulling render off the wall.
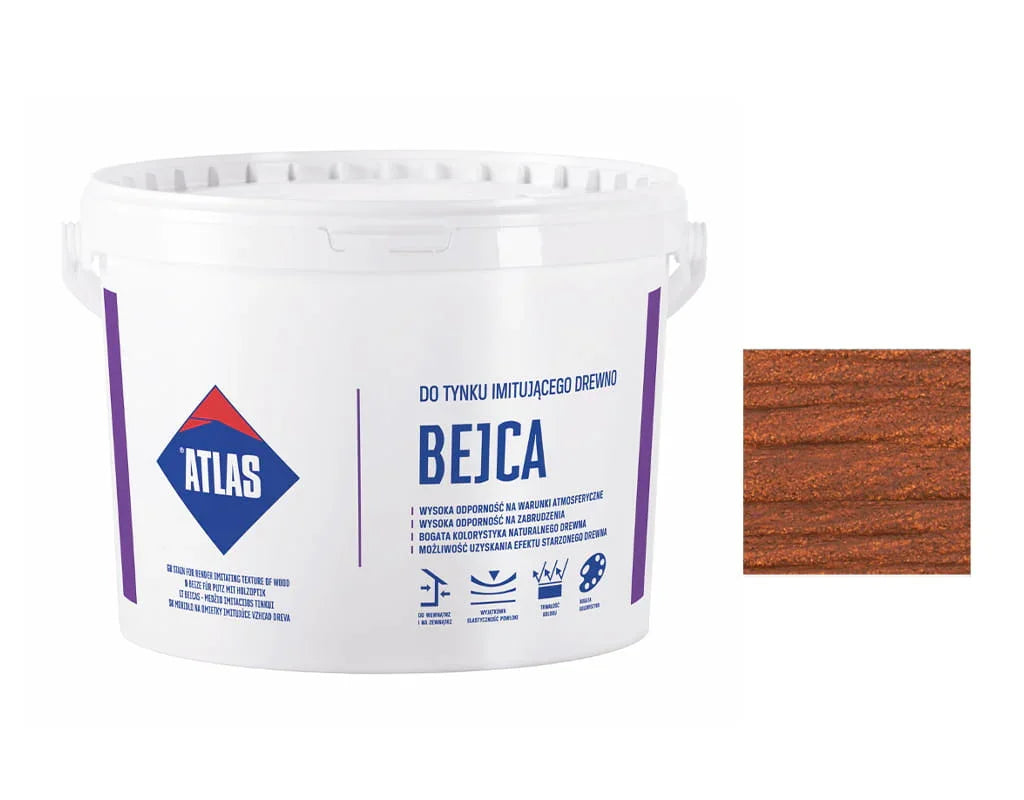
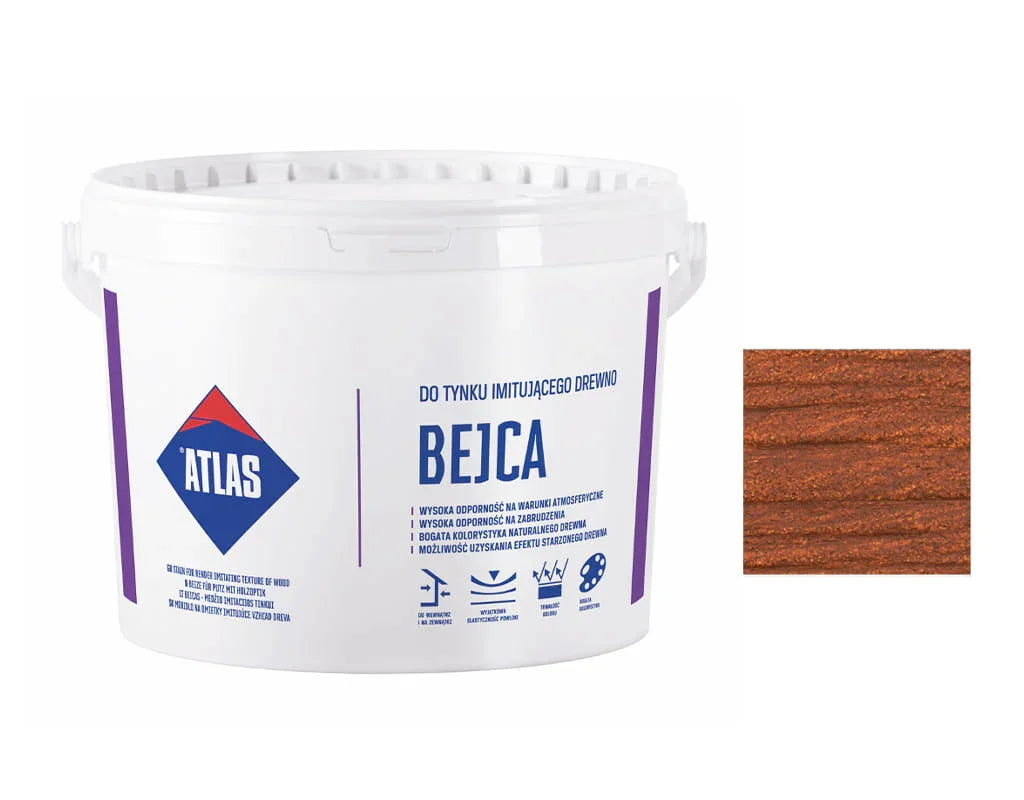
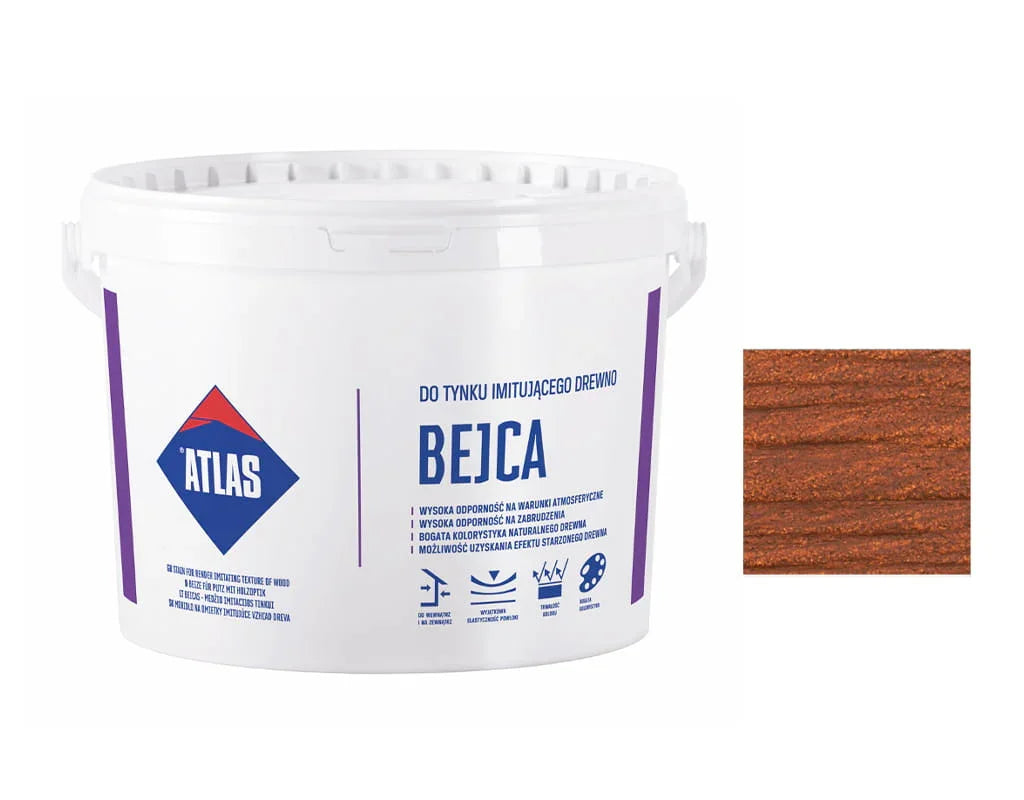
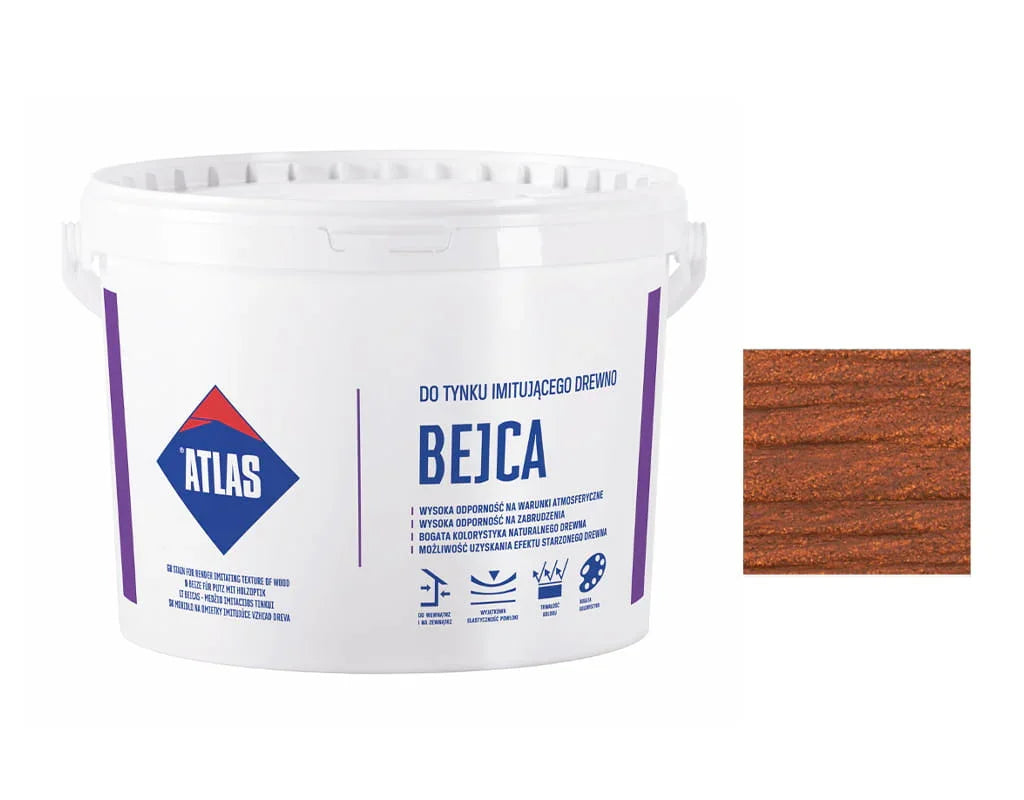
- The wood shade — a thin coloured coating made for this render, worked along the pressed grain.
Why a Stamped Timber Finish Instead of Cladding
- A wood render behaves like render, because it is render. It sits on external walls and inside insulation build-ups over polystyrene and mineral wool, with no boards to seal, no fixings to detail and no cavity to ventilate.
- Reaction to fire is class A1. That is the class on the render carrying the grain, and no timber board offers it.
- Texture is a tool decision, not a stock decision. The same bag becomes plank, board or grain depending on the mould pressed into it, so a pattern change late in a job does not change the material order.
- Colour is its own stage. The shade is chosen days after the render is on the wall, which takes the hardest decision off the critical path.
- Breathability is declared with the colour on. The vapour category on the render's sheet is measured with the stain already on the surface — the state the finished wall is actually in.
Match the Product to the Stage of the Method
A wood render is ordered stage by stage. Find the stage you are buying for, then the product that does that job; each product page carries its own declared figures for coverage, mixing and conditions.
| Your Project | Best System | Standout Spec |
|---|---|---|
| Timber-look facade on insulation or a solid wall | Atlas Cermit WN Smooth Render 25 kg | ETICS on EPS and mineral wool, mould-ready |
| Long plank runs across open elevations | Atlas Silicone Wood Stamp 200x20 cm | Silicone mould, 2 m x 0.2 m |
| Returns, reveals and hand-worked grain | Fox Wood Imitation Stamp | Hand tool, no roll to unwind |
| Lifting the pattern tool cleanly between presses | Atlas Anti-Adhesive for Forms 5 L | Re-coated every second impression |
| Warm mid-tone timber colour | Atlas Bejca Sealer 06 Teak 4 L | Shade 06, 4 L tin |
| Deeper brown over the pressed grain | Atlas Bejca Sealer 03 Walnut 4 L | Shade 03, 4 L tin |
| Pale, light-toned boards | Atlas Bejca Sealer 08 Birch 4 L | Shade 08, 4 L tin |
| Dark, low-reflectance boards | Atlas Bejca Sealer 09 Ebony 4 L | Shade 09, 4 L tin |
How the Wood Render Sequence Runs on Site
- Prime to the wall you have. A reinforced insulation layer built in Atlas Stopter K-50 takes this render with no key coat; every other background takes Atlas Cerplast priming mass first. The primer range carries it.
- Mix to the sheet and work in batches. The mixed render has a working time of about an hour, so the mixing station is sized to the wall in front of it rather than to the day.
- Lay the coat, comb it, smooth it. The coat is combed with a notched trowel and then smoothed again, which is what gives the pattern an even face to bite into.
- Press inside the window. Grease the mould with the release agent first, then press between 20 and 60 minutes after laying, once the surface holds an impression but has not gone hard. A 2 m mould wants two people: one unrolling and pressing, one rolling it back.
- Re-coat and wash the mould. A fresh thin layer of agent goes on after every second impression, and it is washed with water and detergent at the end — a tool left dirty deforms permanently and the pattern goes with it.
- Stain after at least three days. The coating is worked along the pressed rings of the plank with brush, roller or sponge, in one even thin coat with no runs and no recess left uncoated.
The two halves of the job want different weather. The render will go on in colder conditions than the wood shade will, so on a late-season programme the colouring stage closes first and the wall waits. The step-by-step application guide works through the substrate side in more depth.
Choosing the Shade, the Mould and the Face
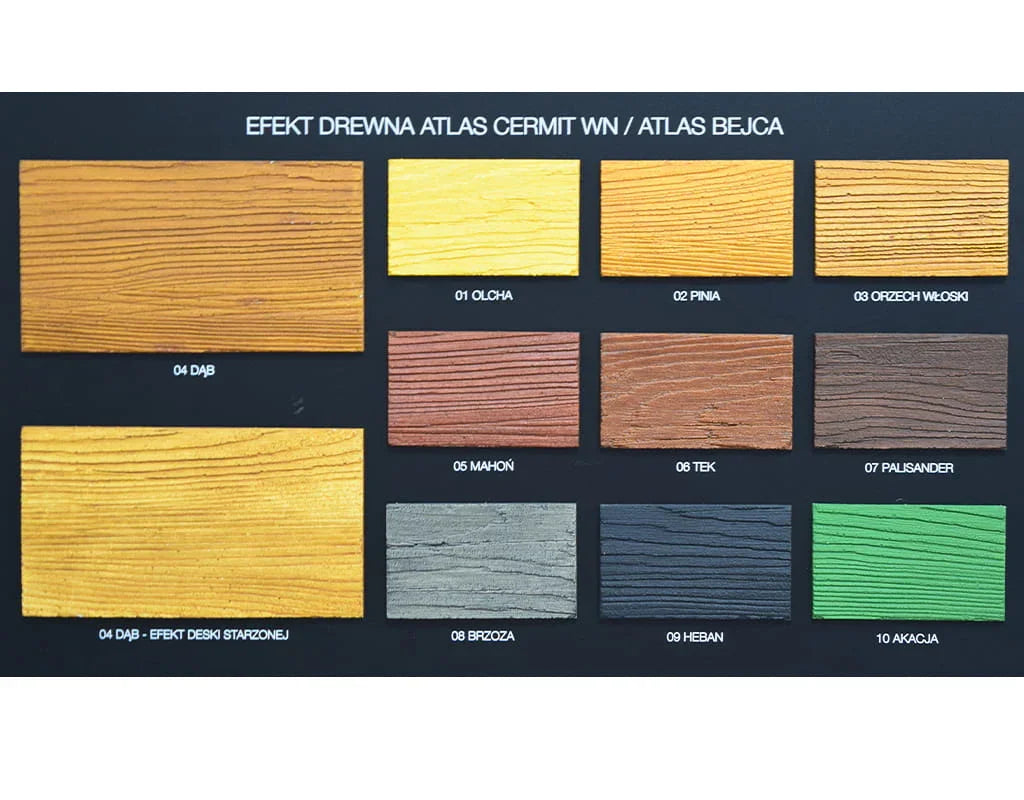
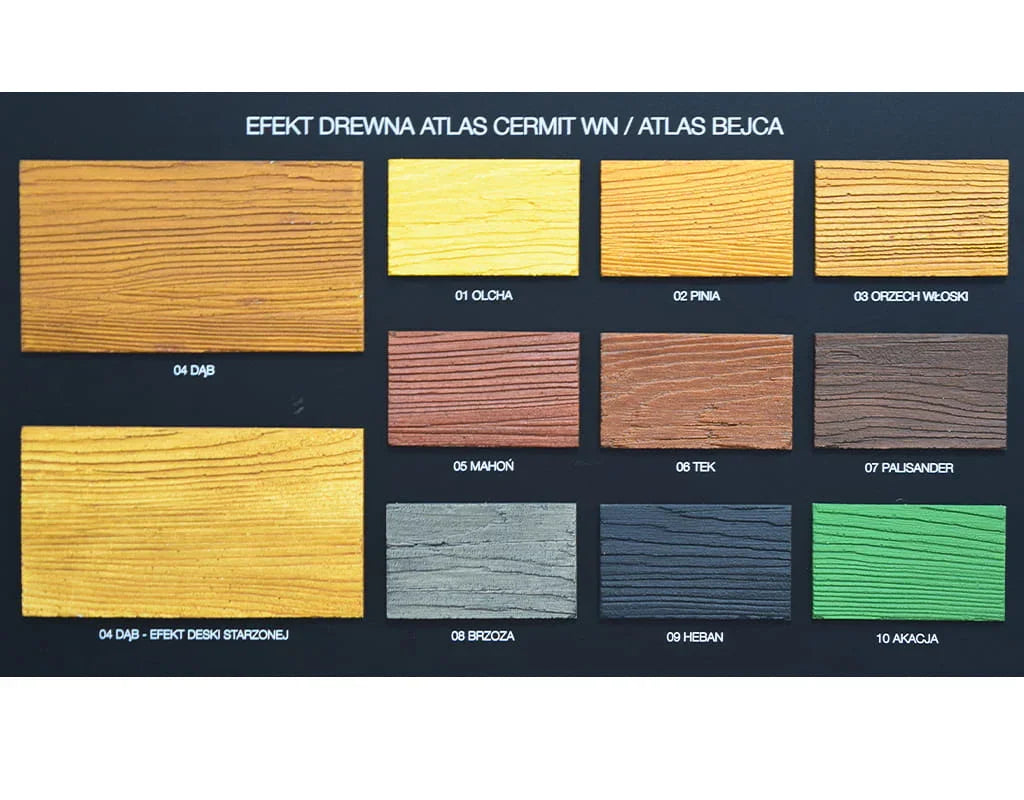
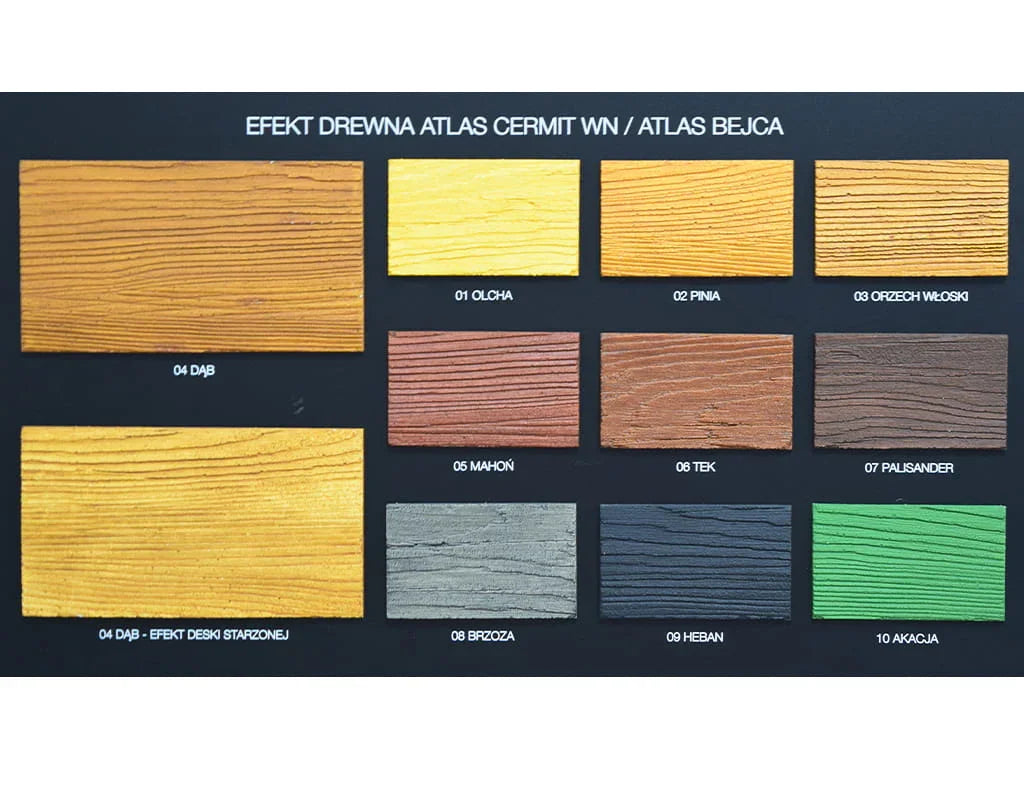
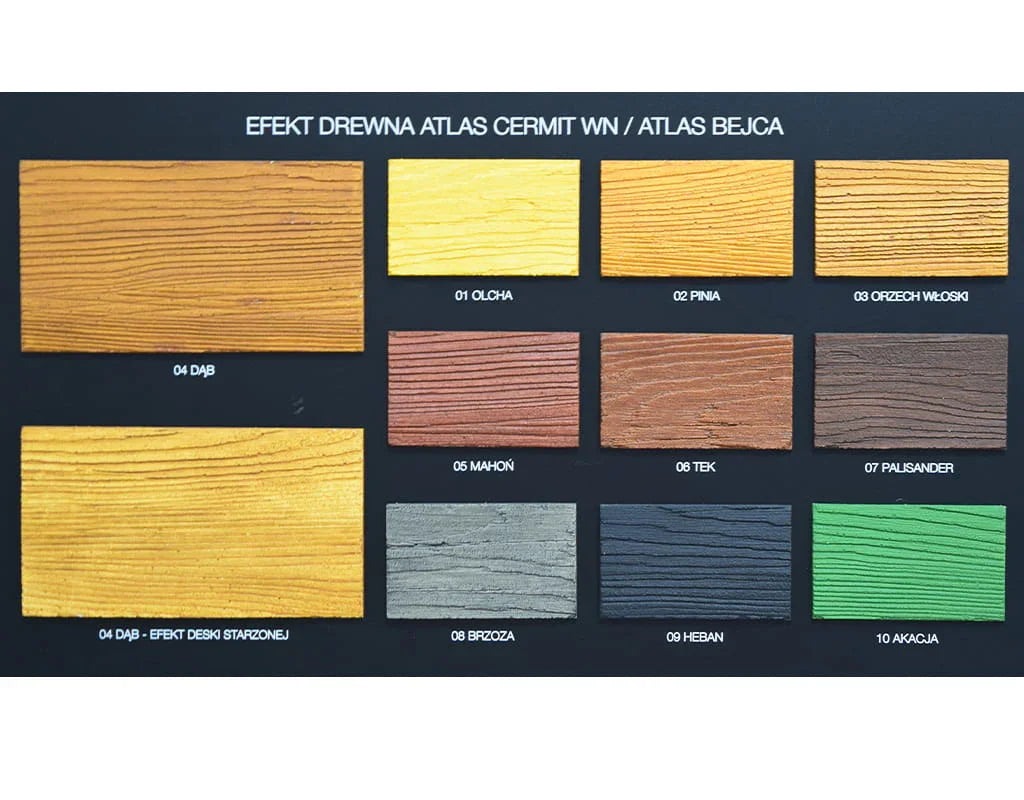
- Four shades of the ten on the maker's card. Renders World stocks 03 walnut, 06 teak, 08 birch and 09 ebony. One elevation is coated from a single production date, because shade varies between batches, so the order is placed for the whole wall at once rather than topped up later.
- Two moulds, two scales. The silicone roll is the tool for long uninterrupted runs; the hand stamp is for returns, reveals and the places a 2 m roll cannot reach. Where a pattern must appear wider than the roll, the boards are set out rather than pressed twice into one line.
- Order the four stages together. A wood render that arrives without its release agent stops on the second impression, and one that arrives without its stain sits grey on the scaffold waiting for a delivery.
- Where a wood render does not go. The coating is excluded from horizontal surfaces, from anything under standing water or snow, and from walls drawing damp by capillary action; strongly sunlit elevations are kept off it as well. Ceiling soffits and internal walls sit outside this render's declared scope.
- A different face, the same method. The stamping sequence also produces brick and bare-concrete finishes, and those products sit in the brick and concrete effect collection.
Ordering the Four Stages: Quantities and Limits
How much material does an elevation take?
Coverage is declared per product, and each product page above carries its own figure for the render and for the stain. A wood render adds three lines to an ordinary render order.
- The mould, bought once and reused across this job and the next one.
- The release agent it is coated with, consumed by the number of impressions rather than by the area.
- The wood shade, ordered for the whole elevation at once.
The quantities themselves are settled by a trial panel on the substrate being coated.
Which products belong together?
The wood shade is made for this render and also takes to concrete, mineral renders of every kind, gypsum plasters and plasterboard. The release agent is named on its own sheet for the technology of textured renders imitating wood, and it is never diluted or mixed with anything else.
How tight is the texturing window?
Twenty to sixty minutes after the coat is laid, depending on the weather. That single constraint shapes the whole day: the mould is greased and the second pair of hands is on the scaffold before the first bag is mixed.
Does the colour change how the wall breathes?
The vapour category published for a wood render is the one measured with the stain already on the surface, so the figure describes the finished wall rather than a bare coat. The coating has its own declared diffusion resistance on its product page.
What if the shade wanted is not one of the four?
The maker's card runs to ten wood shades and Renders World holds four of them. Anything outside those four is an order question rather than a stock question, and it is worth asking before the render goes on the wall rather than after. For the wider range this finish belongs to, see the render systems range.