
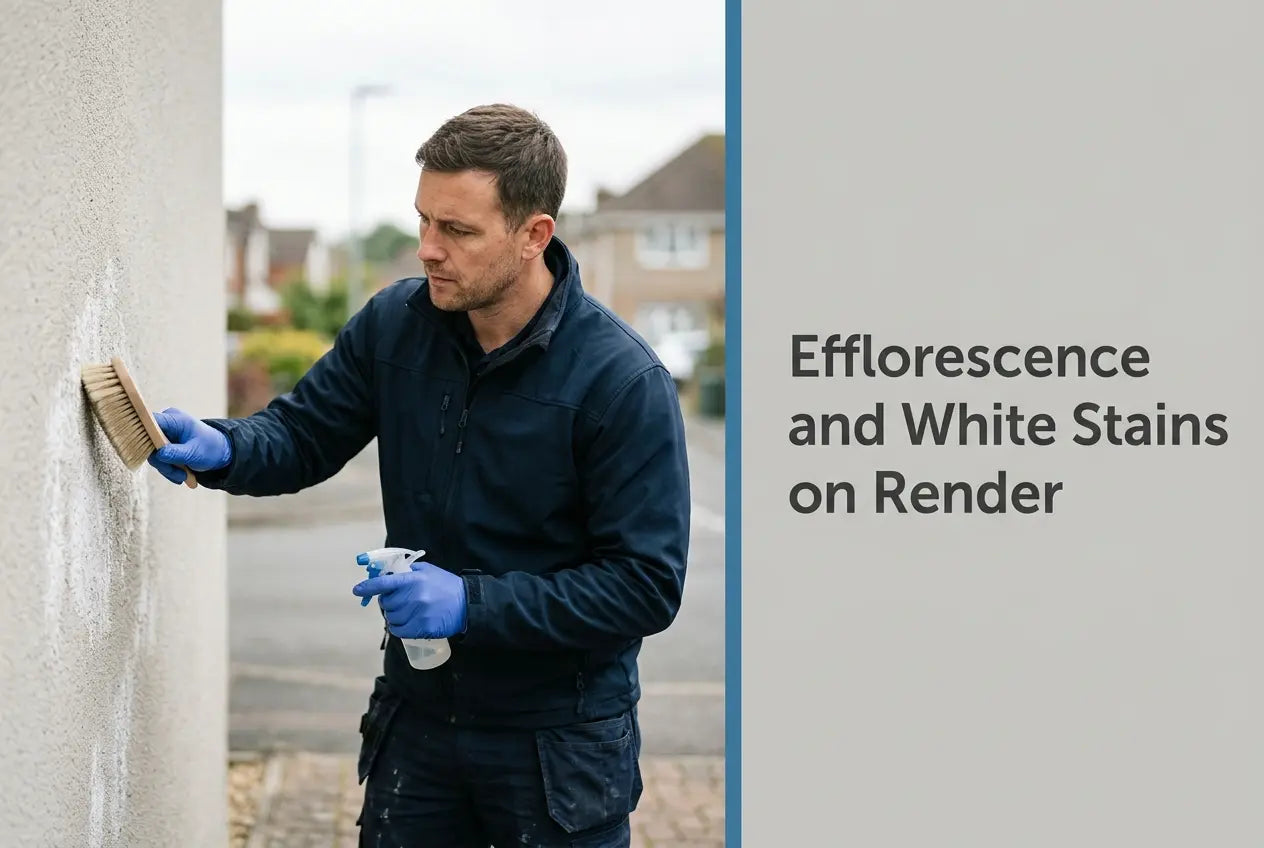
White crystalline bloom on a new facade is almost always efflorescence — soluble mineral salts carried out of the wall as it dries, then left on the face when the water evaporates. On a sound thin-coat system it is a surface deposit rather than a fault in the finish, it lifts from a dry wall with a stiff brush, and the Renders World render cleaning products range covers the mineral residues that brushing alone leaves behind on adjacent surfaces.
What follows is built from the manufacturers' own technical sheets rather than a general account of salt bloom: the substrate ages and moisture limits each render sets before it goes on, the drying and rain-protection windows, and the declared vapour and absorption figures that govern how a wall sheds and releases water afterwards. Those numbers are what make the difference between clearing a deposit once and clearing it every spring.
How to Identify Efflorescence on Render, and What It Is Not
Efflorescence and white stains on render are surface salt deposits, not a fault in a finish declared to EN 15824, so identification decides whether the answer is a dry brush or a moisture investigation. The deposit is patchy, chalky to the touch, most visible on darker shades, and it appears after drying weather or a wet spell.
The behaviour of the deposit does the diagnosis. Salts that migrated outward and stopped will come away dry; anything that needs wetting to shift, or that returns within weeks of a clean, belongs in the second category and points at a water path rather than at the render. Getting that call right early keeps the remedy proportionate to the cause.
- Efflorescence: white, powdery and patchy, lifts dry, follows drying or rain, and sits on the face of the coating rather than within it.
- Lime bloom: whiter and more uniform, associated with a fresh cementitious layer curing in cool damp conditions, and identified by its uniformity rather than by any fixed timescale.
- Biological growth: green, red or black, damp to the touch, and it does not brush off dry — a separate diagnosis set out in the red algae and green algae identification guide.
Why Salt Bloom Forms — Construction Moisture and Standing Damp
Salt bloom needs three things together: soluble salts in the build-up, water to dissolve and carry them, and an evaporation face where the water leaves and the salt stays. Take away any one and the bloom cannot form, which is why the control measures sit in the build sequence rather than in the cleaning cupboard.
Construction Drying-Out Salts and the Limits on the Sheet
Both sheets in this range treat substrate moisture as a specification, not a preference. Ceresit CT 74 states that moisture coming from the substrate can destroy the render and requires adequate sealing layers where constant moisture is expected, and it sets an age and a moisture ceiling for every substrate type. The Atlas sheet does the same, with different figures — which is the practical point, because the two are not interchangeable.
| Substrate or stage | Ceresit CT 74 sheet | Atlas Silicone Render sheet |
|---|---|---|
| Reinforced (basecoat) layer | Armoured layers of CT 80, CT 85, CT 190 or ZU, primed with CT 16 — age above 3 days; CT 87 above 2 days | Reinforced ETICS layer of STOPTER K-100, STOPTER K-50 or HOTER U2-B — min. 3 days at +20 °C, 50% humidity |
| New cement or cement–lime render | Age above 28 days, moisture ≤ 4%, primed with CT 16 | Min. 7 days per 1 cm of thickness, moisture ≤ 4%, primed with SILKON ANX or CERPLAST |
| Concrete | Age above 3 months, moisture ≤ 4% | Min. 28 days, structural moisture < 4% |
| After application | Resistance to rain from 24 to 48 hours, depending on temperature | Drying approx. 24 hours at +20 °C and 60% humidity, longer near +5 °C |
Read down the two columns and the buying instruction writes itself: seasoning is a property of the system you are specifying, so take the figure from the sheet for the render actually going on the wall. Where the render is not yet chosen, the longer figure — 3 months on concrete under the Ceresit CT 74 white 1.5 mm render sheet against 28 days under the Atlas Silicone Render white sheet — keeps both options open, and the 4% substrate moisture ceiling is common to both.
When Bloom Keeps Returning — Finding the Moisture Path
Construction salts are finite. Once the fabric has dried and the deposit has been taken off, they are not replenished, so bloom that reappears after a proper clean is telling you water is still arriving. The Atlas sheet is explicit about the boundary: use on surfaces exposed to dampness from capillary rise of moisture is excluded, which makes rising damp a fabric question to settle before any finish goes back on.
The usual candidates are a bridged or defective damp-proof course, render taken low enough to catch ground splash, an unsealed junction at a reveal or abutment, and a gutter or downpipe wetting one zone repeatedly. Each has a durable fix at the detail, and the wider picture of movement, reinforcement and water-shedding detailing is covered in the guide to render cracking causes and prevention that anchors this diagnostic cluster.
How to Remove Efflorescence Without Damaging the Render
Dry removal is the method, and it works because the deposit is already on the outside of the coating. Ceresit's instruction for CT 74 is not to sprinkle the render with water, and that holds for cleaning as much as for curing: wetting redissolves the salts and draws a fresh batch to the face, so a dry brush on a dry wall is both the gentlest and the most effective first pass.
Where the deposit has also landed on sills, glazing, tiling or metalwork beside the render, an acid cleaner earns its place. Atlas Cement Away SZOP is a 1 kg inorganic-acid concentrate, dilutable up to 1:5, listed for ceramic, porcelain, clinker, treated stone, chrome, varnished surfaces, stainless steel and plastic. Its own product page states that it is designed for acid-resistant surfaces adjacent to render rather than the render itself, and that is the scope this page follows — the Renders World technical desk is the route for confirmation on a specific finish before anything acidic goes near it.
- Wait for a genuinely dry wall: treat after a dry spell, so the salts have migrated and stopped rather than being actively carried outward.
- Brush dry, in small areas: a stiff dry brush lifts surface bloom and resolves most new-build cases across two or three dry spells.
- Keep acid chemistry off the render face: reserve it for the acid-resistant surfaces the product page lists, and protect untreated marble, limestone and raw polished metals nearby.
- Work at the mildest effective dilution: step up only if the first pass underperforms, then rinse top-down with clean water so the runoff leaves the wall.
- Match the chemistry to the stain: coloured, damp growth needs a biocide — the Atlas render sheet names Atlas Mykos Plus for removing biological infestation from a substrate, with a minimum 48 hours before refinishing.
Key Takeaway: efflorescence on new render is drying-out salt that lifts from a dry wall with a brush, and wetting it only brings more to the surface. Bloom that returns after a clean is a moisture path to fix, and acid cleaners belong on the acid-resistant surfaces beside the render rather than on the finish.
Preventing Efflorescence on the Next Render Project
Prevention is a sequencing job. Let the reinforced layer or the cement render reach the age and moisture figure its sheet sets before the finish goes on, and the bulk of the salt has already left the build-up by the time the surface is closed. The table above carries those limits per system, and they are the single most useful thing on this page for a specifier planning a programme.
Priming controls how evenly the wall then dries. The Ceresit CT 16 priming paint sheet states that it considerably decreases substrate absorption, preventing the applied product from drying too fast, and that its coating properties homogenise the substrate and so prevent the formation of stains on coloured acrylic, mineral, silicate-silicone, silicone and elastomeric renders — stain prevention is a declared function, not a side effect. Consumption is 0.2 to 0.35 l/m², or 0.3 to 0.5 kg/m² depending on substrate smoothness and absorption, with drying of approximately 3 hours: on a 100 m² elevation, 100 m² × 0.3–0.5 kg/m² = 30–50 kg. Systems are not mixed here, though — CT 16 sits under CT 74, while the Atlas sheet calls for SILKON ANX or CERPLAST, so take the primer from the same family as the render in the exterior render primers range.
Weather does the rest, and the limits are per product rather than a single range. CT 74 is applied between +5 °C and +25 °C below 80% humidity; Atlas Silicone Render works from +5 °C to +30 °C below 80%, and down towards 0 °C with ATLAS ESKIMO added. Cold damp spells stall evaporation and concentrate salts at the face, which is why NHBC updated its cold-weather rendering guidance in NHBC Standards 2026, applying as warranty guidance to registered homes whose foundations begin on or after 1 January 2026.
The finish itself then governs how much water the wall takes in over its life, and the declared figures differ by product: CT 74 declares vapour permeability category V1 at Sd 0.14 m and water absorption category W3 at w below 0.1 kg/m²h⁰·⁵ to EN 15824, while the Atlas sheet declares V2 high permeability with a diffusion resistance of 0.14 ≤ Sd < 1.4 m and average absorption, In2, under DoP 145/3/CPR. Low Sd means vapour leaves through the coating instead of collecting behind it, so read the class on the sheet for the render you are buying rather than treating the Renders World silicone render range as one figure. Keeping the finish clean afterwards is covered in the silicone render maintenance schedule.
For a wall that is already blooming, the order of work is settled: brush dry first, fix any water path, then match the cleaner to the residue and the surface it sits on from the render cleaning products range.
Written by Mariusz Saja. Technically reviewed by Rafał Wyrzykowski. Last reviewed Aug 2026.
FAQ — Salt Bloom on Render, Diagnosis and Removal
Can an acid cleaner go straight onto the render face?
The Cement Away product page lists ceramic, porcelain, clinker, treated stone, chrome, varnished surfaces, stainless steel and plastic, and states the product is designed for acid-resistant surfaces adjacent to render rather than for the render itself. Elsewhere the range positions it for cement, lime and efflorescence residues generally, so the narrower statement is the one to work to: dry removal on the coating, acid chemistry on the sills and fixtures beside it, and manufacturer or technical-desk confirmation before anything else.
Is pressure washing a reasonable way to shift it?
Adding water is what feeds the deposit, and Ceresit's instruction for CT 74 is not to sprinkle the render with water at all. Dry brushing on a dry wall removes the visible bloom, and where a rinse is needed at the end it belongs at low pressure, top-down, after the deposit has already been lifted. The guide to cleaning silicone render safely sets out the gentler methods in full.
How do salt bloom, lime bloom and algae differ on site?
The dry-brush test separates them fastest. Mineral salts lift dry and sit patchily; lime bloom presents as a more uniform whiteness over a fresh cementitious layer curing in cool damp air; biological growth is coloured, damp and stays put. Chemistry follows that split — acid for mineral, biocide for organic — which is why the identification step comes before any product is opened.
How dry does the substrate need to be before rendering?
Both sheets set 4% as the substrate moisture ceiling, with the age requirement varying by material: CT 74 asks for above 28 days on cement and cement–lime render and above 3 months on concrete, while Atlas asks a minimum 7 days per 1 cm of new cement plaster and 28 days on concrete at under 4% structural moisture. Reinforced ETICS layers are quicker, at a minimum of 3 days under both sheets at +20 °C.
What does it mean when the bloom keeps returning?
Water is still reaching the salts, so the investigation moves to the source: a bridged or defective damp-proof course, an unsealed reveal or abutment, a leaking gutter or downpipe, or render carried too close to ground level. Atlas excludes its render from surfaces damp through capillary rise, which makes rising damp a fabric repair rather than a coating question. Correct the detail, then a final clean clears the last of the deposit; where damp affects the interior, a qualified surveyor should confirm the path.