
Description
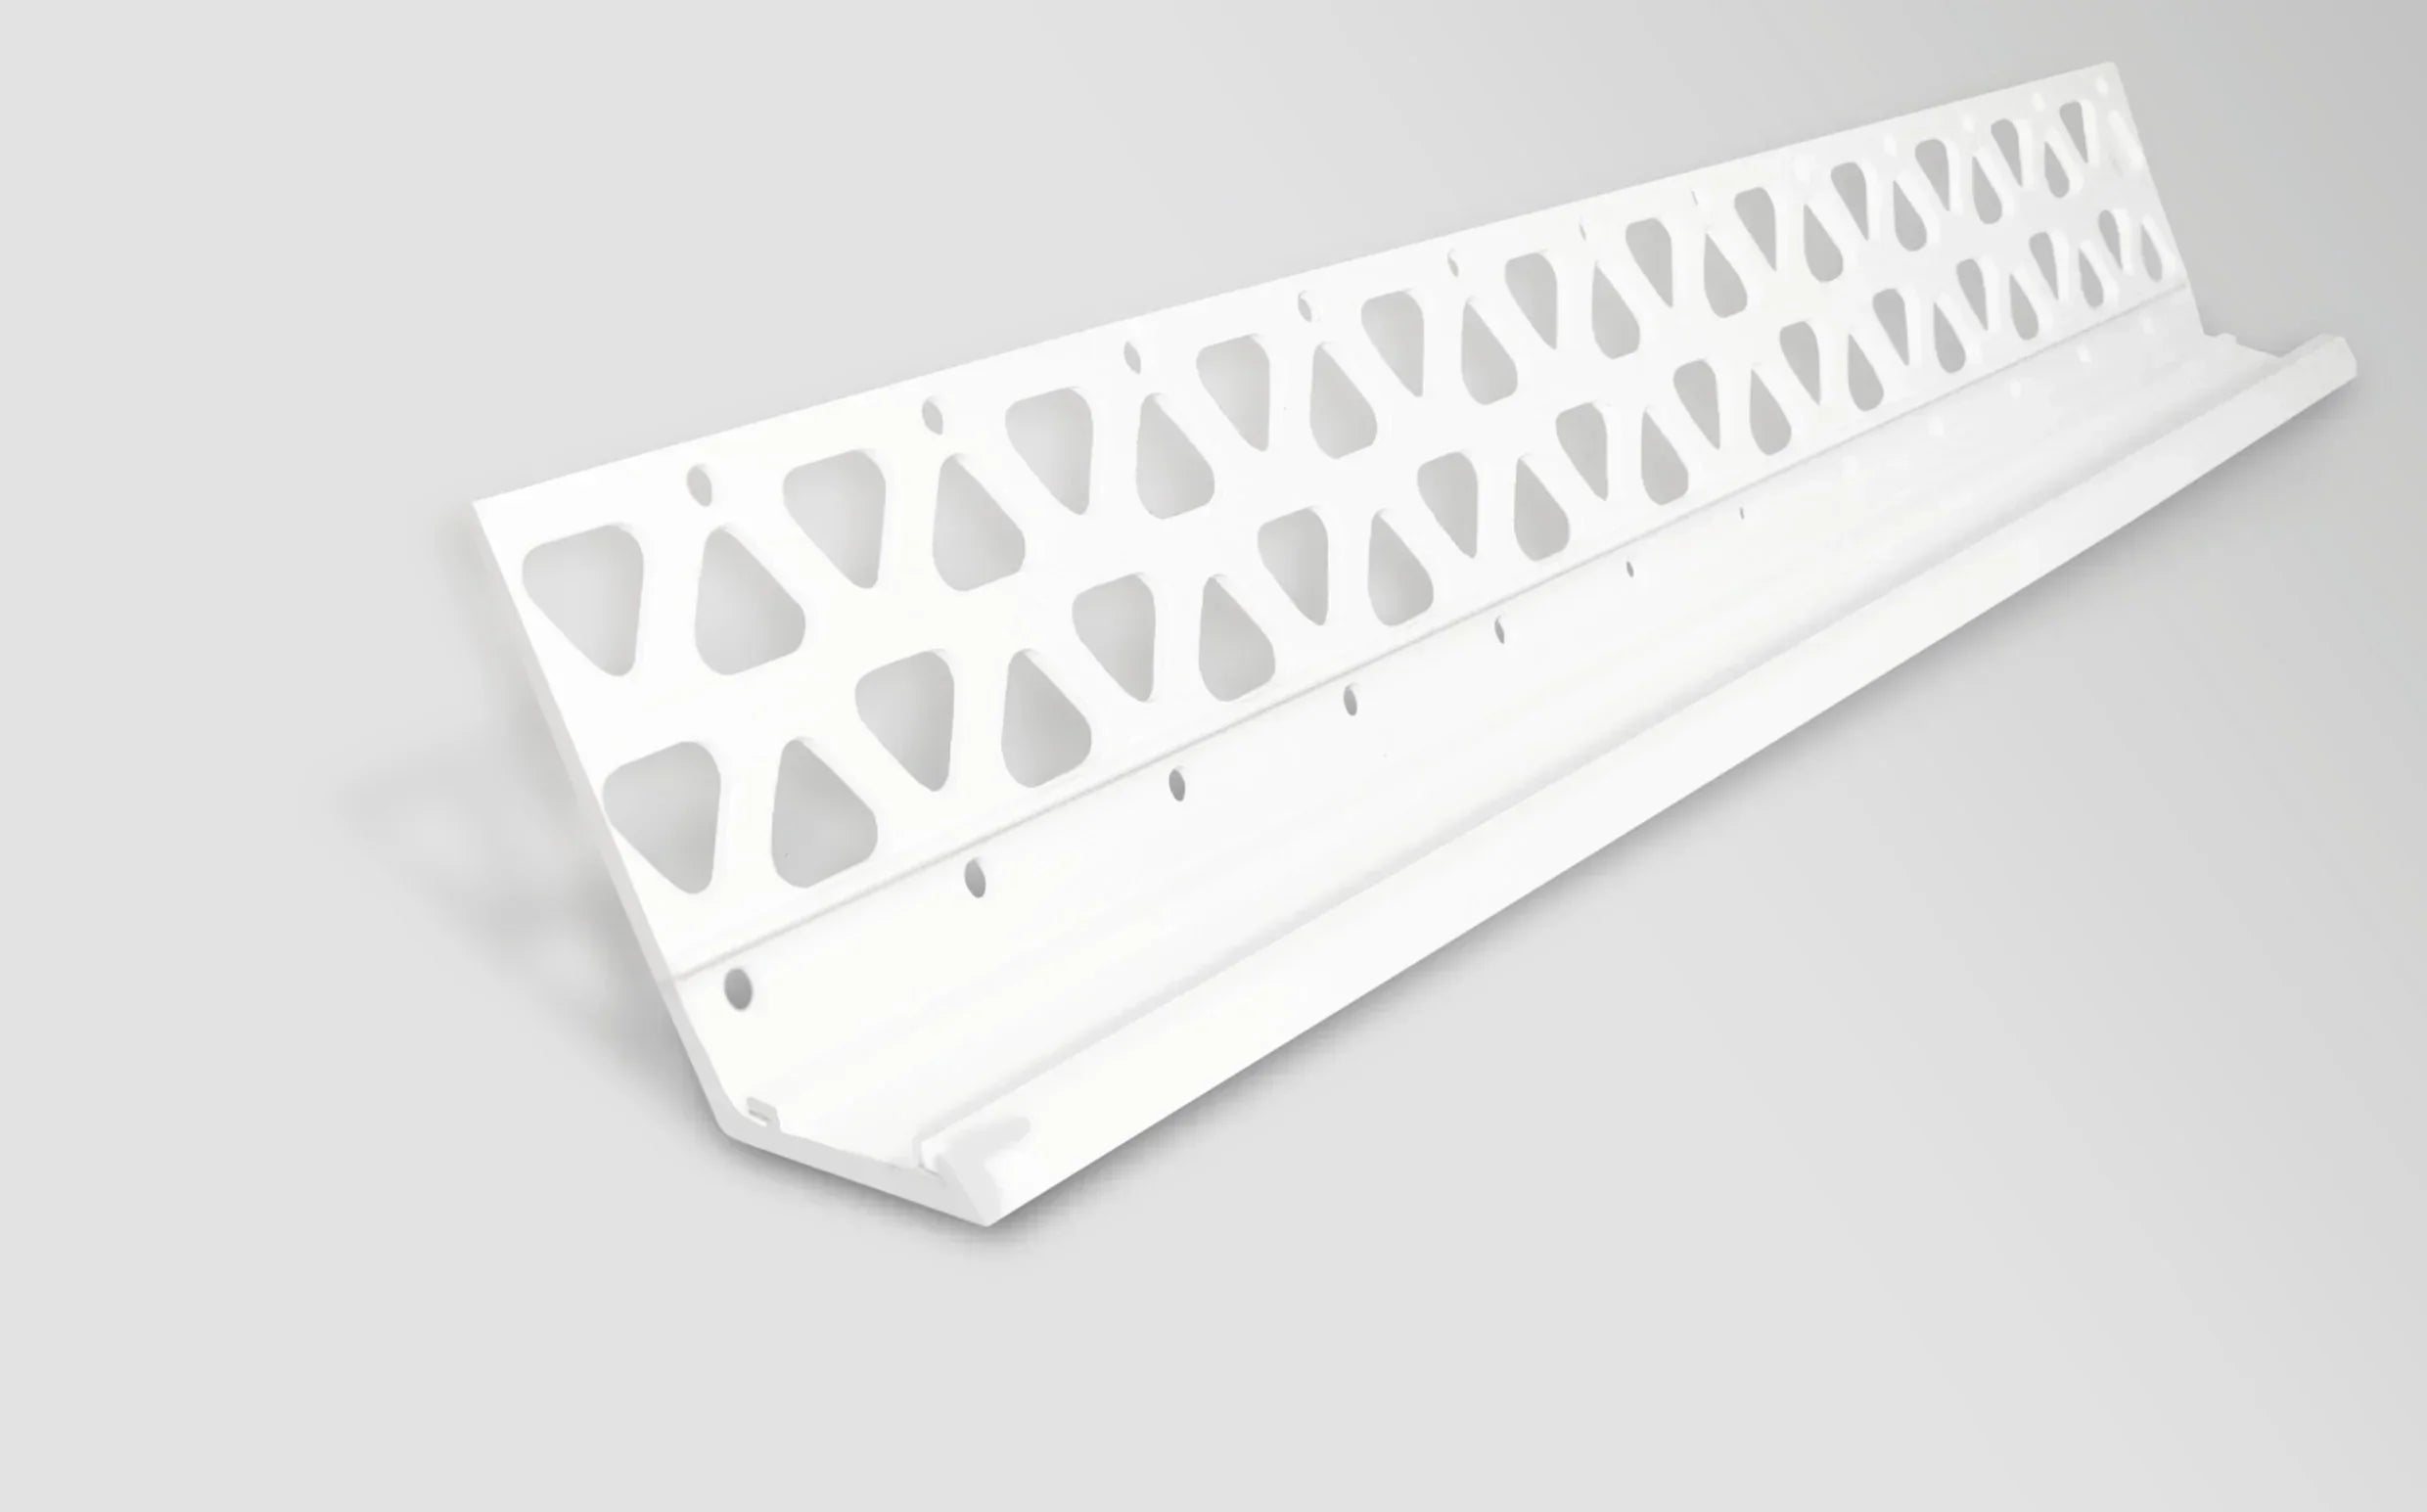
The 15 mm white PVC render bellcast bead is the default drip-edge profile for UK external wall insulation systems — sized for the 10–15 mm finished build-up that adhesive, basecoat, mesh, and decorative topcoat produce on EPS and mineral wool walls. Supplied in 2.5 m lengths, it sits in the bellcast beads range alongside the slimmer 10 mm variant, and the deeper arris carries the drip nose forward of the wall plane far enough to throw water clear of the insulation zone below rather than tracking back into the substrate.
What the 15 mm Bellcast Bead Does on EWI Plinth Terminations and Insulated Facades
The 15 mm bellcast bead is a 2.5 m rigid uPVC drip profile that creates a controlled horizontal termination wherever a full EWI render system meets DPC level, the underside of an insulated cill, or the soffit of a canopy where insulation continues across the overhang. The deeper 15 mm arris projects the drip nose further forward of the wall than the 10 mm equivalent — the geometric difference that lets it throw rainwater clear of the thicker insulated facade rather than dripping back onto the insulation zone immediately below.
Specify the 15 mm depth as the default for graphite EPS and mineral wool EWI systems where the combined adhesive, basecoat, mesh, and decorative finish measures 10–15 mm at the termination — which covers most UK external wall insulation specifications in current use. For direct-to-substrate thin-coat render at 4–10 mm total finish, the 10 mm variant is the proportionate selection because the 15 mm depth would leave a visible proud step at the termination line.
Why Trade Specifiers Choose the 15 mm Bellcast as the EWI Default
- Sized for the full EWI build-up: The 15 mm arris matches the finished thickness of typical EPS and mineral wool EWI systems where adhesive, basecoat, mesh, and topcoat combined push past 10 mm — the working range above which slimmer beads bury the drip nose.
- Deeper projection throws water further clear: The drip lip sits further forward of the substrate than the 10 mm profile, reducing the risk of moisture tracking back onto insulation or DPC zones on the deeper facade plane EWI creates.
- Perforated mesh-ready wing: The wing embeds fully into adhesive or basecoat and accepts fibreglass reinforcement mesh wrap, tying the termination into the surrounding system reinforcement with a continuous mesh path back into the main field.
- Accommodates 2–3 mm grain decorative finishes: Mosaic plinth renders and heavier-grain silicone topcoats specified over EWI sit cleanly within the 15 mm working range without burying the drip nose at the topcoat pass.
- Non-corrosive rigid uPVC: Exterior-grade UV-stable PVC retains shape under thermal cycling and produces no rust telegraphing through light topcoats — a real benefit at the base-of-wall splash zone where galvanised alternatives bleed staining first.
- Universal system compatibility: Works across Atlas, Ceresit, and Roker EWI basecoats and with every silicone, silicate-silicone, mineral, and acrylic topcoat stocked at Renders World.
- 2.5 m industry-standard length: Balances transport practicality with installable section length — handles cleanly on scaffold lifts and cuts to size without the bowing risk longer unsupported lengths carry.
Technical Specifications — 15 mm Bellcast Bead Data Sheet
| Property | Value |
|---|---|
| Profile type | Bellcast / drip bead |
| Body material | Rigid unplasticised PVC (uPVC), exterior grade, UV-stabilised |
| Colour | White |
| Length | 2.5 m per profile |
| Arris (nose) depth | 15 mm |
| Wing type | Perforated, mesh-compatible |
| Target render build-up | 10–15 mm finished EWI build (adhesive + basecoat + mesh + topcoat) |
| Decorative grain compatibility | Up to 3.0 mm grain size |
| Mesh overlap with main reinforcement | 100 mm minimum across the wing |
| Minimum height above ground | 150 mm above finished ground level |
| Application temperature | +5 °C to +25 °C (governed by render system, not bead) |
| On-site cutting | Fine-tooth hacksaw (mitres) or tin snips (butt cuts) |
| Compliance reference | Typically meets BS EN 13914-1 design principles for external rendering — confirm with project documentation |
How to Install the 15 mm Bellcast — Line Setting, Void-Free Embedment, Build-Up Sequencing
Position is everything with a 15 mm bead. The deeper projection makes any deviation from level visible across the full plinth run, where on a slimmer profile the same deviation would hide under the topcoat. Use a laser line or chalk-snapped string to set the bead line before fixing, allowing for the finished render plane that will sit flush with the bead nose. Embed the perforated wing fully into adhesive or fresh basecoat with no air voids behind it — voids at this depth become reservoirs for moisture once the system goes live and quietly undermine the drip function from behind.
Allow the basecoat to cure to the manufacturer's guidance before applying the decorative finish, and feather the topcoat right up to the nose without burying the projecting edge. For the complete step-by-step process — fixing height above DPC, mesh wrap technique, integration with cill and soffit detailing, and movement-joint provisions on multi-storey EWI runs — the bellcast bead installation and water protection guide for UK projects sets out each stage with worked site examples. For coordinating the 15 mm bellcast with stop beads, corner beads, and oversills around openings on insulated facades, the render detailing guide for windows and doors covers the full profile sequencing process.
Installation Notes — Conditions, DPC Position, EWI Junctions
Position the drip nose a minimum of 150 mm above finished ground level — or at DPC level on the insulated build-up, whichever is higher — with the wing bedded so the DPC remains unobstructed. On EWI walls the position relative to ground also needs to allow for the insulation thickness sitting forward of the original substrate plane, so the 150 mm minimum is measured from the finished topcoat face downward to ground, not from the structural wall behind. On exposed elevations, fit an additional 15 mm bellcast above each window and door head where the insulation continues across the lintel and the topcoat finish reads at the full 10–15 mm depth.
Where this bellcast meets a vertical stop bead above it on the same elevation, cut the stop to finish 5 mm above the bellcast nose and seal the gap with a low-modulus UV-stable sealant. Two rigid PVC profiles bearing directly against each other crack the render at the junction under thermal movement, and on EWI walls — which see larger thermal swings than direct-to-substrate render — the failure appears earlier than on thin-coat systems. Butt successive 2.5 m bellcast lengths tightly end to end and mitre at internal and external corners with a fine-tooth hacksaw rather than overlapping noses.
Pro Tips From UK Installers Using the 15 mm Bellcast
For best result, run a finger or trowel handle along the back face of the wing immediately after embedment to check for voids behind the bead. The 15 mm depth creates a deeper void cavity than the 10 mm equivalent if adhesive coverage thins out behind the wing, and a void behind a bellcast on an insulated facade is invisible from the front yet becomes a hidden moisture reservoir within the first wet winter. Add adhesive and re-press if any hollow spots are felt before the bedding starts to skin — once the basecoat firms, voids cannot be filled and the only recovery is to lift and re-bed the affected length.
On EWI projects, set the 15 mm bellcast first on every elevation — before any vertical stop beads or corner beads. The bellcast establishes the lower datum from which every profile above it sequences, and on a deeper insulated facade the consequences of a misaligned datum compound up the elevation more visibly than on direct-to-substrate work. Confirm the level at pre-scaffold stage rather than eyeing the line in once the scaffolding obstructs the sightline. Run a sharp blade along the underside of the drip lip after the topcoat firms but before full cure — even 2–3 mm of topcoat creeping past the deeper nose bridges the capillary break, and a 30-second blade pass per linear metre preserves years of facade performance.
Is the 15 mm Bellcast Bead Right for Your Project?
- Best fit: EPS and mineral wool external wall insulation systems where the finished render build-up measures 10–15 mm at the termination — the dominant UK EWI specification in current use.
- Step down for thin-coat direct-to-substrate work: at 4–10 mm finished build, the 10 mm bellcast bead in 3 m length is the proportionate selection and the 3 m length reduces joints on long plinth runs.
- Flat termination without active water deflection: where the render ends in a straight line at frame jambs, soffits, or material transitions, a render stop bead is the correct flat-nosed profile for that junction.
- External arris protection: where a vertical corner on the insulated facade needs reinforcing against impact rather than water deflection, a render corner bead provides the 90-degree profile designed for that role.
- Need depth advice for your EWI build-up? Measure the intended finished build at the termination zone and select the bead whose arris matches it; our technical desk can confirm the right profile against EWI specification drawings on request.
FAQ — 15 mm Bellcast Coverage, Compatibility, Ordering
How do I know whether to choose 10 mm or 15 mm?
Match the bead depth to the finished render thickness at the termination edge. Full EWI builds with adhesive plus basecoat plus mesh plus decorative finish typically exceed 10 mm and call for the 15 mm bead. Direct-to-substrate thin-coat work usually finishes at 6–10 mm and calls for the 10 mm profile. The reliable site test is to measure a finished test patch before opening the bead box for the wider elevation — measured thickness is more accurate than specification headline on real walls.
What length of run does one 15 mm bellcast cover?
Each profile is 2.5 m. For a typical 10-metre plinth allow four lengths plus one extra for cuts, mitres, and waste — order around 10–15% over the measured run for site practicality. A typical three-bedroom semi-detached EWI installation with bellcasts at DPC level and above the main openings usually requires 7–10 lengths across all elevations.
Can the 15 mm bellcast be used at openings on EWI walls?
Yes. The 15 mm depth suits the underside of cills, canopies, and door heads where insulation continues across the soffit and the finished render thickness exceeds 10 mm. Pair with a stop bead at the vertical reveal for a complete termination set around each opening, sealing the 2–3 mm gap between bellcast and stop bead nose with low-modulus sealant rather than render.
Is paint adhesion an issue on the 15 mm PVC nose?
Exterior silicone masonry paint adheres well to clean, cured PVC bellcast profiles after light surface preparation with a suitable plastic primer. Paint after the render system has fully cured, mask the drip channel, and avoid filling the underside of the nose where water needs to break clear. A clogged drip channel loses its function entirely, so paint application around the bellcast is the one place to favour a thinner coat over full coverage.
How long will the 15 mm bellcast last on a south-facing facade?
Exterior-grade unplasticised PVC is formulated for prolonged UV exposure on UK facades and retains shape and colour through standard service life. Performance is best protected when the wing is fully embedded into the system rather than left partially exposed behind the finish — full embedment also keeps the drip line straight under repeated thermal cycling on the deeper EWI facade plane.
Will heavy 2–3 mm grain renders bury the 15 mm nose?
No. Heavy-grain mosaic plinth finishes and 2–3 mm silicone topcoats sit cleanly within the 15 mm working range without burying the drip nose at the topcoat pass. The 15 mm depth was specifically sized to absorb the additional topcoat thickness that heavier-grain decorative finishes add over the basecoat, which is one reason it has become the default depth on EWI specifications carrying mosaic or coarse-grain finishes.