
Description
At 10 mm arris depth in a 3.0 m length, the white PVC bellcast bead is the most widely specified drip profile across UK thin-coat silicone, silicate-silicone, and EWI systems — sized for render build-ups of 4–10 mm and cut long to reduce vertical jointing on continuous plinth runs and terminations above openings.
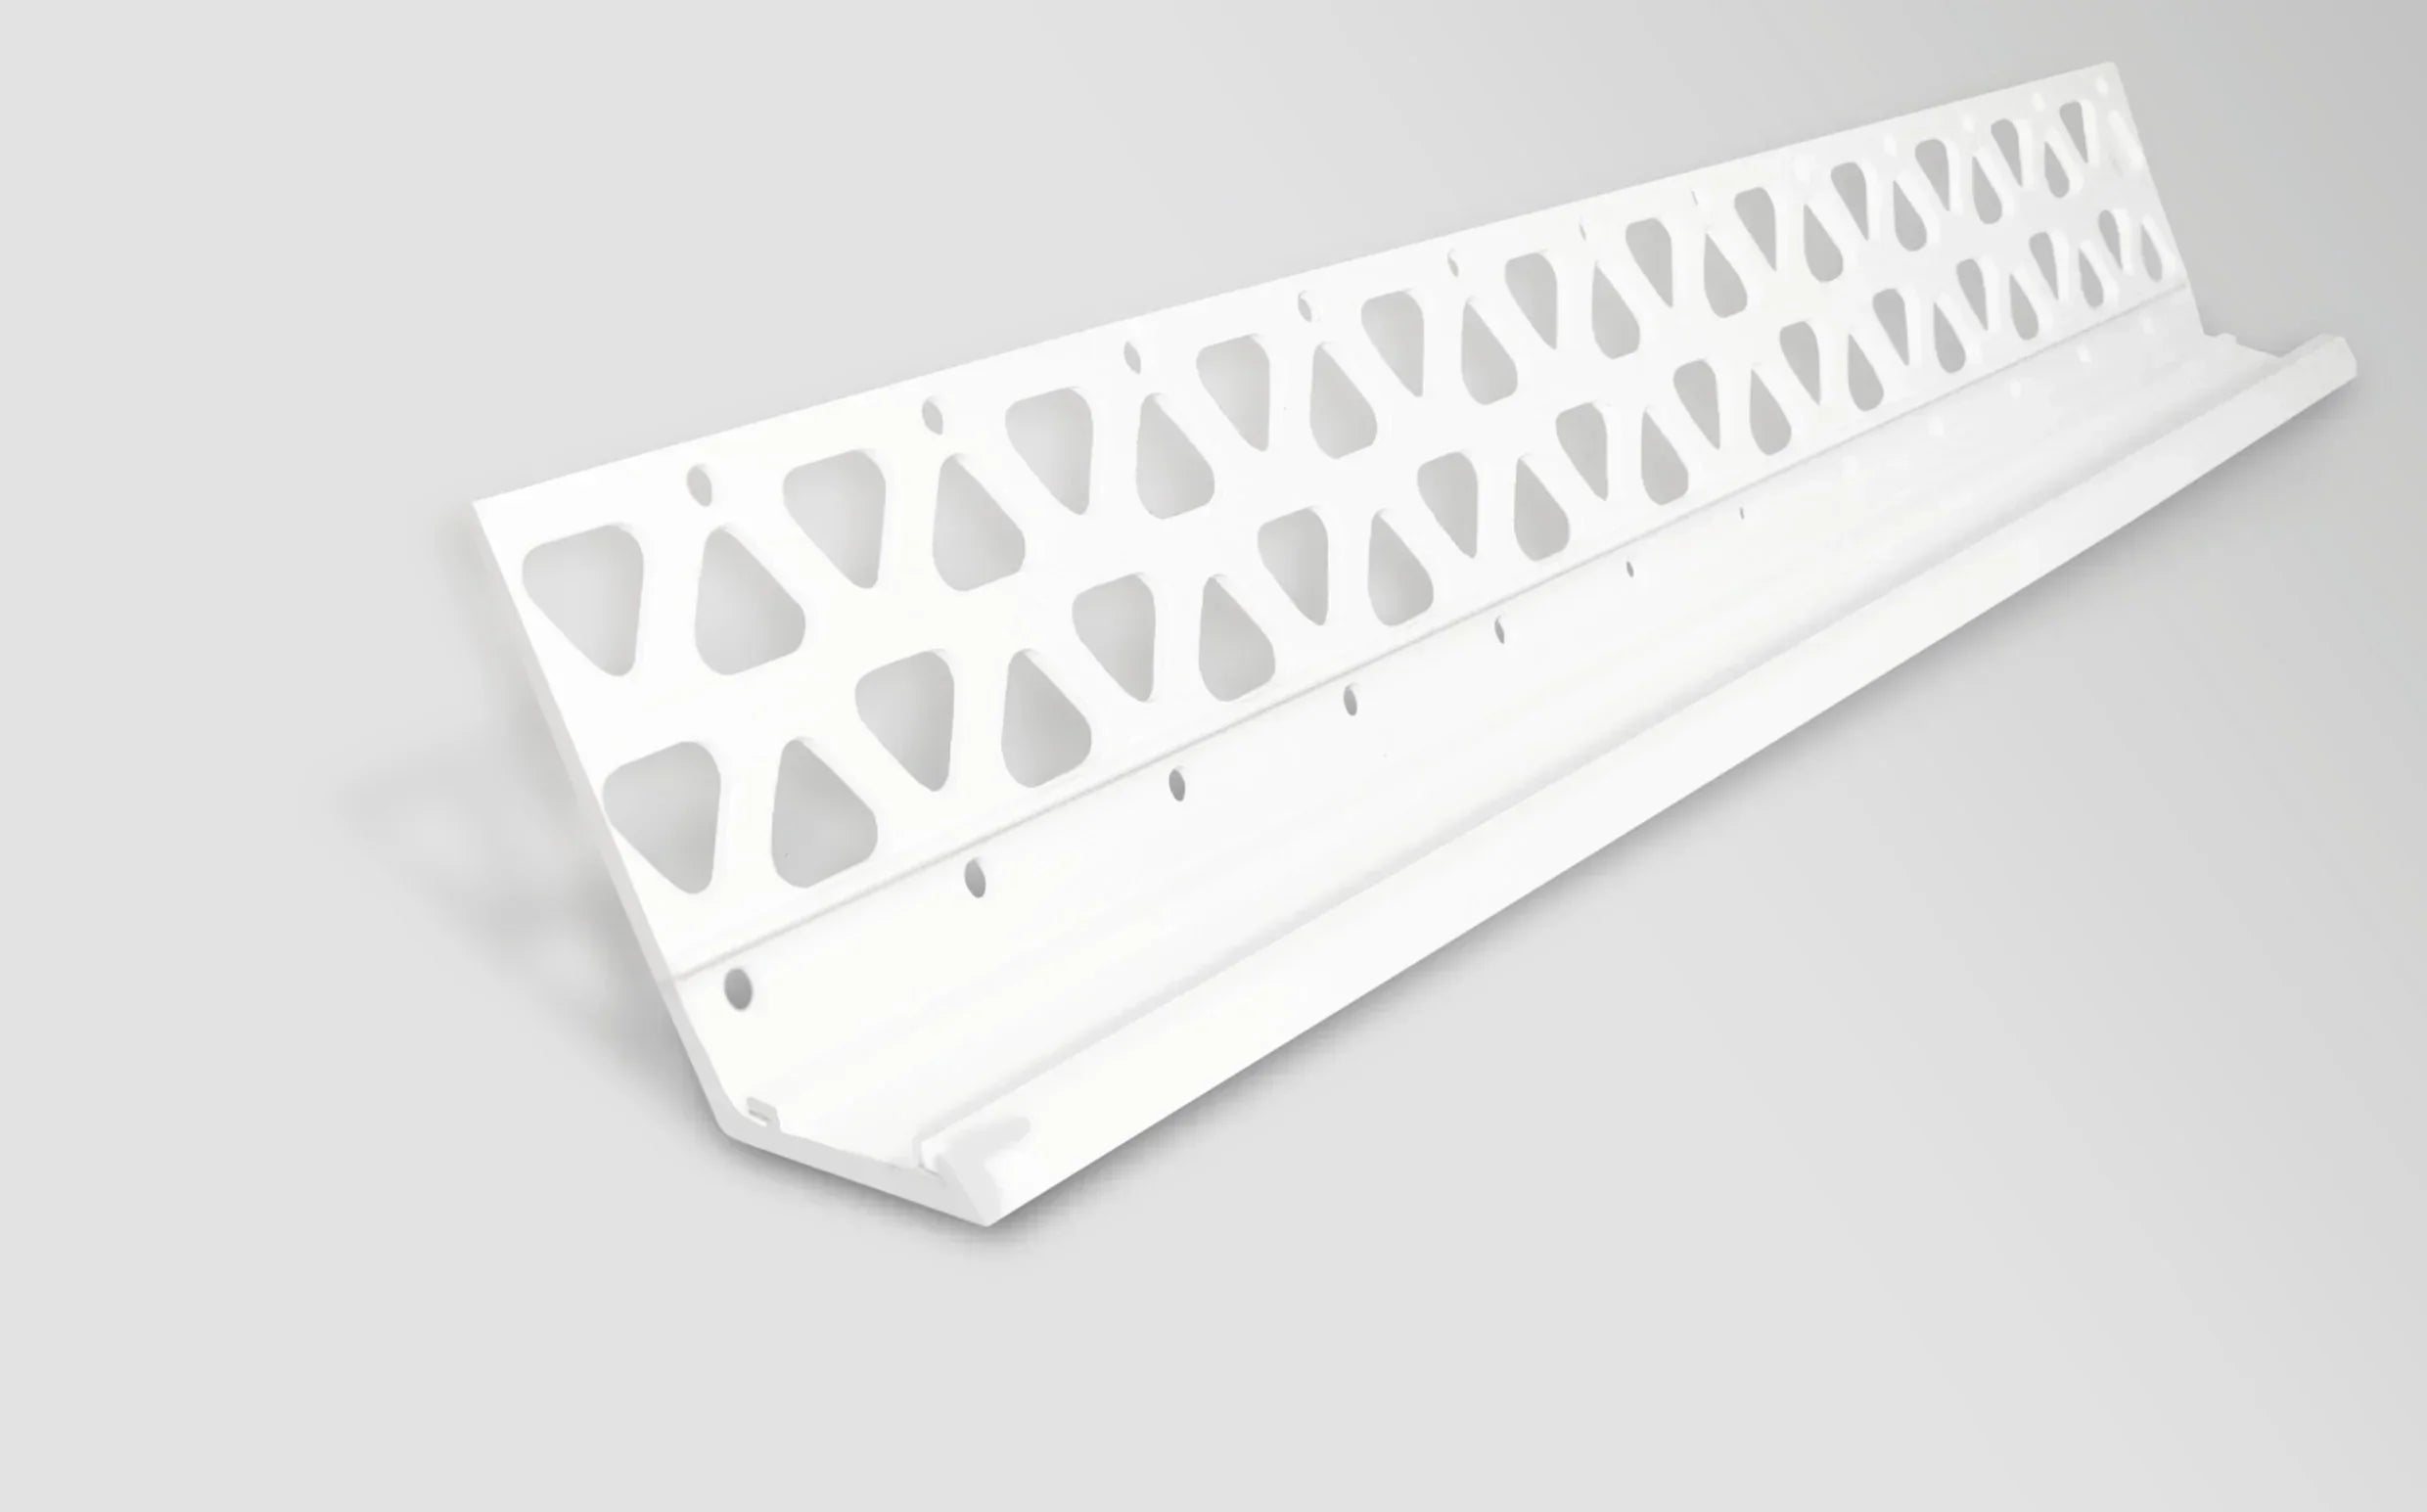
What the 10 mm Bellcast Bead Does on Thin-Coat and EWI Plinth Terminations
The 10 mm bellcast bead is a 3.0 m rigid uPVC drip-edge profile that forms a controlled horizontal termination at DPC level on rendered plinths, beneath window cills lacking an integral drip, at the underside of canopies, and at any horizontal point where the render coat stops and rainwater must fall clear of the wall. It sits in the bellcast beads range alongside the heavier 15 mm variant, and the bell-shaped nose breaks surface tension at the edge so water falls vertically rather than tracking back beneath the render.
The 10 mm arris is the working default for thin-coat systems where combined basecoat plus decorative finish sits between 6 and 10 mm — silicone, silicate-silicone, mineral, and acrylic topcoats over standard EWI basecoats. For heavier monocouche and sand-cement at 12–18 mm, the 15 mm variant proportions the nose to the deeper build-up, so depth selection follows measured finish thickness rather than the system headline.
Why Trade Specifiers Choose the 10 mm 3 m Bellcast for Long Plinth Runs
- 3 m length cuts vertical joints on continuous runs: longer than the typical 2.5 m alternative, a single length spans a wider semi-detached plinth section with one fewer butt joint per elevation, where water-shedding continuity matters more than offcut economy.
- 10 mm depth matches standard thin-coat build-up: the arris finishes flush on 6–10 mm finish systems — the dominant UK EWI configuration — so the drip nose stays proud of the wall plane and active.
- Perforated mesh-ready wing: the wing locks into the basecoat and accepts fibreglass reinforcement mesh wrap, giving a continuous reinforced edge that resists the cracking common at unsupported termination lines.
- Non-corrosive rigid uPVC body: UV-stable exterior-grade PVC retains shape and colour through UK exposure with no rust telegraphing through light topcoats — a real benefit at base-of-wall where splash-back is constant.
Technical Specifications — 10 mm Bellcast Bead Data Highlights
| Property | Value |
|---|---|
| Profile type | Bellcast / drip bead |
| Body material | Rigid uPVC, exterior grade, UV-stabilised |
| Colour | White |
| Length | 3.0 m per profile |
| Arris (nose) depth | 10 mm |
| Wing type | Perforated, mesh-compatible |
| Target render build-up | 4–10 mm thin-coat / EWI topcoat systems |
| Mesh overlap with main reinforcement | 100 mm minimum across the wing |
| Minimum height above ground | 150 mm above finished ground level |
| Application temperature | +5 °C to +25 °C (governed by render system, not bead) |
| Compliance reference | Typically meets BS EN 13914-1 design principles for external rendering — confirm with project documentation |
How to Install the 10 mm Bellcast — Levelling, Wing Embedment, Mesh Wrap
Set the bead level with a laser line or chalked string before fixing, because the drip nose sheds water reliably only when the arris sits true to the wall plane — a 2 mm fall across a 3 m length is enough to disrupt the capillary break on the low-side metre. Bed the perforated wing fully into freshly applied basecoat or EWI adhesive, then press a strip of mesh over the wing to bridge into the surrounding system reinforcement with a 100 mm overlap onto the main sheet.
Butt successive 3 m lengths tightly and mitre corners with a fine-tooth hacksaw rather than overlapping noses, which would leave a hard step in the drip line. For the complete method — fixing height above DPC, mesh wrap technique, cill and verge integration, and movement-joint provisions on multi-storey runs — the bellcast bead installation and water protection guide sets out each stage with worked site examples, so the base-of-wall detail goes on right first time.
Installation Notes — Conditions, DPC Position, Junctions
Position the drip nose a minimum of 150 mm above finished ground level — or at DPC level, whichever is higher — with the wing bedded so the DPC itself stays unobstructed. Below 150 mm, water shed from the drip lands on hard landscaping that splashes straight back onto the lower wall, undoing the deflection the bead provides. On exposed elevations, add a bellcast above each window and door head to keep water off the glass and out of the frame seal junction.
Where a vertical stop bead lands above the bellcast, cut it to finish 5 mm above the bellcast nose and seal the gap with low-modulus UV-stable sealant, since two rigid PVC profiles bearing directly together crack the render at the junction under thermal movement. Allow the basecoat to cure to the manufacturer's guidance before topcoat, and feather the finish right up to — but never over — the nose, so the drip stays exposed and active.
Pro Tips From UK Installers Using the 10 mm Bellcast
For the best result, fix the bellcast first on every elevation, ahead of any vertical stop or corner beads. Bellcasts set the lower datum the other profiles sequence from, and fixing them after adjacent verticals leaves a cold joint at the horizontal-vertical junction that opens during the first winter thermal cycle.
- Set the line at pre-scaffold stage: confirm the level against finished ground before the scaffolding obstructs the sightline, so the datum is measured rather than eyed in later.
- Blade the drip lip before full cure: even 2–3 mm of render creeping past the bell edge bridges the capillary break, so a blade pass after the coat firms preserves the drip — and on a 3 m bead that is a 90-second job protecting every metre below.
- Blade across the butt joints too: where two 3 m lengths meet, overshoot most often hides under a quick float pass, so run the blade over the joint line specifically.
- Store flat and strapped: a 3 m profile left unsupported across a pallet edge takes a permanent bow within a day of warm exposure, and a bowed bellcast cannot be straightened to a true drip line on site.
How the 10 mm Bellcast Compares to the 15 mm Variant
Both profiles do the same job — the choice is measured finish thickness at the termination edge.
| Variant | Key Spec | When to Choose |
|---|---|---|
| Bellcast Bead White 10 mm 3 m | 10 mm · 3.0 m | Thin-coat and EWI at 4–10 mm |
| Bellcast Bead White 15 mm 2.5 m | 15 mm · 2.5 m | Monocouche and sand-cement at 12–18 mm |
Is the 10 mm Bellcast Bead Right for Your Project?
- Best fit: thin-coat silicone, silicate-silicone, mineral, and acrylic EWI systems at 4–10 mm finish, terminated at DPC, above openings, or beneath canopies on UK rendered facades.
- Step up for heavier systems: on monocouche, sand-cement, or thick mineral renders at 12–18 mm, the 15 mm bellcast bead in 2.5 m length proportions the nose to the deeper build-up.
- Flat termination without a drip: where the render ends in a straight line at frame jambs, soffits, or material transitions, a render stop bead is the correct flat-nosed profile.
- External arris protection: where a vertical corner needs reinforcing against impact rather than water shedding, a render corner bead gives the 90-degree profile for that role.
- Need quantity advice for long plinths? the 3 m length gives the lowest joint count on continuous detailing, and the Renders World technical desk can confirm exact lengths against elevation drawings on request.
FAQ — 10 mm Bellcast Coverage, Compatibility, Ordering
Where exactly should the 10 mm bellcast sit above DPC?
Position the drip nose a minimum of 150 mm above finished ground level, with the wing bedded so the DPC stays unobstructed. Below 150 mm the drip throws water onto hard landscaping that splashes back onto the lower wall, undoing the deflection. Final position should follow the system manufacturer's published detail and the project specification — particularly on listed or heritage work where DPC location may differ from modern construction.
Can the 10 mm bellcast be used with mosaic plinth render?
Yes. Mosaic plinth finishes typically build up to 8–10 mm total thickness, within the working range of the 10 mm arris. Embed the perforated wing fully into the basecoat and feather the mosaic finish up to the nose without burying it — burying the nose defeats the water-shedding function and is the most common defect on mosaic plinth detailing.
How many 10 mm bellcasts do I need per metre of plinth?
At 3 m per length, allow one bead per 3 m of horizontal termination plus an extra length per facade for cuts and mitres, ordering 10–15% over the measured run. A typical three-bedroom semi with bellcasts at DPC level and above the main openings usually needs 5–7 lengths across all elevations — fewer joints than the 2.5 m alternative gives on the same plinth perimeter.
Does the white nose need painting on darker render schemes?
Not for off-white, cream, light grey, or pale stone facades where the bead blends with the topcoat. On darker schemes the visible nose can be over-painted with a compatible silicone masonry paint once the render is fully cured, taking care not to fill the drip channel itself — a clogged channel loses its function, so this is the one place to favour a thinner coat over full coverage.
Is the 10 mm bellcast suitable for permanent exposure on south-facing facades?
Yes. The exterior-grade rigid uPVC body is UV-stabilised for prolonged UK exposure and retains shape and colour through standard service. Performance is best maintained when the bead is fully bedded into the basecoat rather than left partially exposed, since full embedment also keeps the drip line straight under repeated thermal cycling.
How should 3 m lengths be stored on site before installation?
Store flat on a level surface, dry, and out of prolonged direct sunlight. An unsupported 3 m profile takes a permanent bow within a day or two of warm exposure, and a bowed bellcast cannot be straightened on site to give a true drip line. Keep beads strapped in bundles until the point of fixing, and unwrap only what the crew needs for the next half-shift.