


Description
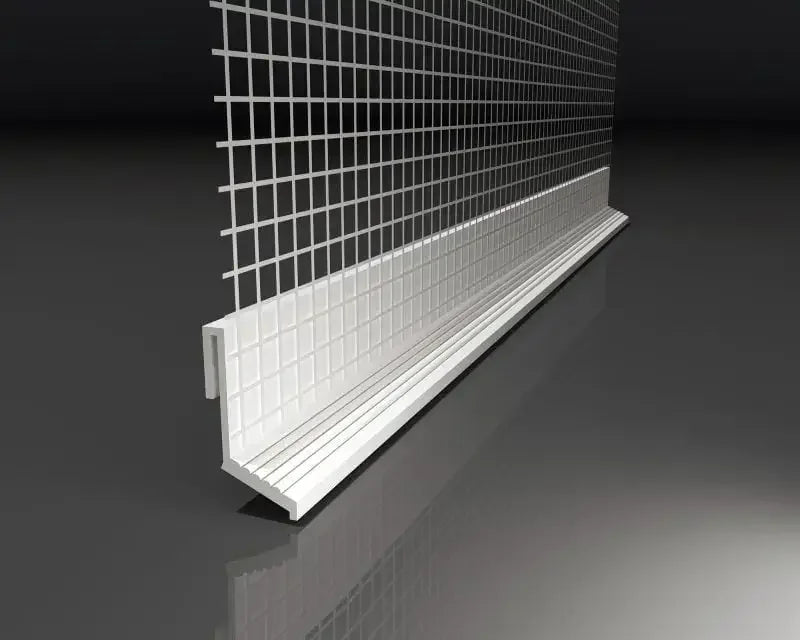
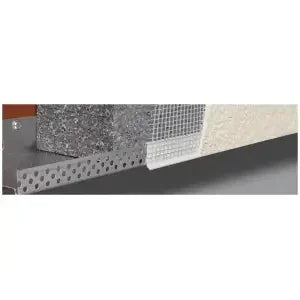
This clip-on profile is a 2.5 m PVC profile with a glass-fibre mesh wing and a drip nose. It clips onto the front of an aluminium starter track and turns the bottom edge of external wall insulation into a clean, reinforced finish that sheds water away from the wall. Renders World stocks the tracks it fits in insulation fixing accessories.
What the Clip-On Profile Does at the Bottom of the Wall
The starter track carries the first row of insulation boards. On its own it leaves a bare metal edge, and the finish above it has nothing to lock into at the bottom. The profile deals with both in one piece:
- It closes the edge. The PVC body clips over the front of the rail, so the line you see at the bottom of the wall is the profile, not the aluminium.
- It ties the render to the starting line. The mesh wing runs up the face of the insulation and is bedded into the base coat with the wall mesh, so the bottom edge is reinforced like the rest of the wall.
- It sheds water. The drip nose makes rain running down the render drop off the edge, instead of creeping back under the system towards the wall.
Size, Material and Fit
| Item | Detail |
|---|---|
| Length | 2.5 m, one profile per pack |
| Body | PVC, with a drip nose |
| Mesh wing | Glass-fibre mesh, bedded into the base coat |
| Fits | Clips onto the front of an aluminium starter rail |
Why Fit a Clip-On Profile Instead of Rendering Straight Down
- A straight, sharp bottom line that does not depend on how neatly the render is cut back by hand.
- Reinforcement right down to the edge, because the mesh wing overlaps the main mesh instead of stopping short of the aluminium.
- Water kept out of the joint between the rail and the wall, which is where it collects on a starting detail with no drip.
- Quick to fit — the profile clips on, so there is no extra drilling or fixing.
How to Fit the Profile
- Fix the starter track level and fit the first row of boards as usual. The base track set-up guide covers that first day on site.
- Press one clip-on profile onto your rail before you commit, to check the clip seats firmly.
- Clip the profiles along the run, butting the lengths neatly at the joints.
- Bed the mesh wing in base coat, overlapping it with the wall mesh above.
- Render over the face and keep the drip nose clear, so it can do its job.
How Many Profiles to Order
Each clip-on profile is 2.5 m long, the same length as each aluminium starter track.
So the rule is one clip-on profile for every length of rail:
- Measure the run along the bottom of the wall.
- Divide by 2.5 and round up.
- Add one spare per elevation for cuts at corners.
The tracks come in several widths — for example the 23 mm base track, the 53 mm base track and the 103 mm base track — so pick the track for your board thickness first, then add the same number of profiles. Buying a whole system instead? Every kit in the Renders World Atlas EWI system bundles already includes this profile alongside a 53 mm track.
Clip-On Profile — Common Questions
Does the profile replace the starter track?
No. It clips onto the front of the rail. You still need the aluminium rail to carry the boards; Renders World sells the two separately.
How many profiles do I need?
One per rail length: both are 2.5 m.
What is the mesh wing for?
It is bedded into the base coat so the render at the very bottom of the wall is reinforced and tied to the starting detail. The rest of the wall takes a full layer of glass-fibre render mesh.
Why does the profile have a drip nose?
So water running down the render drops off the edge instead of travelling back towards the wall and causing damp.