XPS INSULATION BOARDS
5 products
Showing 1 - 5 of 5 products
How to choose
- Where on the wall?Below ground and on the plinth up to the damp-proof course: the boards in this rangeAbove the damp-proof course: graphite facade boards
- How thick is the facade insulation above?Match it: 80 mm board, 90 mm board or 100 mm boardLittle depth free: 30 mm board or 50 mm board
- How many boards?One board per metre along a plinth 500 mm high, or two boards per square metre, plus a few for cuts. Bond them with an adhesive for insulation boards.
- Quick picksShallow plinth: 50 mmUnder a 100 mm facade: 100 mmEvery thickness is sold as a single board, so a short run needs no full pack.
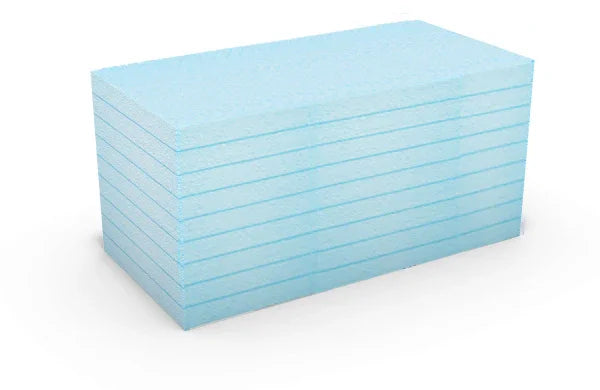
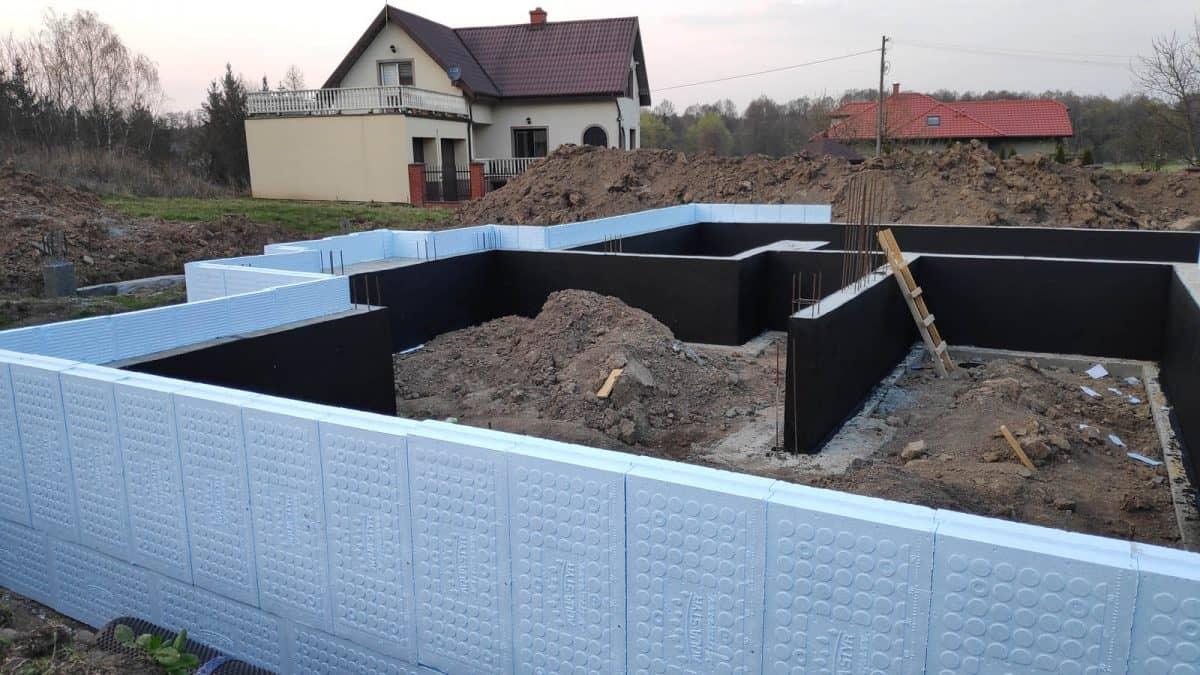
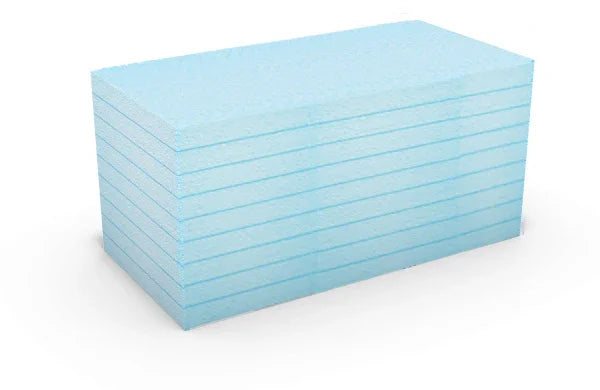
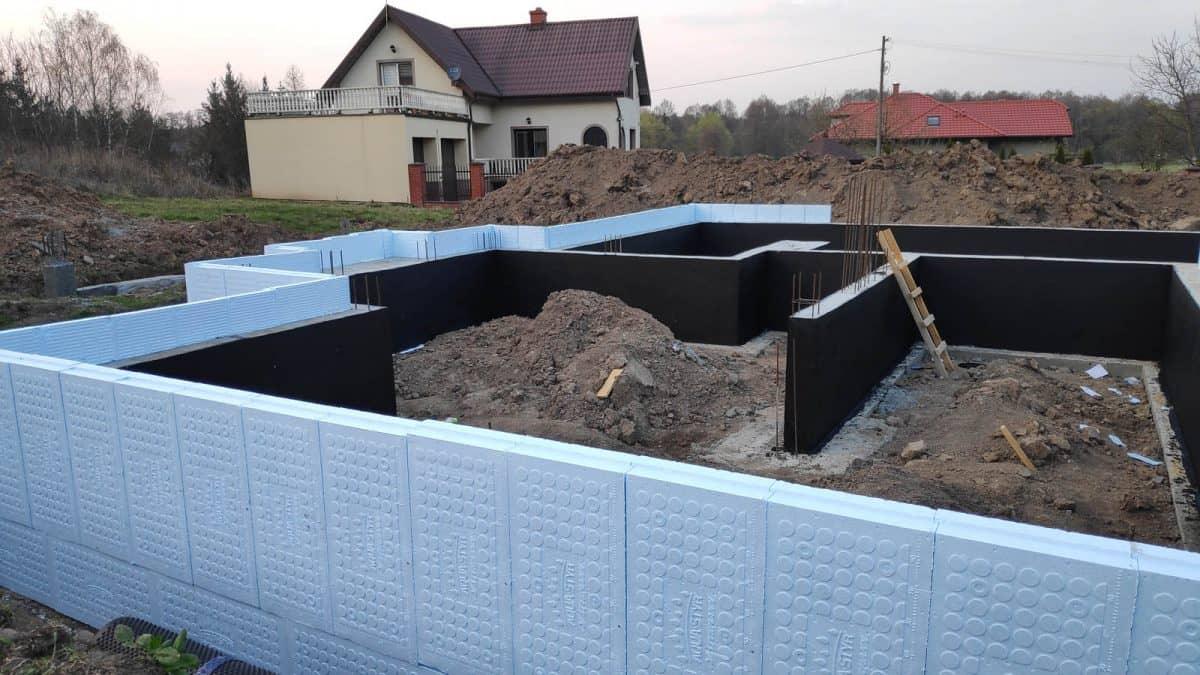
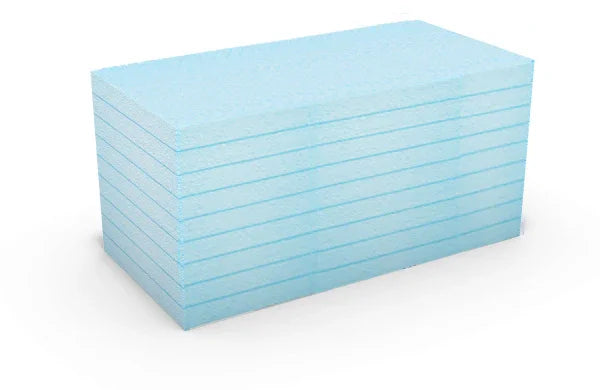
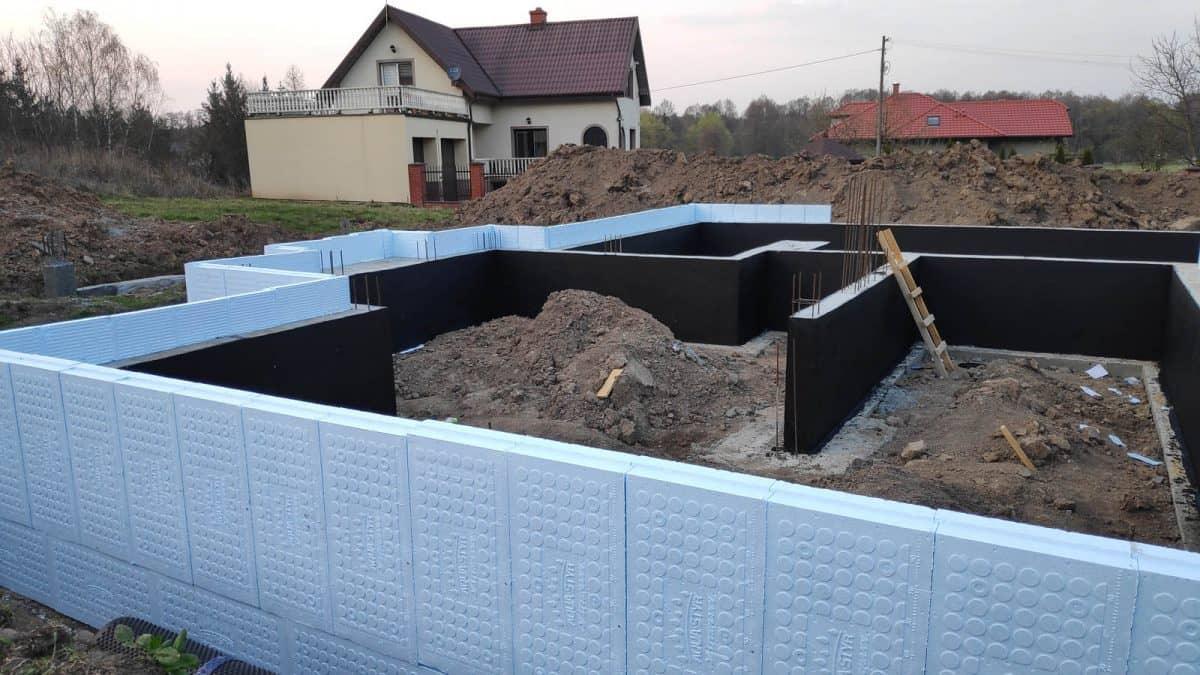
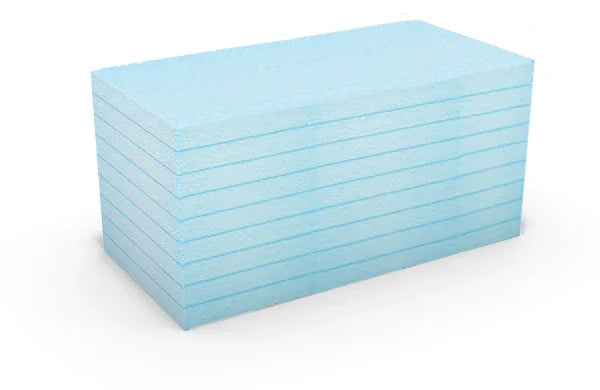
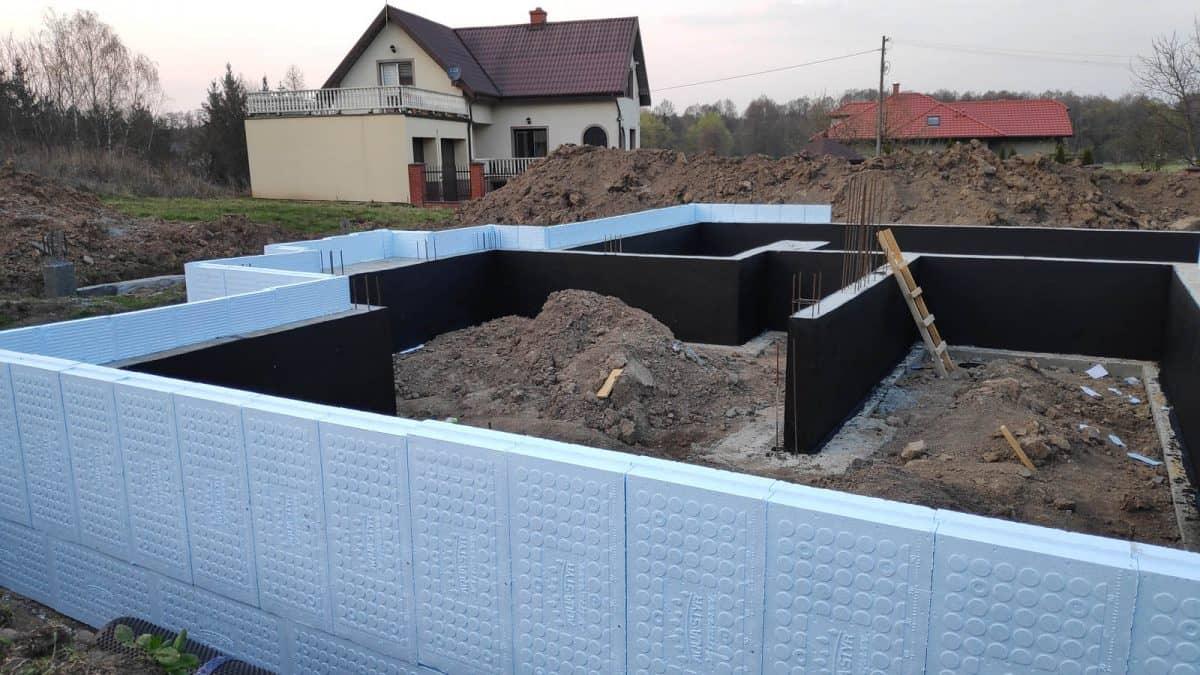
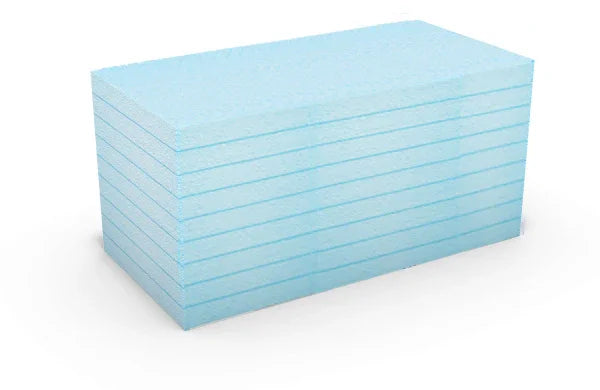
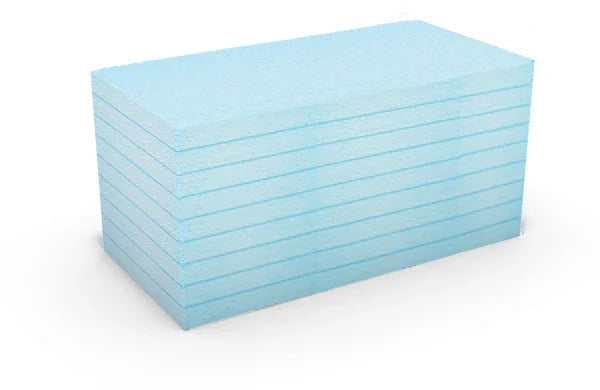
XPS insulation boards on this shelf are blue, water-repellent foundation boards for the bottom of a full external wall insulation build-up: the buried foundation wall and the plinth that runs from ground level up to the damp-proof course. Renders World stocks five thicknesses in one board size, so the choice comes down to how deep the facade insulation above them is.
Where XPS Insulation Boards Go: Foundation Walls and Plinths
These boards cover three places, and all three sit below the damp-proof course.
- Foundation walls below ground — the board is bonded to the wall and protected before the backfill goes back.
- The plinth, from ground level to the DPC — the band of wall that takes splash water and knocks from paths and paving.
- The perimeter of the foundation — the wrap that carries the insulation line from the facade down into the ground, so the corner between wall and ground is not left bare.
Above the DPC the wall changes job. There the graphite facade insulation boards carry the insulation, and the foundation board stops at the line where they start.
Why These Boards Suit the Plinth and the Foundation
Every XPS insulation board in the range carries the same declared properties, and each one matters for a wall that meets the ground.
- Compressive strength 100 kPa — the board takes backfill pressure and paving loads at the plinth without being crushed out of line.
- Water absorption 5 % under long-term immersion — the declared figure for a water-repellent board left soaking for a long time.
- Thermal conductivity λD 0.038 W/mK — the same on all five thicknesses, so the thermal resistance grows in a straight line with the board.
- One board size, 1000 × 500 mm — every thickness covers 0.5 m² per board, so the take-off is the same sum whatever depth you choose.
- Reaction to fire class E for the board alone — the board is always closed in: a plinth finish covers it above ground and the backfill covers it below.
Choose the Board Thickness by the Facade Above It
The XPS insulation board for a plinth is usually matched to the facade board that goes on above the DPC, so the two faces sit in one plane and the mesh of the base coat runs over the joint without a step.
| Your Project | Best System | Standout Spec |
|---|---|---|
| Thin plinth where little depth is free | 30 mm XPS Foundation Board | R about 0.75 m²K/W |
| Shallow plinth or foundation wrap | 50 mm XPS Foundation Board | R about 1.30 m²K/W |
| Plinth under an 80 mm facade | 80 mm XPS Foundation Board | R about 2.10 m²K/W |
| Plinth under a 90 mm facade | 90 mm XPS Foundation Board | R about 2.35 m²K/W |
| Deepest wrap, 100 mm facades | 100 mm XPS Foundation Board | R about 2.60 m²K/W |
Each thermal resistance is the thickness divided by the conductivity, rounded down to the nearest 0.05 — for the 50 mm board, 0.050 ÷ 0.038 = 1.32, so 1.30 m²K/W. It is the figure for the board alone, not for the wall.
How to Install the Boards at the Plinth and Below Ground
A foundation board is bonded to the wall and then covered, and the parts that go with it sit in three places in the shop.
- Bond the boards with an adhesive from the adhesives and basecoats for insulation boards; the adhesive's own data sheet sets the substrate it suits and how it is applied.
- Start the first course above ground on a starter track, with anchors where the plinth is exposed, from the insulation fixing accessories.
- Close the plinth with a finish that takes splash water and knocks — a mosaic render for plinths takes splash water better than a facade render.
- Protect the buried section before the backfill goes back, so the board is not left bare against the soil.
The weak point of any plinth is the corner where the foundation board meets the facade board. The guide to plinth thermal bridges and mould shows how to carry the insulation line through that junction.
Ordering Tips: Counting Boards for a Plinth Run
- Count by the metre of wall — a board is 1000 mm long and 500 mm high, so a plinth band 500 mm high takes one board per metre of run.
- Count by the square metre for deeper wraps — each board covers 0.5 m², so two boards make a square metre; add a few for cuts at corners and openings.
- Order single boards — Renders World sells every thickness one board at a time, so a short run does not mean buying a full pack.
- Plan the delivery — orders are processed the same day when the stock is there, delivery is quoted by the team after the order and arrives kerbside, and you can also collect from the Renders World counter in Southampton during opening hours. Change-of-mind returns run to 14 days for boards in their original condition; the returns policy lists the exceptions.
Deciding Between XPS, Graphite EPS and Mineral Wool
- Take these XPS insulation boards for the buried foundation wall and the plinth up to the DPC.
- Change to graphite EPS above the DPC — the facade boards carry the main wall, where thickness drives the choice rather than ground contact.
- Look at mineral wool where the fire strategy of the building asks for it — the boards in the mineral wool insulation range carry their own declared fire class.
- Compare the two foam boards first if you are unsure which goes where — the XPS and EPS comparison for UK walls walks through the whole build-up.
FAQ: Ordering, Thickness and Fitting
How many boards make a square metre?
Two. One board is 1000 × 500 mm, so 1.0 m × 0.5 m = 0.5 m², and 1 m² ÷ 0.5 m² = 2 boards. Allow a few extra for cuts at corners and openings.
Can these boards go above the damp-proof course?
They run up to the DPC as the plinth. Above it the main wall is insulated with graphite facade boards of matching thickness, so the two layers meet in one plane at the DPC line.
What are the boards bonded with?
With an adhesive for insulation boards from the adhesives and basecoats range. Choose one whose data sheet covers your substrate, and follow its own method for coverage and fixing.
Which thickness meets my U-value target?
A U-value belongs to the whole wall, not to one board, so it comes from a calculation of the full build-up. Give your assessor the thermal resistance of the thickness you have in mind from the table above; the U-value and insulation thickness guide explains how the figure is worked out.