
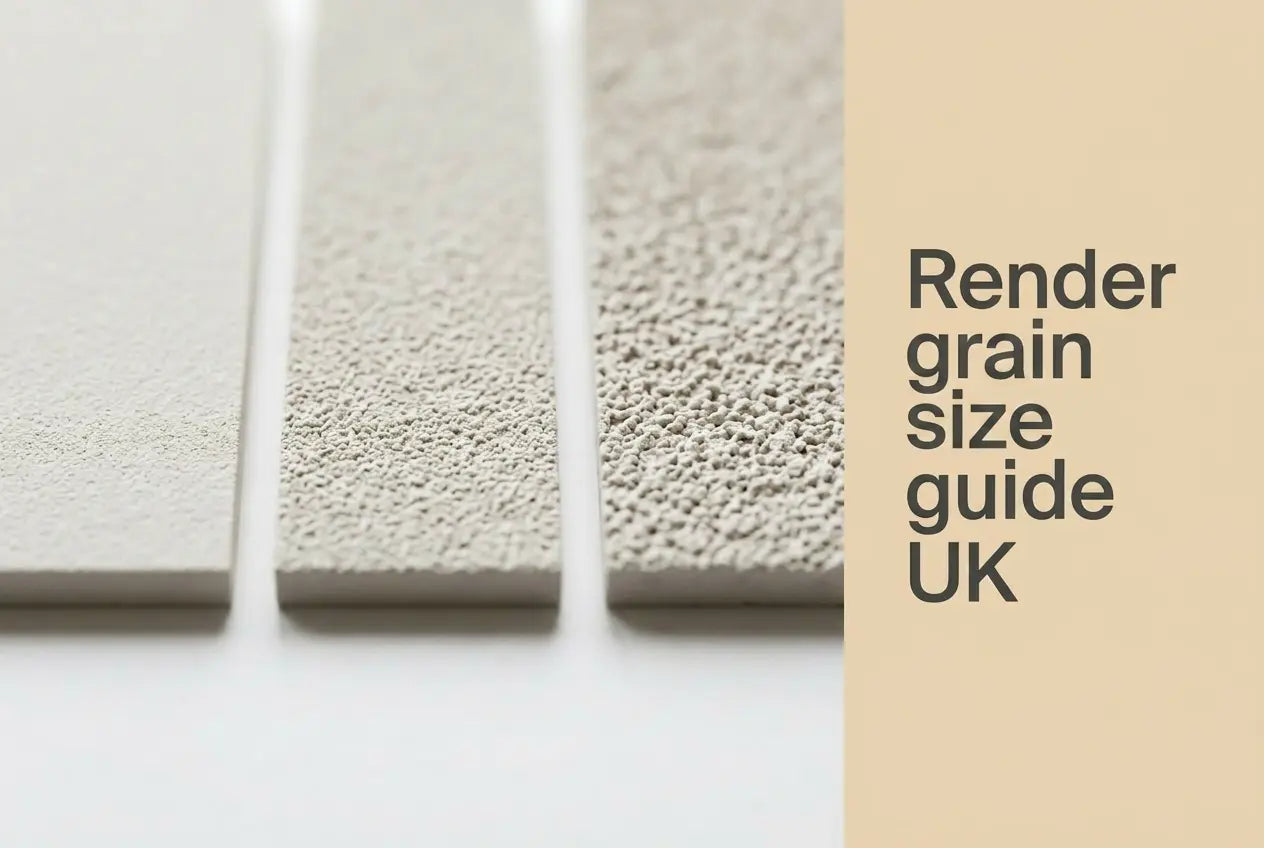
What Grain Size Changes on a Silicone Render Facade
Render grain size sets consumption before it sets texture: Ceresit CT 74 declares 2.1–2.5 kg/m² at 1.5 mm grain and 3.1–3.4 kg/m² at 2.0 mm, so a coarser finish buys roughly a third more material per square metre.
That single sheet is the cleanest evidence available on this question, because it covers three grain sizes of one identical product — 1.5 mm, 2.0 mm and 2.5 mm, same binder, same pigments, same declared performance. Everything except aggregate size is held constant, so the consumption difference is attributable to grain and nothing else. The silicone render range at Renders World is where those grain options sit commercially, and the arithmetic below is what the choice costs.
One thing grain size does not change on that sheet: every declared performance figure. Vapour permeability stays at category V1, Sd 0.14 m to EN 15824, water absorption at category W3, adhesion at 0.6 MPa and thermal conductivity at 0.61 W/(m·K), with no per-grain variation printed anywhere. A coarser grain is a heavier, more textured coat of the same material, not a more protective one — which means the decision is genuinely about appearance, substrate and budget rather than about durability.
Consumption by Grain, From One Product's Own Sheet
Because the CT 74 figures share a document, they can be compared directly and converted into buckets. The sheet states 25 kg plastic containers, and the arithmetic below shows its operands.
| Grain | Declared consumption | Coverage per 25 kg container | Buckets for 100 m² |
|---|---|---|---|
| 1.5 mm | 2.1–2.5 kg/m² | 25 ÷ 2.5 = 10.0 m² to 25 ÷ 2.1 = 11.9 m² | 100 ÷ 11.9 = 8.4 to 100 ÷ 10.0 = 10 → 9–11 with 10% waste |
| 2.0 mm | 3.1–3.4 kg/m² | 25 ÷ 3.4 = 7.4 m² to 25 ÷ 3.1 = 8.1 m² | 100 ÷ 8.1 = 12.3 to 100 ÷ 7.4 = 13.5 → 14–15 with 10% waste |
| 2.5 mm | 3.8–4.0 kg/m² | 25 ÷ 4.0 = 6.3 m² to 25 ÷ 3.8 = 6.6 m² | 100 ÷ 6.6 = 15.2 to 100 ÷ 6.3 = 15.9 → 17–18 with 10% waste |
Step from 1.5 mm to 2.0 mm on a 100 m² elevation and the bucket count rises from nine to eleven up to fourteen to fifteen — around five extra containers of the same product for the same wall. At the midpoints, 2.3 against 3.25 kg/m², the increase is 41% more material, which is well above the quarter or third a texture change intuitively suggests. The waste allowance above is a stated planning assumption rather than a manufacturer figure; set it from your own opening count and cutting waste. Full working per product sits in the render coverage calculator.
Two caveats belong with those numbers. The sheet's declared data was obtained at +23 °C and 50% relative humidity unless stated otherwise, and consumption in practice moves with substrate texture and trowel technique. And these figures belong to CT 74 alone: a different manufacturer's 1.5 mm render carries its own consumption line, so the comparison holds within a product range rather than across the market.
Where 1.5 mm and 2.0 mm Sit in the UK Market
Renders World stocks the finer end of this scale, and it is worth being straight about that. Across the range the grains actually sold are 1.0 mm and 1.5 mm: the machine-applied CT 174 MACHINE at 1.0 mm grain and, at 1.5 mm, the hand-applied CT 174 silicate-silicone at 1.5 mm alongside Ceresit CT 74 in white 1.5 mm. The 2.0 mm side of this comparison is a market option rather than a stocked one, and the CT 74 sheet is cited above because it happens to declare figures for grains beyond what is on the shelf.
- 1.5 mm is the volume specification on UK thin-coat work, and the reason is visible in the arithmetic: it is the coarsest common grain that still keeps consumption near two kilos a square metre.
- 1.0 mm is a machine specification. The CT 174 MACHINE sheet is explicit that the product is dedicated to machine application, with optimised consumption and a homogenous final structure — its own declared figure is approximately 1.5 kg/m², the lightest of any render read here.
- 2.0 mm and above are ordered in. Where a specification calls for one, the consumption line on that specific product's sheet governs, not the CT 74 figure quoted here.
- Grain and binder are separate choices. CT 74 is a silicone render and CT 174 a silicate-silicone; both are offered at 1.5 mm, so grain does not decide binder type. That comparison sits in the guide to silicone render versus acrylic render.
How Grain Affects Application and the Finished Structure
The application method is the same at every grain, and it is more prescriptive than most people expect. CT 74 is applied at the thickness of the grain using a steel long float held at an angle, then given its structure with round movements of a plastic long float held flat, to achieve the appearance of densely laid-out aggregate grains. That instruction is why the coat thickness follows the aggregate rather than the applicator's judgement — the float rides the grain.
Three working figures govern the day regardless of grain: open time of approximately 15 minutes, resistance to rain from 24 to 48 hours depending on temperature, and application between +5 °C and +25 °C at humidity below 80%. The short open time explains the sheet's staffing instruction, which matters more as grain gets coarser and each square metre takes more material: work one surface without breaks at the same consistency, and provide an adequate number of operatives at various scaffold levels so surfaces are combined wet on wet. Where a break is unavoidable, self-adhesive tape is applied along a previously fixed line. Method detail sits in the thin coat render application guide.
Key Takeaway: order one grain, one colour and one production batch per elevation. The sheet requires a single surface to be rendered with material of the same production badge number printed on each container, because mineral fillers cause colour differences between batches — and the tape-and-line method exists for stops within a surface, not for switching grain mid-wall.
Two further instructions are easy to lose and both bear on texture consistency. No more than 1% clean water may be added if consistency needs adjusting, and the render must not be sprinkled with water during structuring — a habit that shows up as patchy grain definition. Rusty containers and tools are excluded outright.
Choosing a Grain for Your Project
Sequence the decision so the constraints come first, because two of the three are set by the wall and the machine rather than by taste.
- Settle the application method. Machine spraying points to 1.0 mm, where the sheet's own scope names it dedicated to that method. Hand application points to 1.5 mm.
- Check the substrate is genuinely ready. Every grain here is applied at the thickness of its own aggregate, so none is thick enough to be a levelling coat. A flat, correctly primed reinforced layer is the precondition, covered in the guide to substrate preparation before rendering.
- Price the grain step properly. Convert your area at both consumption bands before choosing, because the difference at CT 74's declared figures is 41% at the midpoints rather than a rounding error.
- Confirm the colour at the grain you will actually order, since the sheet ties colour variation to mineral fillers and production batch. The render colour charts range covers sample selection.
- Keep dark shades in scope. CT 74's own sheet limits intense dark colours to small areas such as architectural details, whatever grain is chosen — a shade decision rather than a texture one, addressed in the guide to dark colours and solar exposure on render.
A trade observation the sheets imply rather than state: because coarser grain raises consumption without changing any declared performance figure, the honest reason to step up is appearance or a specifier's requirement, and the honest reason to stay at 1.5 mm is that it does the same protective job for less material. Where a wall genuinely needs levelling, that belongs in the basecoat from the EPS adhesives basecoats range, not in a heavier finish coat.
Compare the stocked 1.0 mm and 1.5 mm options in the Renders World premium silicone render collection, convert your elevation area at the declared consumption band for the exact product you choose, and order a colour sample at that grain before committing the full quantity.
Written by Mariusz Saja. Technically reviewed by Rafał Wyrzykowski. Last reviewed Aug 2026.
FAQ — Grain Size, Coverage and Ordering
How much more render does a 2.0 mm grain use than 1.5 mm?
On the CT 74 sheet, 2.1–2.5 kg/m² at 1.5 mm against 3.1–3.4 kg/m² at 2.0 mm — about 41% more at the midpoints. For 100 m² that is nine to eleven buckets against fourteen to fifteen, including a 10% waste allowance you set yourself. Other products declare their own figures, so check the sheet for the render you are buying.
Does a coarser grain give a thicker, more protective coat?
Thicker, yes — the render is applied at the thickness of its grain. More protective, no: CT 74 declares the same vapour permeability, water absorption, adhesion and thermal conductivity at every grain it offers, with no per-grain variation printed. Choose grain on appearance, method and budget.
Which grain sizes can I actually order here?
1.0 mm and 1.5 mm. The 1.0 mm is the machine-applied CT 174 MACHINE silicate-silicone; at 1.5 mm there is the hand-applied CT 174 and Ceresit CT 74 in white. Coarser grains exist in the wider market and are ordered against the specific product's own consumption figure.
Can I use two different grains on one elevation?
Keep one grain per continuous surface. The sheet requires a single surface to be worked without breaks at the same consistency and from the same production batch, because mineral fillers cause colour differences between batches. Where work must stop, apply self-adhesive tape along a previously fixed line and resume from it.
Does machine application change which grain I should pick?
Yes. CT 174 MACHINE at 1.0 mm is dedicated to machine application with optimised consumption of approximately 1.5 kg/m². CT 74 also permits machine application, naming Wagner PC 15, PC 830 and SPG Baumaschinen PG 20 as recommended equipment types, so a 1.5 mm finish can be sprayed or trowelled.
What conditions apply while the render is going on?
+5 °C to +25 °C ambient and substrate with humidity below 80%, open time of about 15 minutes, and rain resistance reached in 24 to 48 hours depending on temperature. Walls in direct sun should not be rendered, the coat is protected from rain until fully dry, and scaffold protection is recommended.