

Description
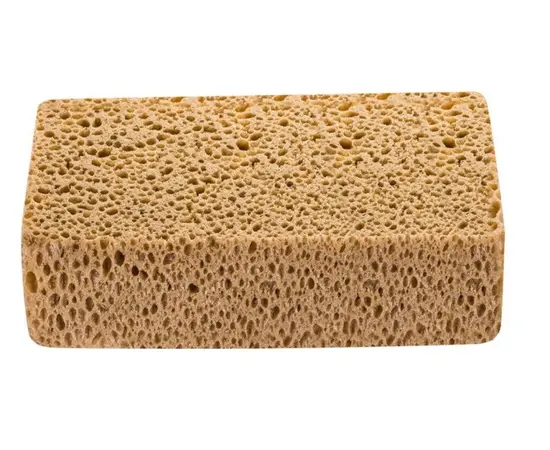
The KAEM sponge with index 2024-132312 is a tile cleaning sponge made for washing tiles after grouting. The maker sells it as a 23 x 12 x 7 cm sponge with high absorbency that leaves no streaks on the washed surface. Renders World stocks it in the range of finishing sponges, pads and power floats.
Tile Cleaning Sponge 23 x 12 x 7 cm: What KAEM States
| Property | Value |
|---|---|
| Maker and index | KAEM 2024-132312 |
| Size in the product name | 23 × 12 × 7 cm |
| Overall length, width, height | 22.5 × 11.5 × 6.5 cm |
| Barcode (EAN) | 5905061037017 |
| Made for | Washing tiles after grouting; tiling work |
| Trade carton | 600 sponges |
The barcode on the Renders World listing is the same 5905061037017, so the sponge in the box is the one KAEM describes. The maker publishes no material, pore grade, density or absorbency figure for this index, so the table stops at what the maker prints.
One Sponge, Two Sets of Dimensions
The maker's own listing carries two sizes for this sponge. The product name reads 23 x 12 x 7 cm, while the feature table underneath gives an overall length of 22.5 cm, a width of 11.5 cm and a height of 6.5 cm, and lists the sponge thickness as 70 mm. The maker does not say which set is nominal and which is measured.
- What this means for an order: treat the size as approximate, and do not choose between this sponge and another on a few millimetres.
- What identifies it exactly: index 2024-132312 and barcode 5905061037017. Quote either one when ordering or comparing a quote.
Washing Tiles After Grouting
The maker describes this sponge in two lines: it is meant for washing tiles after grouting, and its high absorbency leaves no streaks on the surface being washed. The feature table names the application as tiling work.
- Use it for: washing grout residue off tiles once the joints are filled.
- Timing: when washing can start is set by the grout, not the sponge, so the grout bag's instructions decide when the sponge goes on.
Grouts, sealants and tile silicones for the same job are in the grout and silicone range.
How It Differs From the Other Two KAEM Sponges
Renders World carries three KAEM sponges for tiling. KAEM sells this one as a plain sponge; the other two belong to a separate line with its own name and description.
- 23 × 12 × 7 cm, this sponge: the longest of the three, described for streak-free washing after grouting.
- 20 × 14 × 7 cm: 70 mm of sponge, the wider hydro sponge in the KAEM pair.
- 15 × 10 × 5 cm: 50 mm of sponge, the smaller KAEM hydro sponge.
All three are made for washing tiles after grouting. The difference on paper is size and the line each belongs to; the maker gives no figure that ranks one above another for absorbency.
Made for Tiles, Not for Render
Every line the maker publishes for this tile cleaning sponge is about tiles and grout. No use on render, plaster or a textured facade is named.
- Buy it for: grouting and tiling work, and tiled faces that need washing down after it.
- Look elsewhere for: machine floating of render, where the same collection carries the power float with its discs and pads.
Ordering, Delivery and Returns
Renders World processes orders the same day when the stock is there.
- Ordering by code: index 2024-132312 with barcode 5905061037017 identifies this tile cleaning sponge exactly.
- Delivery: quoted by the team after the order, always kerbside. Small parcels up to 25 kg go next day.
- Collection: from the counter at Unit 9A, Central Trading Estate, Southampton SO14 5JP, Monday to Friday 7am to 5pm and Saturday 7am to 12pm.
Goods bought directly from Renders World can go back within 14 days in their original condition; special orders and promotion purchases are excluded.
FAQ
What size is the KAEM 2024-132312 sponge?
KAEM names it 23 x 12 x 7 cm; its feature table gives 22.5 × 11.5 × 6.5 cm overall. Order it by index or barcode rather than by the millimetres.
What is it made for?
Washing tiles after grouting. KAEM states that its high absorbency leaves no streaks on the washed surface.
Is it made for render?
No. The maker describes it for tiling work only and names no use on render or plaster.
Is it the same as the other two KAEM sponges?
No. KAEM sells it under a different name from the 20 × 14 × 7 cm and 15 × 10 × 5 cm pair, with its own description, at 23 x 12 x 7 cm.
What is it made of?
The maker does not name the material or publish a pore or density figure for this index.
Technical Documentation