The plinth — the lowest 300 to 600 mm of any rendered facade — absorbs more punishment than any other strip of wall, from rain splashback and lawnmower strikes to de-icing salt and ground-level damp. Mosaic render is the specialist coating built for exactly that exposure: a resin-bound quartz finish that resists impact, sheds water, and holds its colour for decades. This guide walks through the full plinth application in the order a professional renderer follows on site, from substrate assessment and DPC detailing to primer colour-matching, float technique, and curing. Renders World supplies the complete Ceresit CT 177 system used throughout, so every material referenced here is available against a single trade order.
Why Plinths Need a Specialist Mosaic Finish
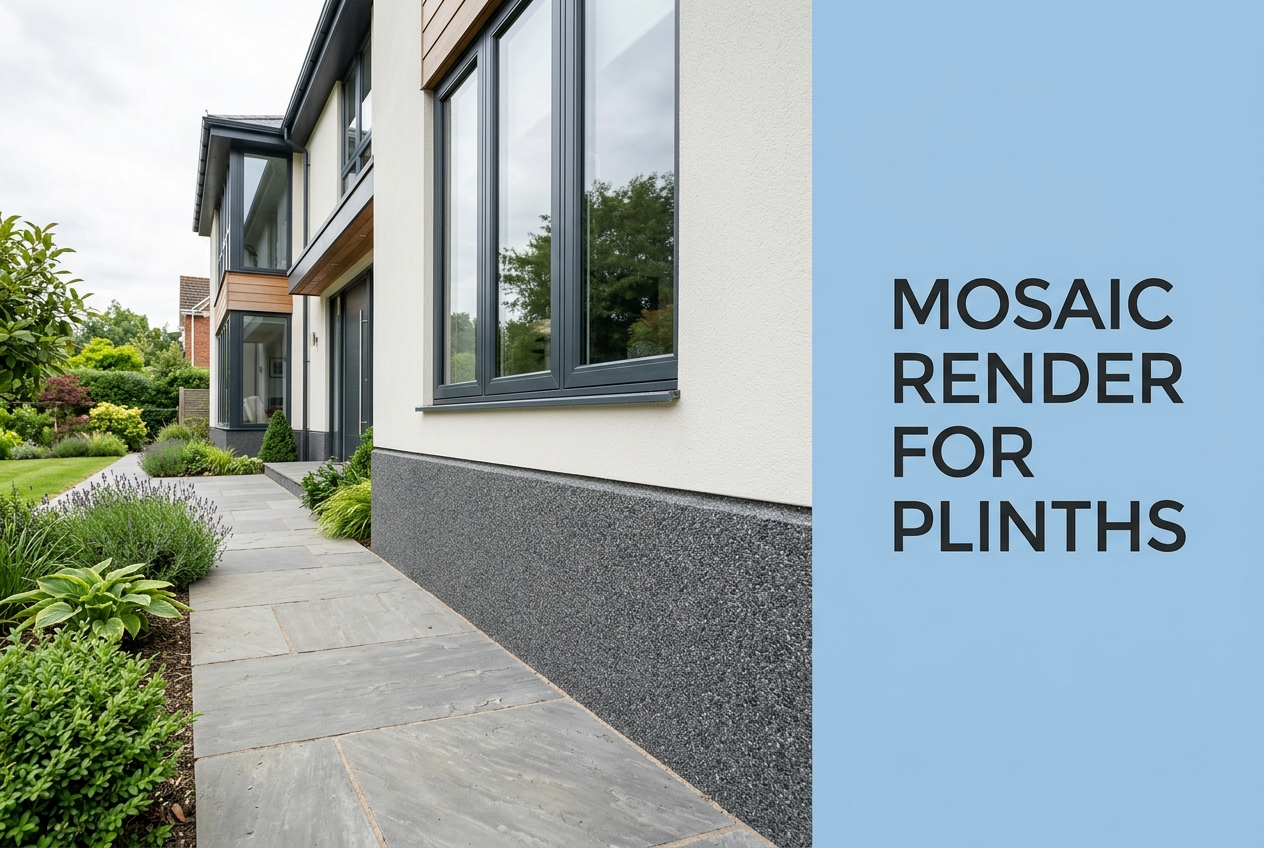
Standard silicone and acrylic thin-coat renders perform beautifully across main elevations, yet the ground-level splash zone subjects a finish to stresses that no other part of the wall faces at once. Plinths take direct rainwater rebound off hard landscaping, mechanical knocks from everyday objects, salt exposure near roads, and constant proximity to the damp-proof course where moisture management matters most.
Mosaic render answers all of these in one applied layer. Ceresit CT 177 binds 1.0–1.6 mm coloured quartz in a transparent acrylic resin, curing to a dense surface rated Category I impact resistance under ETAG 004 — the top classification for thin-layer plasters. It also reaches class W3 water absorption (w ≤ 0.1 kg/m²·h⁰·⁵) under EN 15824, so driven rain beads off rather than soaking through. Because pigment sits inside the quartz grains rather than in a surface paint film, there is nothing to peel or chalk, and ground splashback rinses away with a hose. Many installers assume a tougher plinth means a thicker coat; in practice the durability comes from the aggregate-and-resin matrix itself, so a correctly applied single pass outlasts repeated repaints.
How to Prepare the Substrate and Detail the DPC
A durable plinth finish starts beneath the visible surface. The masonry around and below the DPC must be load-bearing, dry, and free of grease, dust, and salt before any basecoat goes on. Allow cement and cement-lime plasters a minimum of 28 days and concrete three months (moisture content ≤ 4%) before moving to the reinforcement layer — rushing this stage is the single most common cause of plinth defects later.
- Reinforcement layer: Apply a cementitious basecoat — Ceresit ZU, CT 85, CT 190, or CT 100 — at 3–5 mm and embed alkali-resistant fibreglass mesh into the wet mortar. The mesh spreads mechanical stress across the plinth and gives the mosaic a stable, crack-resistant bed. Allow at least three days curing above +10 °C before priming.
- DPC junction: Terminate the mosaic render at or just below the damp-proof course, with a bellcast or drip detail at the upper edge so water cannot track up into the thin-coat system above. A clean, unobstructed drip line between plinth and main elevation keeps the system transition free of capillary bridging.
- XPS plinth integration: On insulated facades the plinth zone usually uses XPS rather than EPS, for the closed-cell moisture resistance needed below the DPC. Mosaic render is the recommended finish over XPS plinth boards. For the moisture physics and thermal-bridging detail at the base of an insulated wall, the plinth thermal-bridge and mould-prevention guide sets out the full build-up.
How to Colour-Match and Apply the Primer
The primer stage is where many plinth finishes quietly lose their richness — and getting it right is one of the easiest ways to guarantee a uniform mosaic appearance from the first coat. Because the CT 177 binder is transparent, the substrate colour reads through the resin and shifts the perceived shade of the aggregate. A grey basecoat under a warm sandstone mosaic cools the tone and flattens the finish the colour chart promised.
Apply a quartz primer from the render primers range — Ceresit CT 16 or Atlas Cerplast — tinted close to the dominant aggregate tone. A warm primer beneath a warm aggregate deepens the finish; a neutral primer beneath a grey blend keeps it clean. Let the primer dry fully, typically around four hours at 20 °C and longer when cool, then confirm with a palm test: the surface should feel uniformly gritty and dry, with no cool or damp patches, so the resin keys properly across the whole plinth.
How to Apply Mosaic Render — Mixing, Float Technique, and Timing
CT 177 arrives ready-mixed, with no water needed (250 ml maximum per 25 kg only if consistency demands it). Stir each tub on a slow-speed drill with a basket mixer until homogeneous — never a fast mixer, which aerates the resin and cures as cloudy patches. Apply with a clean stainless-steel trowel at a thickness of at least 1.5 times the grain size, working in one consistent direction so the quartz settles into its natural texture rather than swirling.
- Complete each elevation wet-on-wet: Finish each wall or defined section in one uninterrupted pass, because the resin starts skinning at roughly 30 minutes. Plan scaffold lifts and team positions before opening the first bucket so coverage stays seamless with no lap marks between fresh and set material.
- Handle unavoidable breaks cleanly: Where a mid-wall break cannot be avoided, mask a straight line with tape, render up to it, and peel the tape while the material is still wet. Restart from the clean edge to avoid the double-thickness overlap that cures as a dark stripe.
- Protect from rain for three days: Uncured resin meeting rainwater turns temporarily milky. Keep scaffold netting or tarpaulins in place for at least three days and relative humidity below 80% so the resin cross-links fully. The milky effect is cosmetic and clears on drying, but preventing it keeps the handover on schedule.
Key Takeaway: Stir slowly to avoid air bubbles, tint the primer to the aggregate, complete each wall in a single wet-on-wet pass inside the 30-minute window, and shield the surface from rain for three days — these four habits separate a flawless mosaic plinth from one that needs putting right.
How to Choose Your CT 177 Pack Size and Quantity
Both Renders World pack sizes use the identical CT 177 formulation and reach the same performance figures, so the choice is purely about project scale and waste. The yield is approximately 4.0 kg/m², giving around 6 m² per 25 kg tub and 2.5 m² per 10 kg tub.
| Your Project | Pack | Coverage |
|---|---|---|
| Full-house plinth (12–18 m²), trade volume | Ceresit CT 177 — 25 kg | ~6 m²/tub |
| Repairs, reveals, entrance surrounds (under 3 m²) | Ceresit CT 177 — 10 kg | ~2.5 m²/tub |
A typical semi-detached plinth of 15–18 m² takes three to four 25 kg tubs, plus 5–10% for corners, reveals, and normal wastage. Measure the full perimeter and multiply by plinth height (usually 300–600 mm) before ordering. For colour-zoning the plinth against the main-wall finish, the decorative facades with mosaic render guide covers palette strategy and transition detailing.
Specify Your Mosaic Plinth System
Mosaic render is the professional specification for any UK plinth — delivering impact resistance, water repellency, and through-coloured durability in a single layer that lasts 30 years or more without repainting. The result rewards preparation and pace: sound substrate work, a colour-matched primer, slow-stirred material, and a wet-on-wet pass inside 30 minutes per section. Browse the Renders World mosaic render collection to compare pack sizes, check pricing, and choose your aggregate shade, then add a matched primer to complete the plinth build-up.
Written by Mariusz Saja. Technically reviewed by Renders World Team. Last reviewed June 2026.
FAQ — Mosaic Render Coverage, Conditions, and Application
How many tubs of mosaic render do I need for a typical house plinth?
A semi-detached plinth of roughly 15–18 m² usually needs three to four 25 kg tubs at the stated yield of about 4.0 kg/m² — each tub covers around 6 m². Measure the full perimeter, multiply by plinth height (typically 300–600 mm), then add 5–10% for corners, reveals, and normal wastage. For short sections or repairs, the 10 kg tub covering about 2.5 m² keeps waste to a minimum.
What temperature do I need to apply mosaic render?
Both air and substrate should stay between +10 °C and +25 °C throughout application and for at least three days afterwards, with relative humidity below 80% while the resin cures. That higher +10 °C minimum, compared with the +5 °C silicone renders tolerate, puts the practical UK window from about April to October. Fully sheeting the scaffold and watching overnight forecasts extends the season into the shoulder months and ensures the binder cross-links to full hardness.
Which primer and basecoat are compatible with CT 177?
CT 177 goes over a quartz primer — Ceresit CT 16 or Atlas Cerplast from the primers collection — applied across a reinforced basecoat of Ceresit ZU, CT 85, CT 190, or CT 100 that has cured at least three days. Tinting the primer close to the aggregate shade stops the basecoat reading through the transparent resin. On absorbing substrates, prime first with CT 17 and then with CT 16 after a minimum two-hour gap.
Is mosaic render breathable enough for solid-wall properties?
Vapour migrates outward through the coating rather than building up behind it, which matters on older solid walls without a cavity. CT 177 achieves a V2 vapour permeability rating (0.14 ≤ Sd < 1.4 m) under EN 15824:2017, compatible with masonry substrates. Where maximum breathability across a whole elevation is the priority a silicone render offers a lower Sd, but at the plinth zone specifically the superior impact and water resistance of mosaic render outweighs the marginal difference.
Why does fresh mosaic render look milky, and will it clear?
The acrylic dispersion looks milky immediately after application and clears as it dries — this is normal. If rainwater contacts the surface during the roughly three-day curing window, the milky appearance can temporarily return until the surface dries again. Keeping scaffold netting or tarpaulins in place until the resin has fully hardened prevents the cosmetic delay, so the finish presents its true colour at handover.
Can I apply mosaic render myself or should I hire a renderer?
A short feature panel or reveal is a reasonable project for a confident DIYer with rendering experience and the matched primer system. For a full-house plinth, an experienced renderer is the most reliable route, because each elevation must be completed in one wet-on-wet pass before the resin skins at around 30 minutes, and float pressure and timing govern the final texture. Planning the pass and sheeting the scaffold beforehand are what deliver a seamless result either way.