
Description
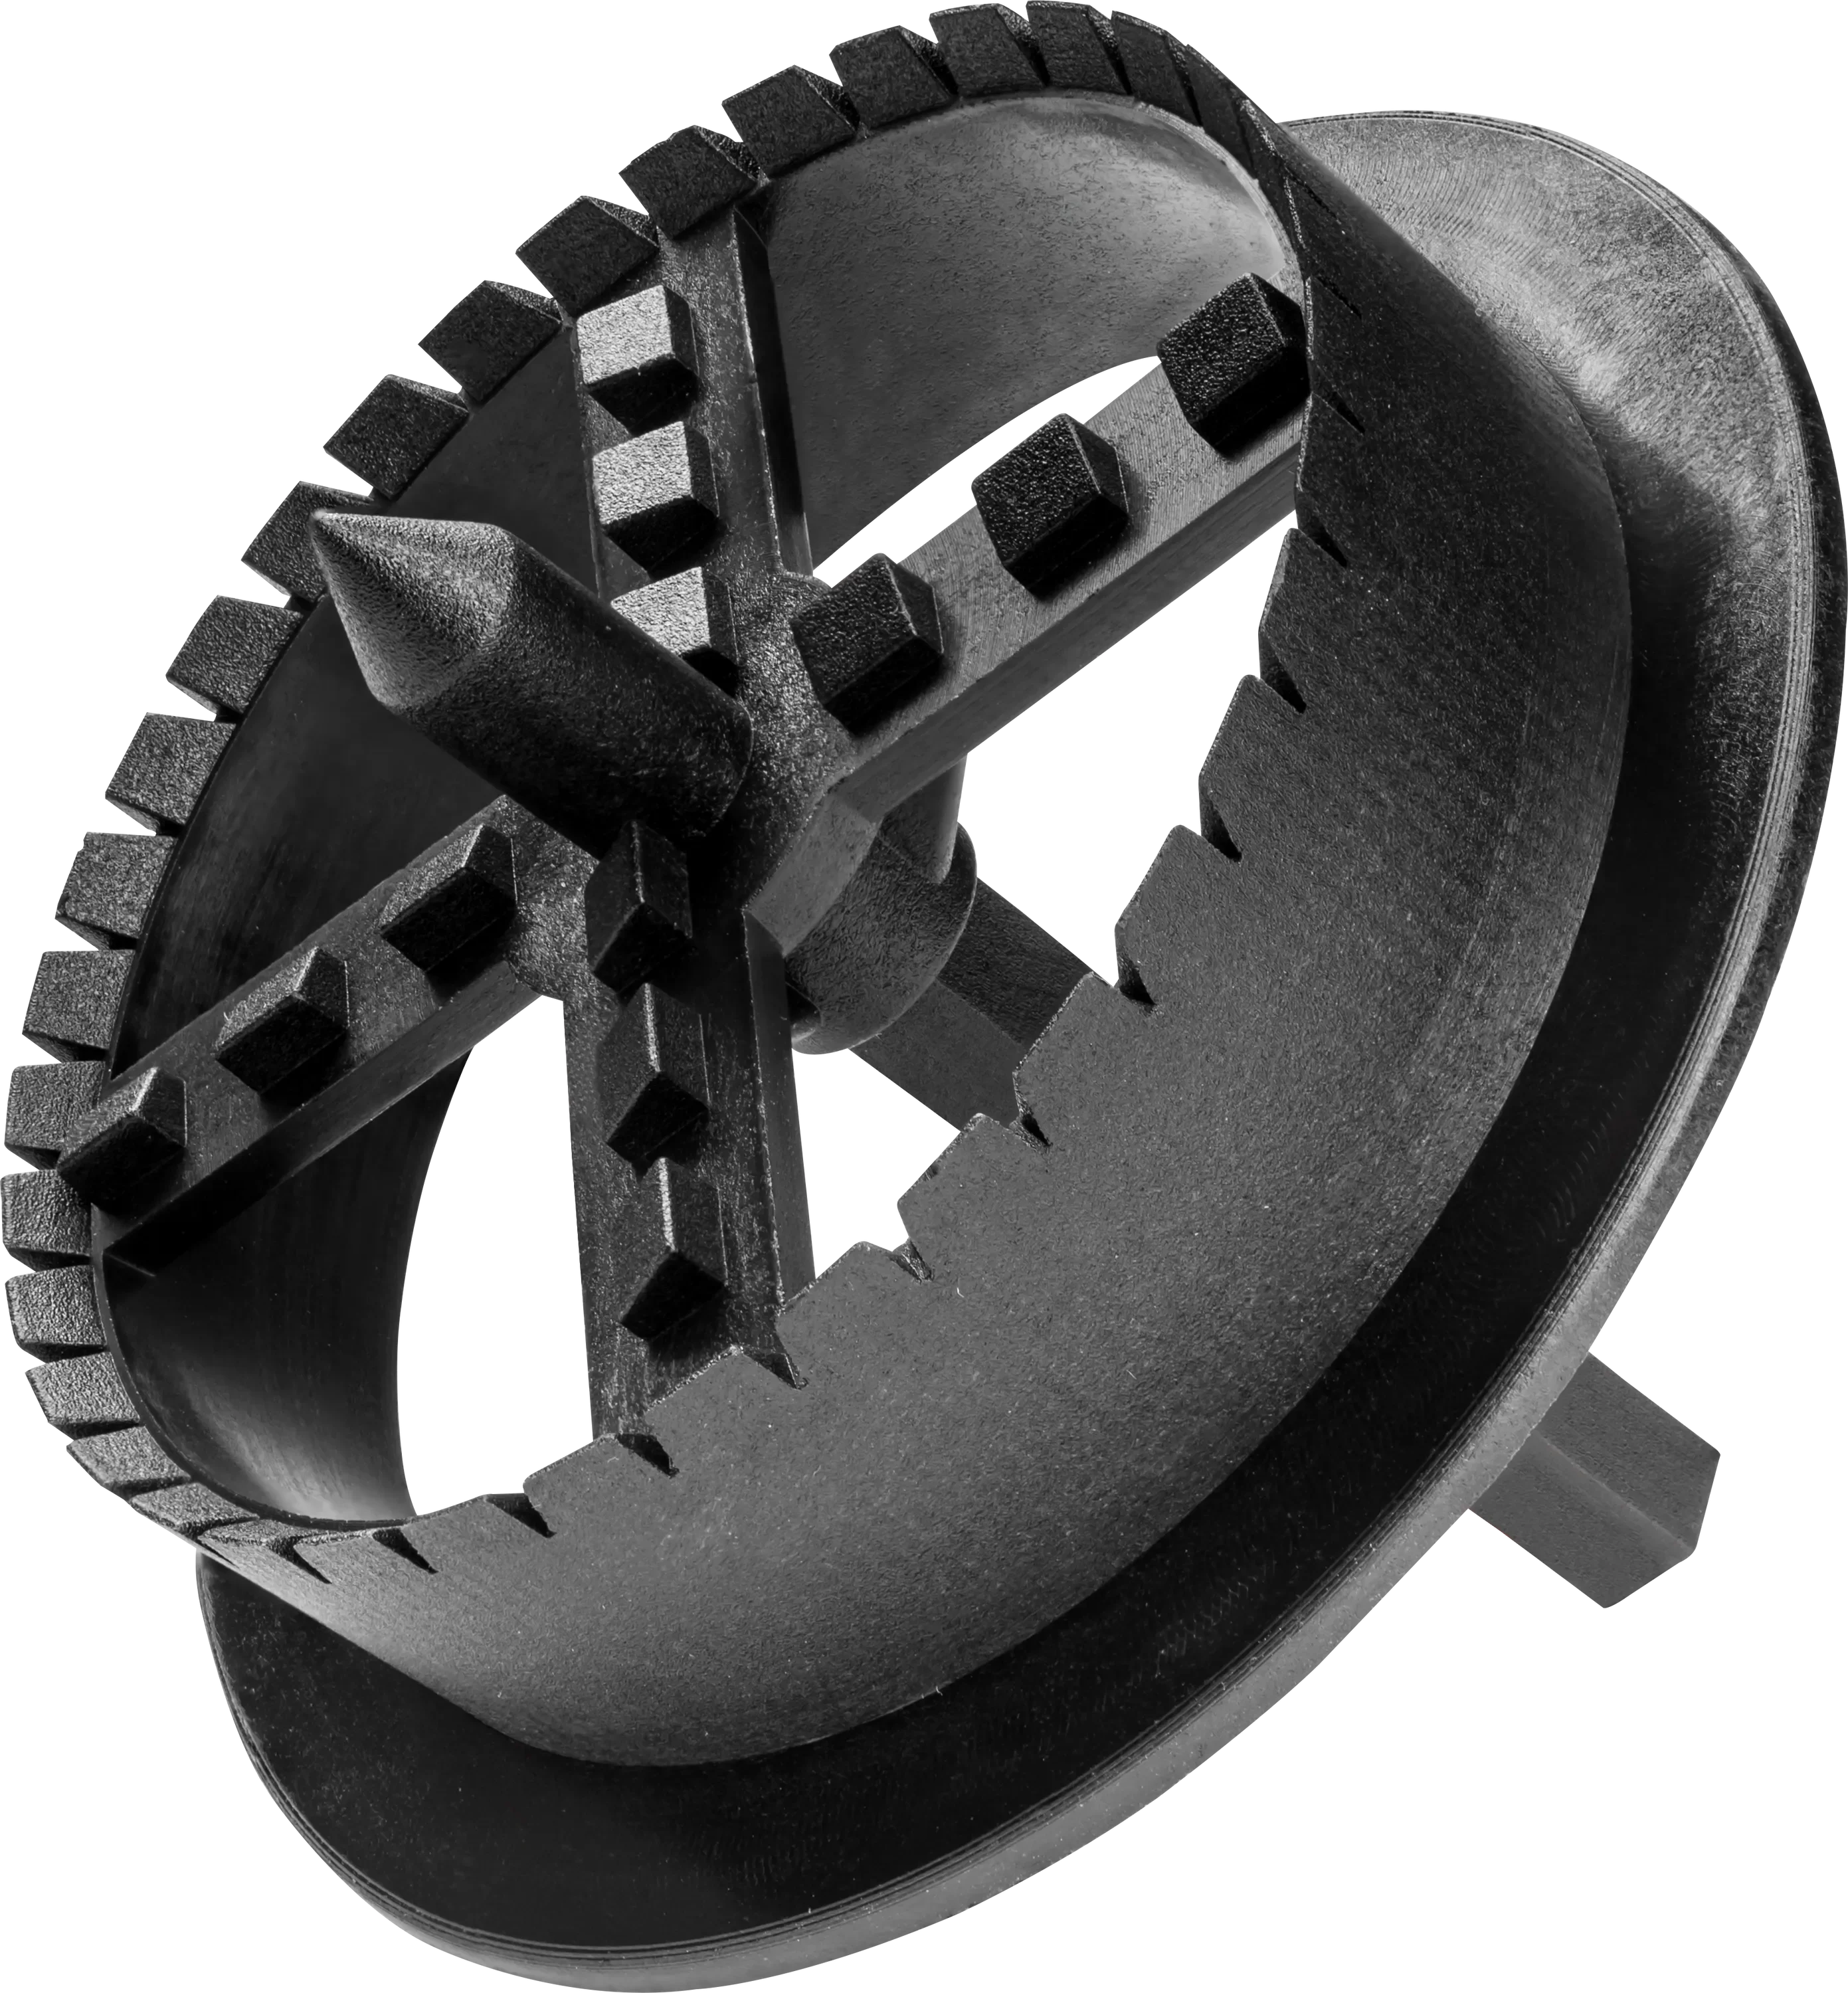
The EPS Styrofoam and Wool Hole Cutter is a precision countersinking tool that cuts a clean 67 mm × 20 mm circular recess into insulation boards so mechanical fixing plugs sit flush with — or fractionally below — the board surface. It works equally on white EPS, graphite EPS, XPS, and mineral wool, and fits any standard drill or impact driver via a hex shank.
This tool sits within the insulation fixing accessories range at Renders World and pairs directly with the mechanical fixings used across the EPS insulation boards collection on every UK EWI installation.
Where the EPS Hole Cutter Earns Its Place on UK Render Sites
Without a countersinking tool, every mechanical fixing disc sits proud of the board surface, the basecoat has to bridge over a raised point at every plug, and those points eventually telegraph through the render as a regular grid of bumps — particularly on thin-grain silicone or silicate finishes where there is no texture to disguise them. The 67 mm hole cutter is the single tool that eliminates that finish defect across an entire facade.
- On the board — produces a clean-walled 67 mm × 20 mm recess at every fixing point, so the plug disc seats flush and the board face stays continuous edge to edge.
- On the system — restores the insulation envelope around every plug when paired with a glued-in EPS cap, eliminating the localised thermal bridge that an exposed metal or PVC disc creates.
- On the finish — leaves the basecoat trowelling flat across the elevation instead of feathering over hundreds of raised points; the render then goes on without visible fixing marks at any viewing angle.
Why This Countersinking Tool Saves Time on Site
- 67 mm diameter matched to standard fixing discs — the recess aligns precisely with the head diameter of LTX polystyrene plugs and universal PVC discs, so every plug seats flush in a single cut without trial fitting.
- 20 mm cutting depth for cap-over-plug finishing — the recess depth accepts a standard EPS insulation cap glued over the seated fixing, restoring a flat, continuous insulation layer across the board face.
- Glass-fibre-reinforced polyamide construction — harder than standard plastic routers, holding a sharp cutting edge through several hundred recesses on EPS before the teeth need replacement.
- Universal drill fitment — the hex shank locks into any standard chuck or quick-change impact driver collet; no adapter or specialist holder needed.
- Cuts EPS, XPS, and mineral wool with the same tool — avoids carrying separate cutters when a project mixes board types across plinth, field, and detail zones.
- Clean recess walls for strong cap adhesion — the smooth-cut pocket provides a flat gluing surface for the insulation cap, so caps stay seated through basecoat application and render floating rather than popping loose under the trowel.
Technical Specifications — EPS Hole Cutter Data
| Property | Value |
|---|---|
| Cutting diameter | 67 mm |
| Cutting depth | 20 mm |
| Material | Glass-fibre-reinforced polyamide |
| Shank type | Hex shank (standard drill or impact driver) |
| Compatible insulation | EPS (white and graphite), XPS, mineral wool |
| Compatible fixing disc diameter | Up to 67 mm |
| Recommended drill speed | 800–1,200 rpm |
| Typical service life on EPS | Several hundred recesses per cutter |
The 67 mm × 20 mm geometry is the standard EWI countersink envelope across the LTX plug range and universal PVC disc designs. Check that the specific fixing disc on the project sits within the recess with a small clearance margin before committing to a full elevation.
How to Use the EPS Hole Cutter on a UK EWI Installation
The cutter enters the workflow after the mechanical fixing is driven home and the disc is seated against the board face. Run the cutter directly over the plug, cut the recess, glue in a cap, and the fixing point disappears under the basecoat layer.
- Drill speed and pressure — set the drill to 800–1,200 rpm with light, even pressure as the cutter enters the board; high speed with excessive force melts the EPS around the cut edge on graphite boards, leaving a rough pocket that compromises cap adhesion.
- Perpendicular entry — hold the drill square to the board face throughout the cut so the recess base is flat; an angled entry leaves a tapered pocket that prevents the cap from sitting level.
- Mineral wool technique — keep the same moderate speed; the cutter slices the fibres cleanly without tearing at the recess wall, provided the cutting teeth are still sharp.
- Recess preparation — clear any loose EPS dust or wool fibres from the pocket before seating the cap, so the adhesive contacts a clean surface and bonds reliably.
Once each recess is cut and cleaned, apply a thin bead of PU foam adhesive or a dab of basecoat adhesive to the back of the EPS cap, press it into the pocket, and ensure it sits level with or fractionally below the surrounding board surface. The basecoat and mesh layer then bridges over the capped fixing without any bump or hollow showing through the finished render. For the full fixing, countersinking, and capping sequence in context, the EWI fixings installation guide walks through each stage in order.
Installation Notes — Cutter Maintenance, Substrate Behaviour, Tool Wear
One cutter typically lasts several hundred recesses on EPS before the cutting teeth dull noticeably. On mineral wool the abrasive glass fibres accelerate wear, so inspect the tool every 50–100 recesses and replace it when the cut begins to tear rather than slice cleanly. Keeping a spare cutter on the van avoids downtime mid-elevation when the working tool finally gives out — replacement mid-cut is a five-minute pause, whereas a trip to the merchant is a half-day disruption.
Different boards respond differently to the same cutter. Graphite EPS has a slightly denser cell structure than standard white EPS, so cuts take fractionally more time but stay clean at the same drill speed. XPS is denser still and produces more resistance under the cutting teeth — keep the drill speed in the lower half of the recommended range to avoid overheating the polyamide body. Mineral wool cuts at the same speed as EPS but produces airborne fibres, so eye protection and a fitted dust mask are essential during the countersinking pass.
- Clear dust between cuts — a quick blow or brush through the cutter teeth keeps the cutting edge engaging cleanly with the next recess rather than packing with insulation debris.
- Reset depth at every board change — switching from 80 mm to 100 mm boards mid-elevation does not change the recess depth, but a quick depth check on the first cut confirms the cutter is bottoming correctly.
- Don't force a dull cutter — pushing harder on a worn tool tears the recess wall rather than cutting cleanly, which is the moment to swap in the spare.
How Pros Get the Best Result From This Hole Cutter
The tool itself is simple, but a few site habits separate a clean countersinking pass from a sloppy one — and the difference shows up on the finished render whether anyone is looking for it or not.
- Cut on the same day as plug installation — leaving recess cutting until after the next-day basecoat means re-staging the drill and the cutter; running the countersink pass immediately after each plug goes in keeps the workflow continuous and the cutter warm in the chuck.
- Map the fixing pattern before drilling — at six to eight fixings per square metre on a typical domestic specification, a 30 m² elevation carries 180–240 plug points; chalking the fixing positions before the first drill goes in keeps the recess pattern regular and eliminates the visual rhythm break that a randomly placed plug creates.
- Pair the cutter with the matching cap pack from day one — order the grey EPS plug caps in 100-piece packs in volume alongside the cutter so the countersink and cap stages run as a single continuous workflow rather than a stop-start cycle waiting on cap delivery.
- Replace the cutter the day it starts tearing — a worn cutter leaves shredded recess walls that the cap glue cannot bond to cleanly, and the cap pops loose under the trowel later; trying to extend a tired tool by a few more cuts costs more in lifted caps than a fresh cutter saves.
Is the EPS Hole Cutter Right for Your Job?
- Ideal for every mechanically fixed EWI installation — choose the 67 mm hole cutter on any project where insulation boards are secured with mechanical fixings and the finished render must sit flat without telegraphed bump lines at every fixing point.
- Pair with cosmetic finishing caps — the grey EPS plug caps sized to the 67 mm × 20 mm recess glue directly into the cut pocket, covering each fixing and restoring the continuous insulation envelope.
- For the full mechanical fixing specification — the wider fixing accessories range covers LTX polystyrene plugs across the full 70–220 mm length series, universal PVC discs, spiral anchors, and base tracks that complete the fixing system alongside this countersinking tool.
- For the fixing pattern and spacing calculation — the EWI fixings installation guide covers how many fixings per square metre, where to place them around openings and corners, and how the countersink pass integrates with the wider installation sequence.
FAQ — Hole Cutter Use, Maintenance, Coverage
How many recesses can one hole cutter produce before replacement?
On standard white and graphite EPS boards, one cutter typically lasts several hundred recesses before the cutting teeth dull noticeably. On mineral wool slabs the abrasive glass fibres wear the cutting edge faster, so expect a shorter service life — inspect the tool every 50–100 recesses and replace it when the cut begins to tear rather than slice cleanly. Keeping a spare on the van avoids downtime mid-elevation when the working tool finally gives out.
Does the 67 mm diameter fit all EWI fixing plugs?
The 67 mm recess accommodates the head diameter of the most widely used EWI fixing discs, including the LTX polystyrene fixing plugs and universal PVC discs in the Renders World range. Before committing to a full elevation, check that the specific fixing disc on the project sits within the recess with a small clearance margin on all sides. A disc that fills the recess to the edge is fine; one that sits proud of the cut diameter requires a larger-diameter cutter.
Can the cutter be used on XPS foundation boards as well as EPS?
Yes. The glass-fibre-reinforced polyamide cuts cleanly through extruded polystyrene as well as expanded polystyrene. XPS is denser than EPS, so the cutter encounters slightly more resistance — keep the drill speed in the lower half of the 800–1,200 rpm range and apply steady pressure to avoid overheating the tool body. The resulting recess is clean-walled and accepts a standard insulation cap in the same way as an EPS recess.
Is countersinking fixings a requirement or best practice?
Countersinking and capping fixings is considered best practice on every EWI installation and is a stated requirement in many system certifications. Without countersinking, each fixing disc creates a localised thermal bridge through the insulation layer and a raised point that telegraphs through the finished render under directional light. Countersinking and capping restores the continuous insulation envelope and produces a flat board surface that the basecoat and render cover without visible fixing marks at any viewing angle.
Should I order one cutter per project or one per installer?
For a single-elevation domestic job, one cutter and one spare are sufficient. For multi-installer crews or larger commercial programmes, order one cutter per installer plus 25 % spare allowance — recess cutting is the bottleneck stage on fixing days, and a crew sharing a single cutter loses more time queuing than the spare tools cost. On mineral wool projects, double the spare allowance to account for the faster fibre-driven wear.
How long does the countersinking stage take per square metre?
At six to eight fixings per square metre on a typical domestic specification, the countersink pass takes around 30–60 seconds per board including positioning and cap installation, working out to approximately 8–12 minutes per square metre with the cap stage included. On a 100 m² elevation, the full countersink-and-cap sequence runs to one to two installer-days. Mapping the fixing pattern ahead of the drill phase keeps the rate at the upper end of that range rather than the lower.

