PLASTIC RENDER FLOATS
11 products
Showing 1 - 11 of 11 products
Choosing a plastic render float
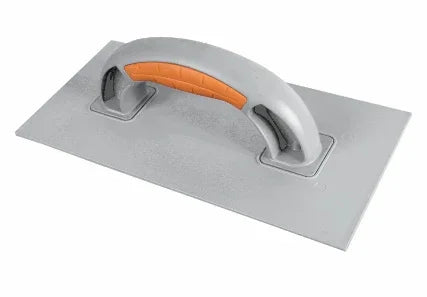
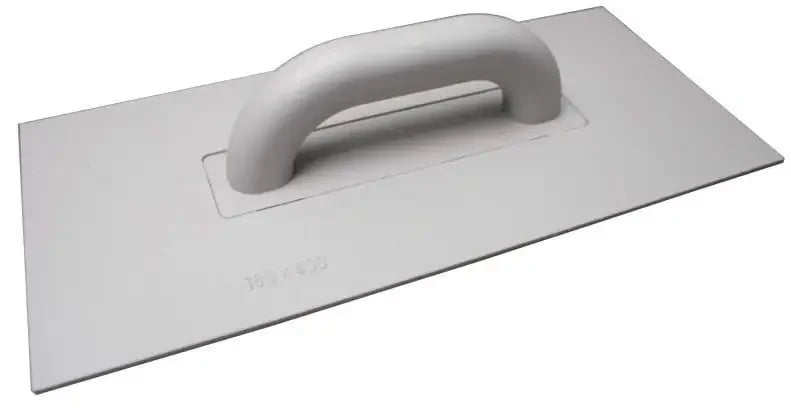
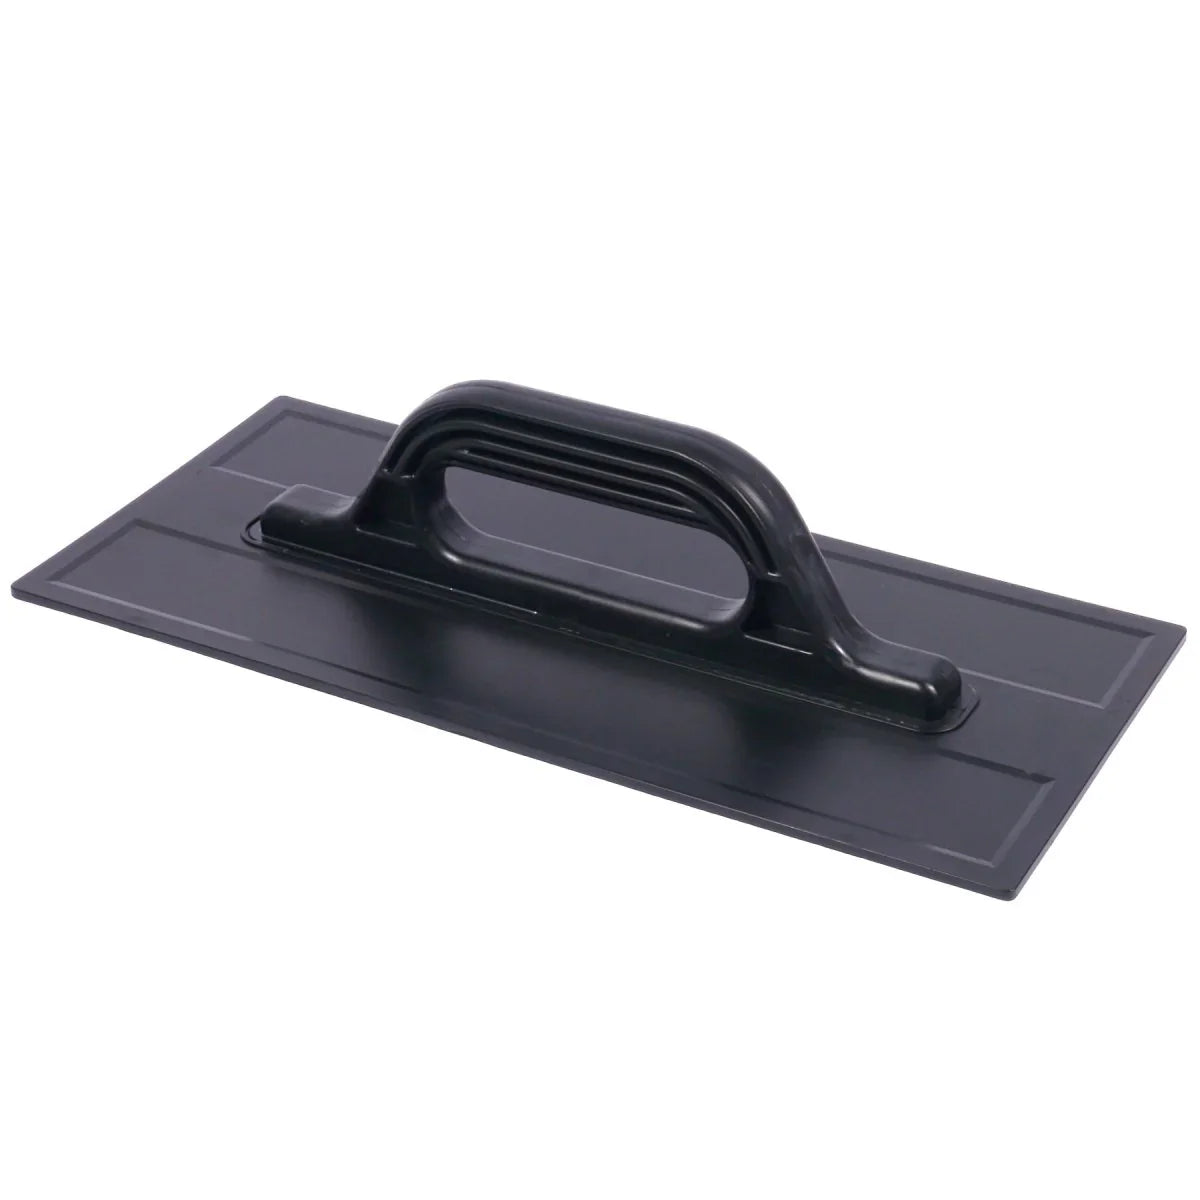
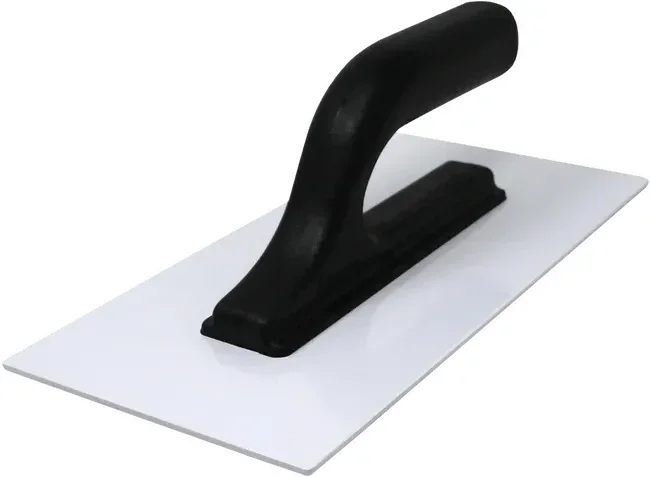
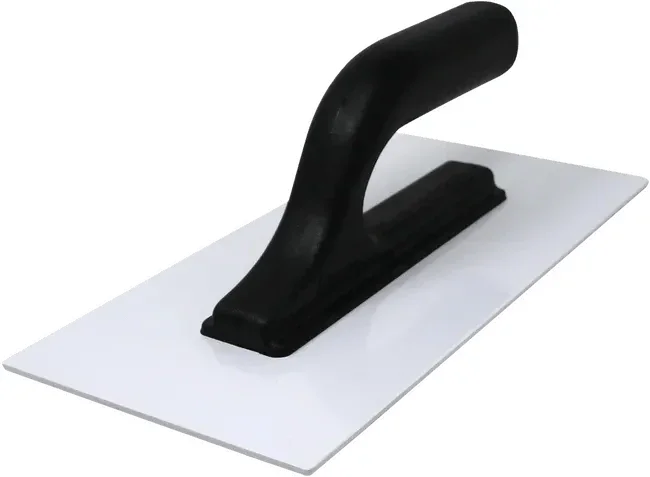
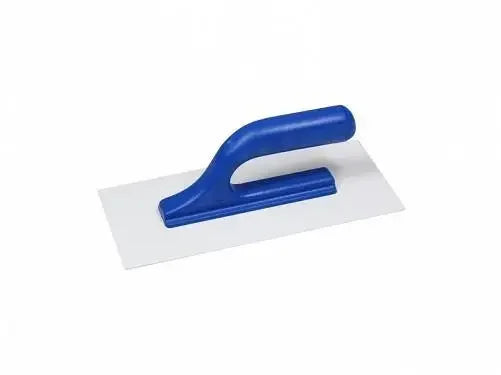
A plastic render float is the tool that puts the texture into a thin coat finish, and the render floats on this shelf run from 270 × 130 mm for cutting in to 400 × 180 mm for open elevations. The float does not spread the material and it does not flatten it. It works the surface of a coat that has already been laid and drawn back, and the pattern it leaves is the finish the wall keeps.
That makes the choice a working one rather than a shopping one. Trade names vary between merchants: a plastic rendering float, a float for rendering and a plastic float all name the same tool. Underneath the names, a plastic render float is chosen on three things:
- Working size, which decides whether you can follow a wall or cover one.
- Stiffness of the plastic, which decides how much the face gives under your hand.
- Handle, which decides what your wrist feels like at the end of a texturing day.
What the float decides and what the render decides
The sequence on a thin coat system is fixed. The render goes on at aggregate thickness with a stainless steel trowel, the excess is drawn back into the bucket and stirred in, and the texture is then pulled with a plastic float in circular motions while the coat is still open. Everything a plastic render float can do happens inside that window.
| Set by the render | Set by the float |
|---|---|
| Open time, from that render's sheet | Direction and pressure of the motion |
| Grain, and so the texture depth | One pattern, corner to corner |
| Hand or machine application | Which face meets the wall |
Hand and machine textures differ enough that a single elevation takes one method from corner to corner, and that comes from the material manufacturer rather than from house preference. The stage-by-stage order is set out in our guide to building up a thin coat system from mesh to texture, and the materials themselves sit on the ready-mixed thin coat finishes shelf.
Working size: matching the float to the elevation
Size is the dimension a renderer actually buys on. A short face follows a wall that is not flat and gets into reveals and beads; a long face covers ground and holds a straighter plane across a large panel, which is what you want once the elevations open out. Most crews buying at the Renders World counter carry two floats for exactly that reason: one to cut in, one to run the field.
| Your Project | Best Float | Standout Spec |
|---|---|---|
| Reveals, beads and cutting in | Trowel 270 x 130 mm TYTANX | PVC face, 270 × 130 mm |
| Small repairs and patch work | KUBALA 0300 Smooth Float 130x270 ABS | ABS face, 270 × 130 mm |
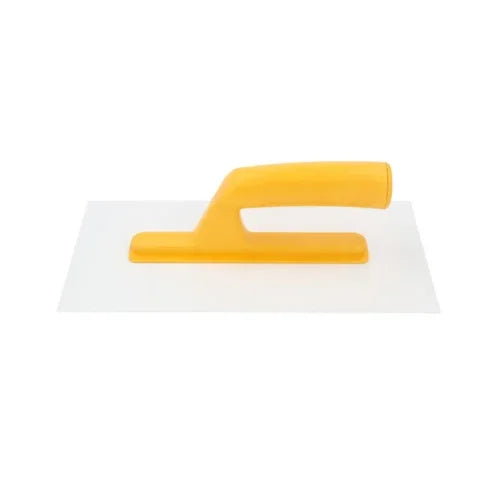
| General texturing, everyday use | 205118 Plastic Float Render ABS 130x280 | ABS face, 280 × 130 mm |
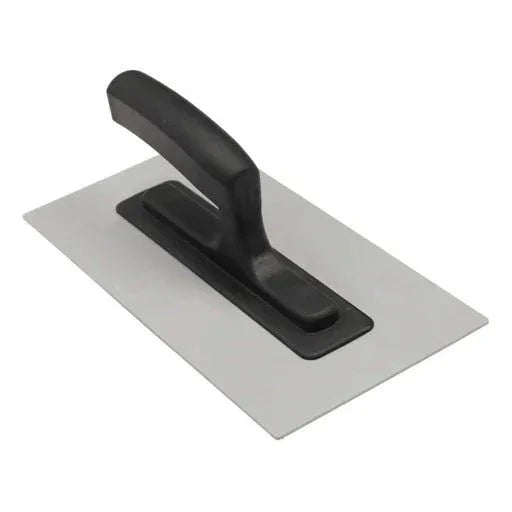
| Fine grain, light pressure | ABS trowel 280 x 140 mm PH3, 2 mm | 2 mm plastic, more give |
| Coarse grain, firmer working | ABS trowel 280 x 140 mm PH3, 3 mm | 3 mm plastic, holds its plane |
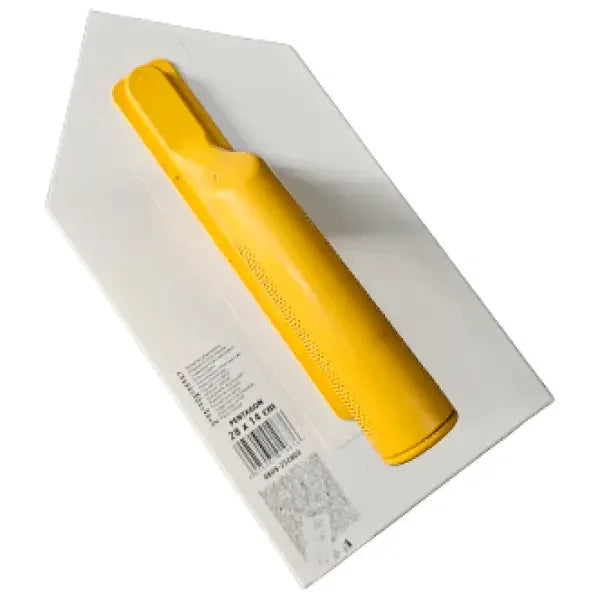
| Corners and tight returns | Rendering Pentagon Trowel 140x280 | Pointed face, 280 × 140 mm |
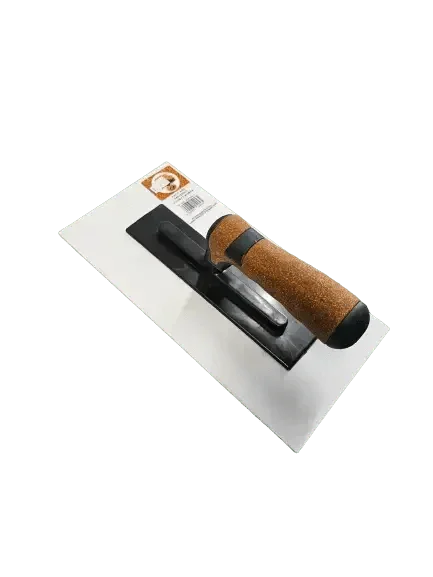
| Long sessions, grip comfort | 205109-K Plastic Float ABS Cork Handle | ABS face, cork handle |
| Open walls and large panels | KUBALA 0307 Plastic Float 180x400 | ABS face, 400 × 180 mm |
Plastic float or stainless trowel
The two tools do different jobs and neither replaces the other. Keep both on the board and each one stays in the moment it is made for.
| Tool | Its moment | What it leaves |
|---|---|---|
| Stainless steel trowel | Laying the finish on and drawing the excess back | A coat at aggregate thickness, ready to work |
| Plastic float | Texturing, inside the open time of that coat | The pattern the wall keeps once it dries |
Reach for the stainless tool when material still has to go on or come off, and for the plastic one the moment the coat is laid and the pattern is what remains to be made. The laying-on tools sit with the stainless trowels and floats.
Thickness, edges and handle
- Thickness of the plastic. A 2 mm face gives under the hand and follows the wall; a 3 mm face keeps its own plane and pushes the wall towards flat. Grain size and how true the substrate is decide which one suits the job.
- Material. ABS is the common choice for a render float because it stays rigid and washes clean; PVC is lighter in the hand over long runs.
- Edges. Square edges cut a sharper line into the texture, which suits a fresh coat; rounded edges suit a coat that has started to go off, and keeping one of each on the board covers both.
- Handle. Circular texturing puts more vibration through the wrist than laying-on does, so a cork or rubber handle is the one to have on a full-day elevation.
Keeping a float usable
A plastic float is a consumable with a long working life, provided it is washed before the material sets. Dried material on the plastic stops being a cleaning problem and becomes a texturing problem, because the ridge it leaves is carried into the next wall you work — so the wash is part of the job, not the tidy-up after it.
- Wash the face in water at every break, not at the end of the day.
- Keep the float out of direct sun between elevations so the plastic does not warp.
- Run a straight edge across the face now and then; once you can feel a hollow, that float goes to second-fix duty and a fresh one runs the finish coat.
Questions renderers ask
Can one float do an entire house? It can, but most crews run a small face for reveals and beads and a long face for the field, because swapping tools is quicker than making one size do both jobs.
Does a plastic render float suit every kind of render? It suits any thin coat system worked by hand — silicone, silicate or acrylic. Monocouche and other scraped finishes are worked with a scraper instead, which is a different tool and a different shelf.
Is a plastic float better than a sponge float? They are not competitors. Plastic pulls the aggregate into a pattern on a thin coat finish; a sponge rubs the surface up on sand and cement work. Each is the right tool inside its own system.
How do I keep the texture the same along a whole wall? Keep one float, one hand and one motion for the elevation, and work wet on wet without stopping in the middle of a panel. Worked that way the wall dries to one pattern with no seam.
What else do I need alongside it? The laying-on trowel, a bucket and paddle, and the render itself. The rest of the kit sits under rendering tools and accessories.
Pick the size first
Renders World stocks these floats for one job only, so buy for the wall in front of you: a 280 × 130 mm face handles most domestic work, and a 400 × 180 mm float earns its place the moment the elevations get long. Renders World processes orders the same day when the stock is there, and the Southampton counter opens at 7am if you would rather collect on the way to site.